
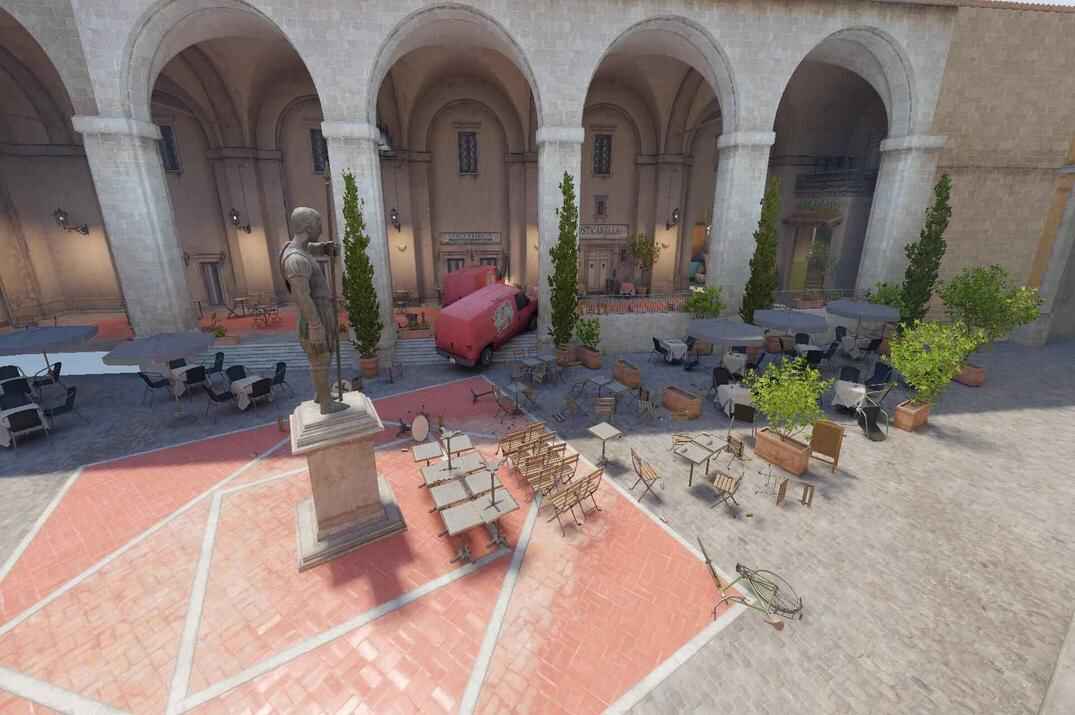
Inferno Guide for Counter-Strike 2
Callouts, bombsites, timings, weapon ranges, and skins.
Inferno is a bomb defusal map with two sites, a Mid, and a long lane called Banana that runs from the T side to B. The game files mark 23 named places on it - the official location names shown by the radar and in team chat. The two default plant spots are 3,211 units apart, about 81 metres in a straight line.
A CT gets from spawn to the A plant spot in about 7.9 seconds with the knife out, while a T takes about 16.7 - more than twice as long. Both are measured along the map, around the walls - more in Timings. This page goes through the callouts, both sites, the timings, which guns suit the distances here, and the skins.
Inferno Map Overview
Where the map came from, and what the game files say about it.
Inferno came out on 13 March 2001 in Counter-Strike 1.1, the same update as Dust 2. Christopher "Narby" Auty built it in two weeks. The first version was set in a rebel stronghold in a small Middle Eastern village, and the official 1.6 description sends the Ts to blow up two gas pipelines running through it.
Valve took Inferno out of Active Duty on 21 April 2016, giving its place to the new Nuke, and released the remake that October with wider streets, brighter lighting and major visual changes. It came back to the pool in February 2017, this time replacing Dust 2.
The Car on Banana has been gone since that remake: it was replaced by a couple of barrels, and nobody renamed the spot. The remake also left two nods to the creator - a coat of arms facing Mid with the motto "TENUTA AUTY", and "VINO AUTY" on the building beside A.
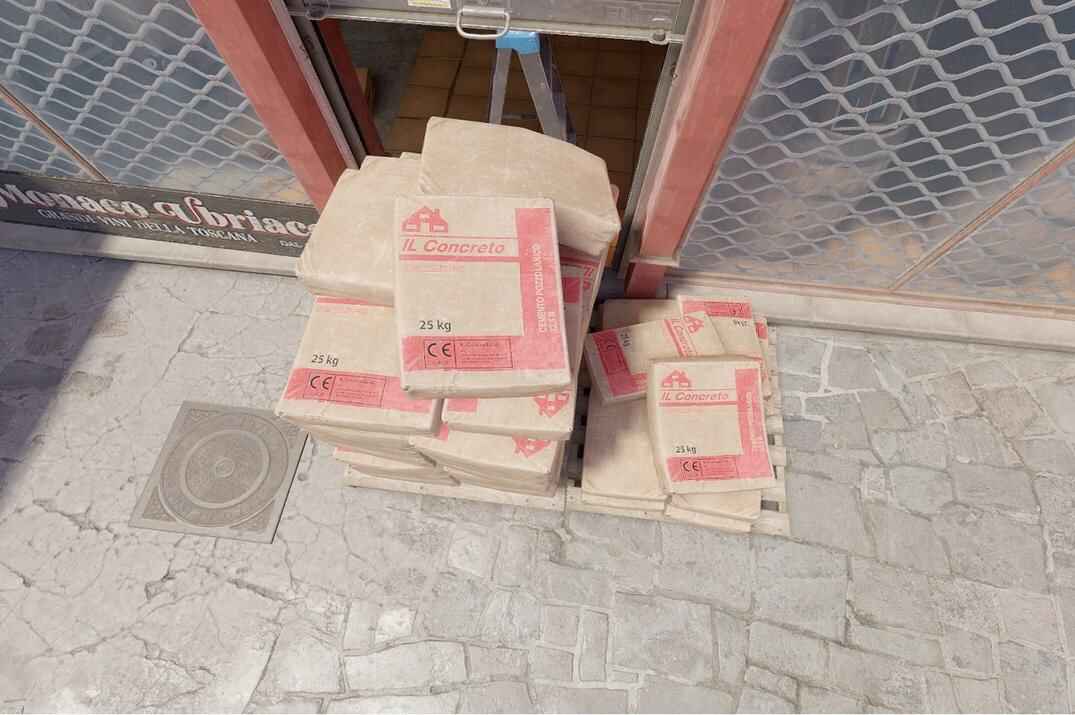
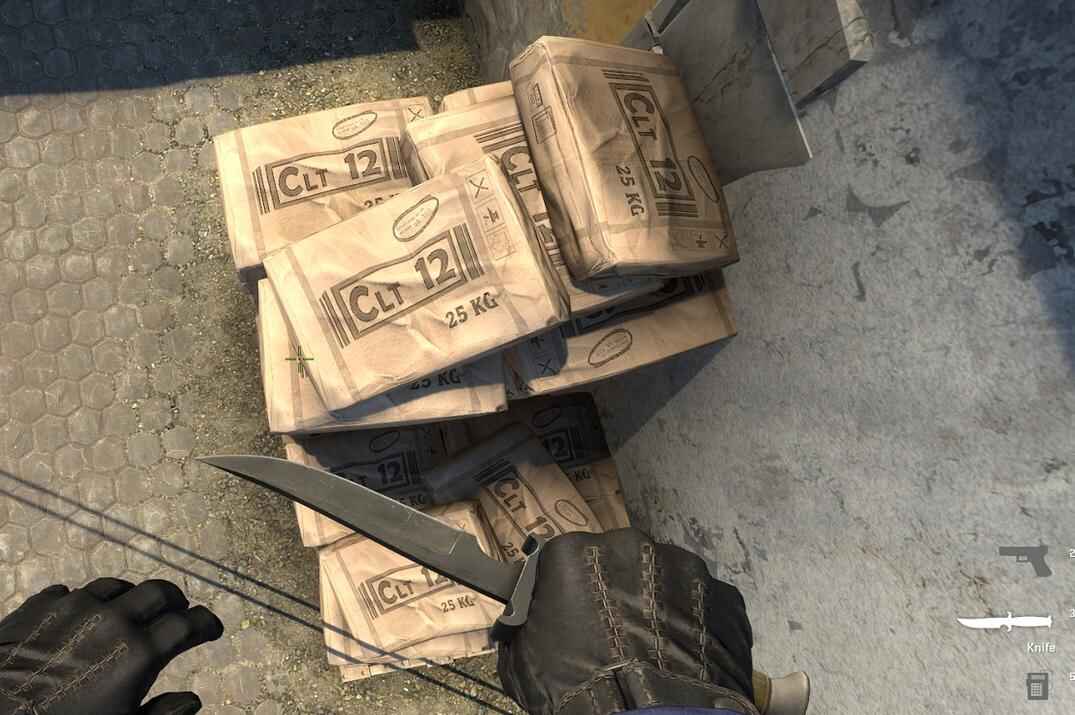
In June 2022 Valve raised the bomb blast on Inferno from 500 to 620, so the usual hiding spots after a plant stopped being safe - from the A default plant even Pit was no longer out of reach. The CS2 files list 600 units today.
Timeline
| 13 March 2001 | Released in Counter-Strike 1.1 |
| 16 January 2003 | A new version in the Counter-Strike 1.6 beta |
| 2012 | In CS:GO |
| 21 April 2016 | Moved to the reserve pool, replaced by Nuke |
| October 2016 | The remake comes out in CS:GO |
| February 2017 | Back in Active Duty, replacing Dust 2 |
| June 2022 | Bomb blast raised from 500 to 620 |
| September 2023 | In CS2 from launch |

The map
| Type | Bomb defusal |
| Map code | de_inferno |
| Created by | Christopher "Narby" Auty |
| Released | 13 March 2001, Counter-Strike 1.1 |
| Active Duty | Until Apr 2016, again since Feb 2017 |
| In CS2 | Since launch, September 2023 |
From the game files
| Named places | 23 |
| Spawn points | 16 T, 16 CT (plus 4 + 4 for Wingman) |
| Buy zones | 2 (plus 2 for Wingman) |
| Bombsites | 2 (A and B) |
| Plant to plant | 3,211 u (about 81 m) |
| Bomb radius | 600 u (about 15.2 m) |
CS2 Inferno Callouts
The 23 official names from the map files and the ones players use.
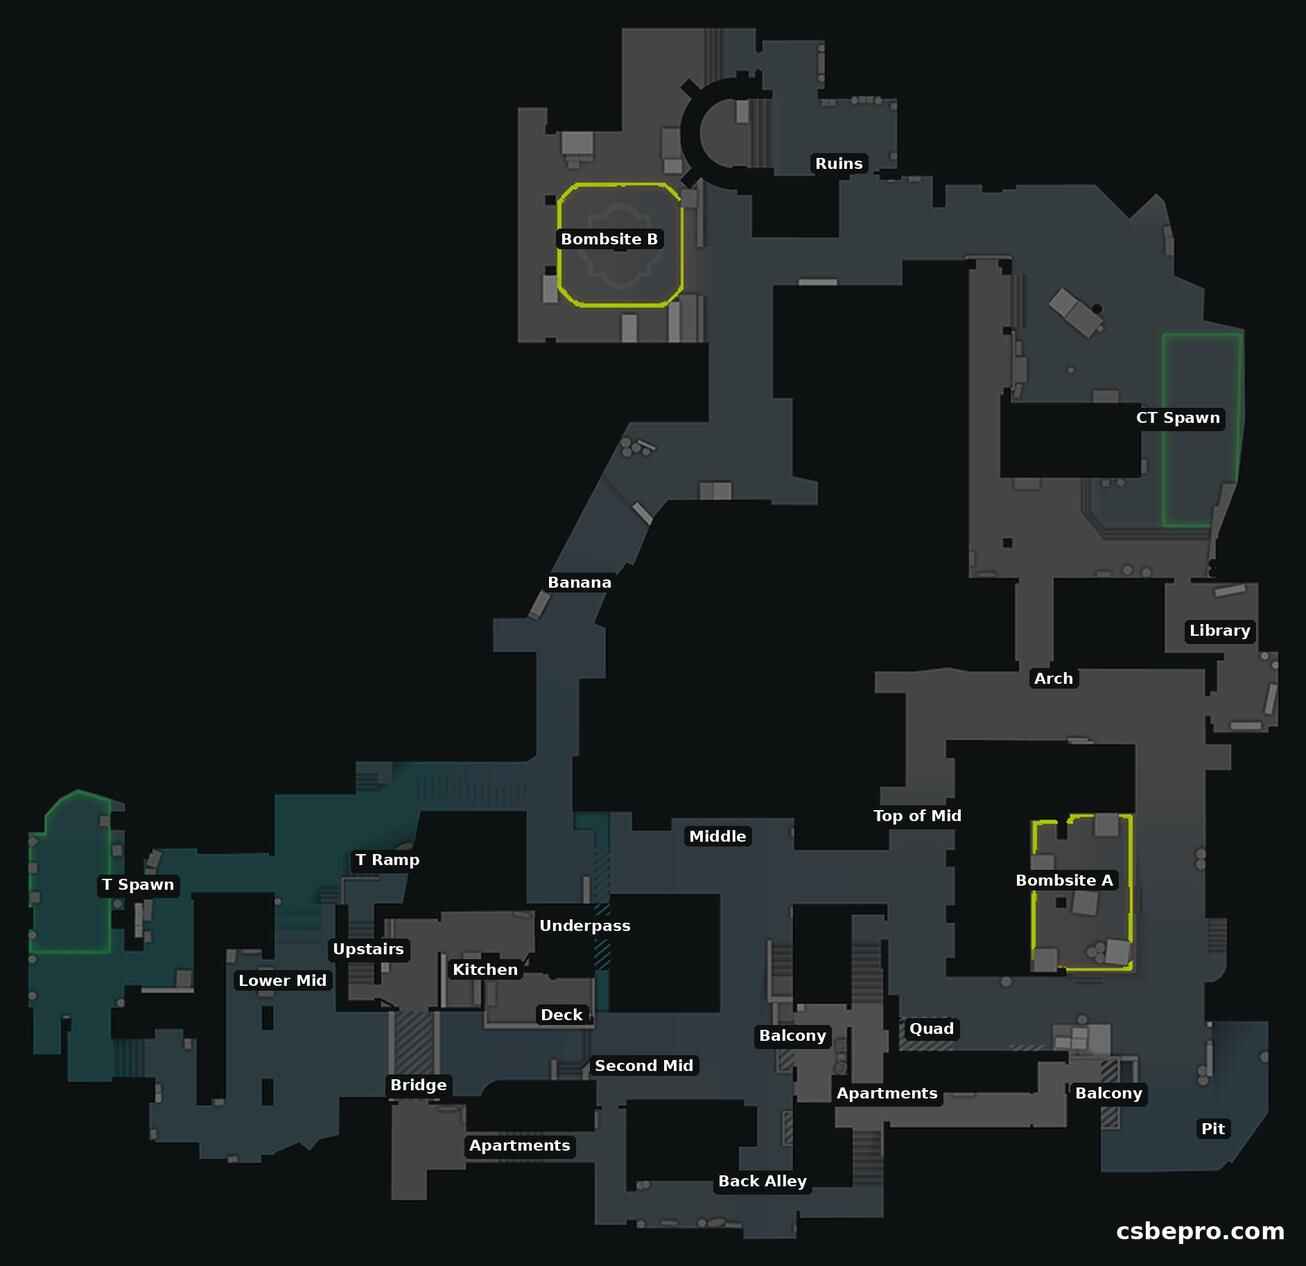
The left map shows only the 23 names stored in the map files. In the lists below they carry an official tag. The right map and every name without a tag is what players call the spots. The two bombsites have their own section, Bombsites.
Two names mean different places for the game and for players. The game's Kitchen is a room in T Apartments, the players' Kitchen is next to Library. The game's Quad is by Top Mid, the players' Quad is a stack of boxes on B. Balcony and Apartments each cover two places in the files, so both appear twice below.
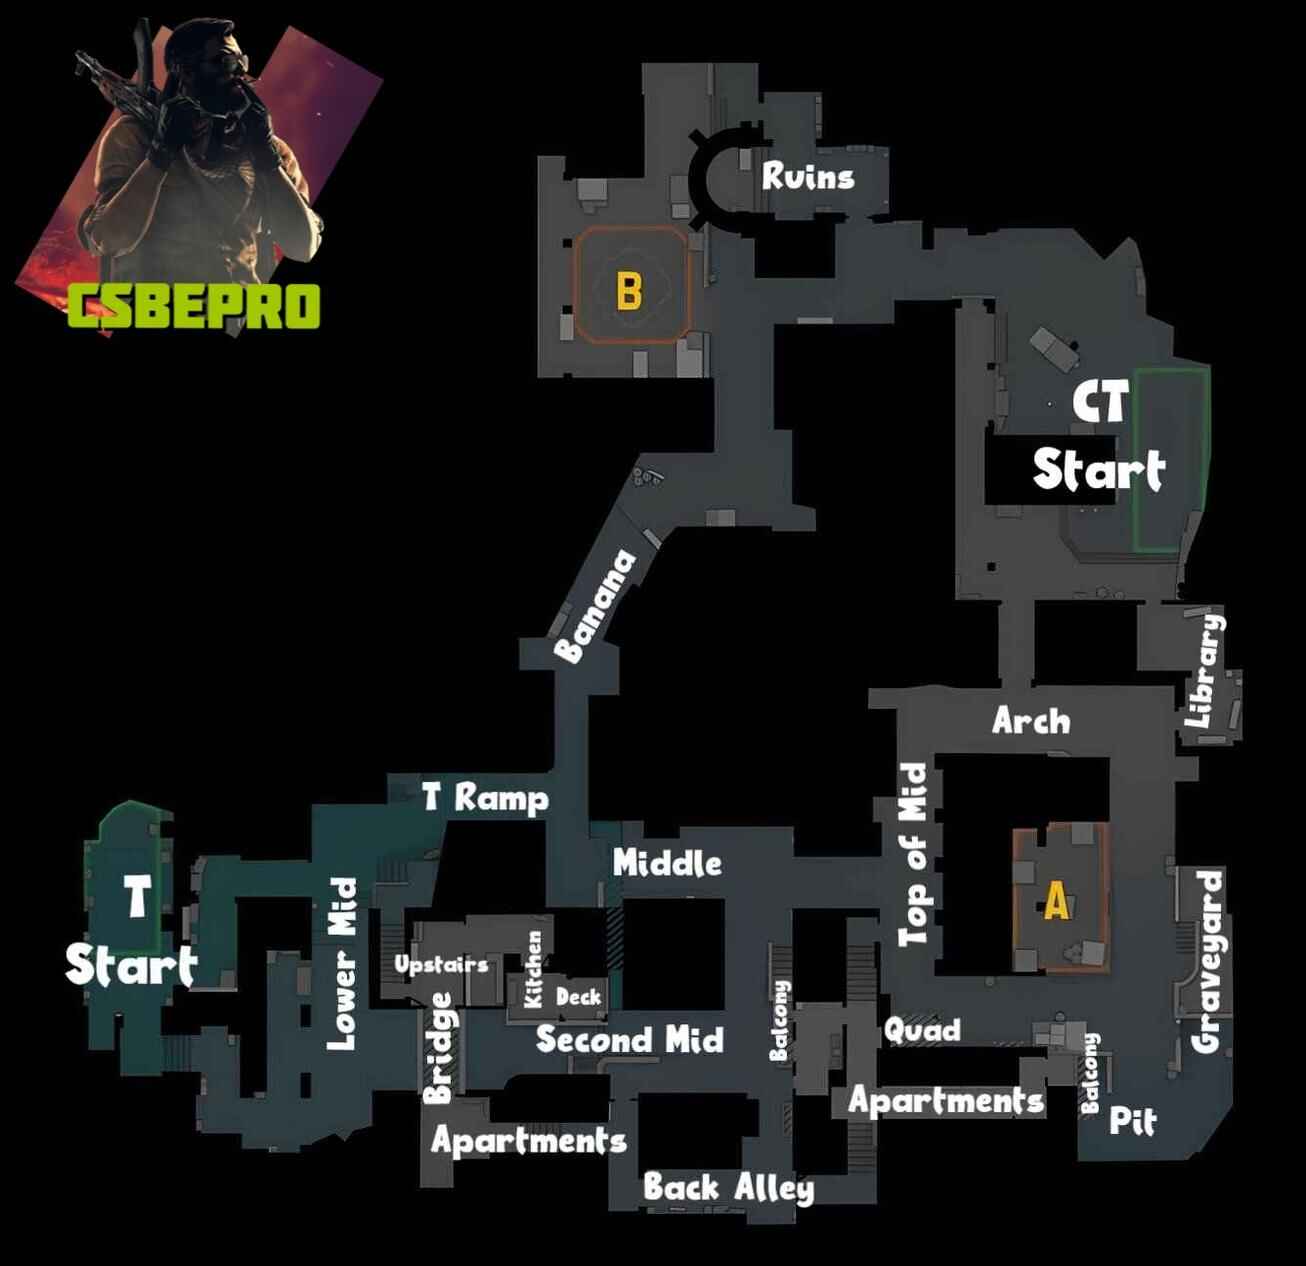
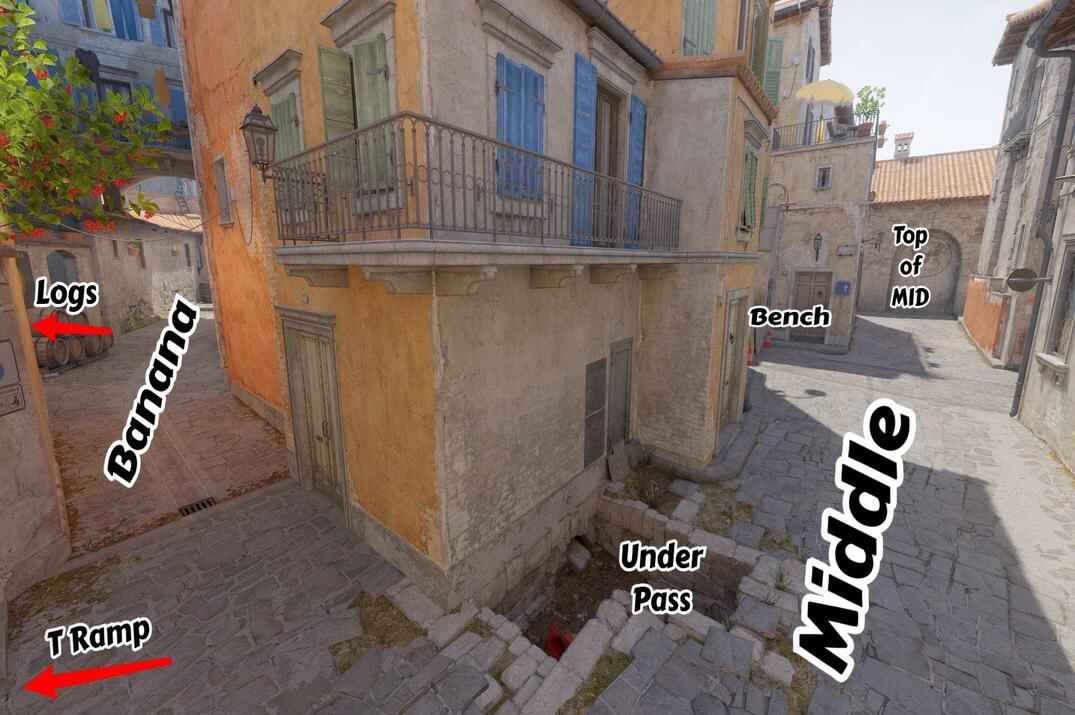
CS2 Inferno Mid Callouts
 Open full size
- Mid official
- The open middle of the map between T Ramp and Top Mid. In the game files: Middle.
- T Ramp official
- The ramp up from the T side to the bottom of Banana and Mid.
- Underpass official
- A low passage under Mid, between Mid and Second Mid. You crouch through part of it.
- Bench
- The bench beside Mid, opposite the way in from Second Mid.
- Logs
- The recess with stacked logs at the lower part of Banana.
CS2 Inferno Banana Callouts
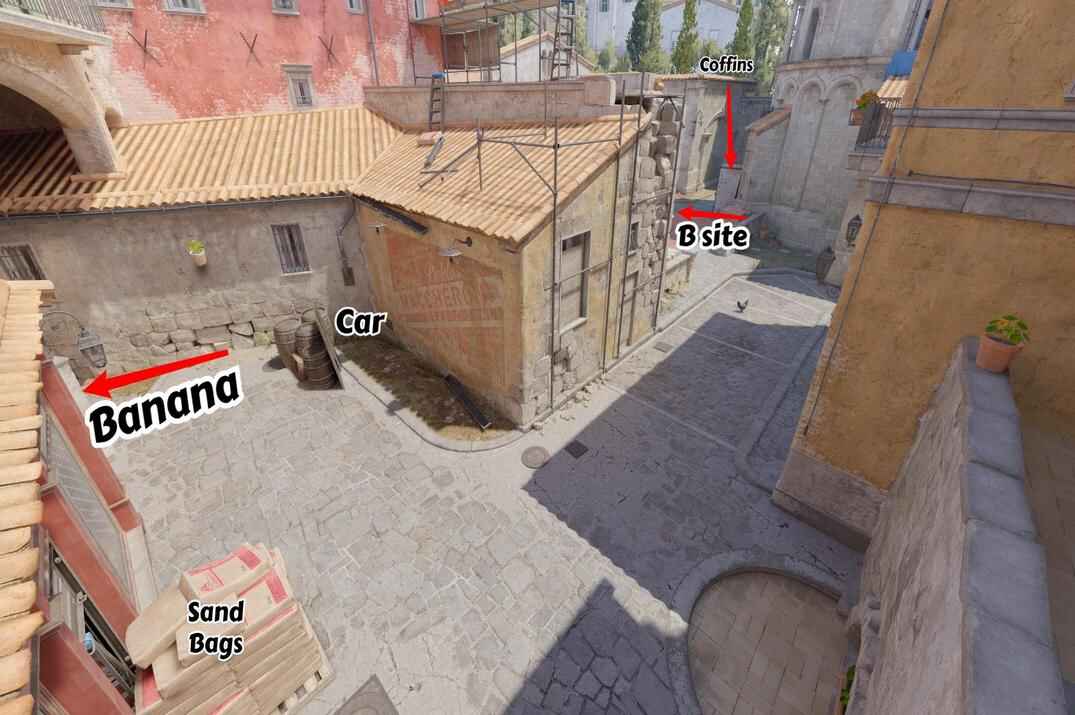 Open full size
- Banana official
- The long lane from T Ramp up to B - the main T route to B.
- Car
- The spot at the top of Banana. The car itself was replaced by barrels in the 2016 remake - see Overview.
- Sand Bags
- The bags near the top of Banana, used to hold or hide.
- CT
- The corner at the top of Banana on the CT Spawn side.
CS2 Inferno B Site Callouts
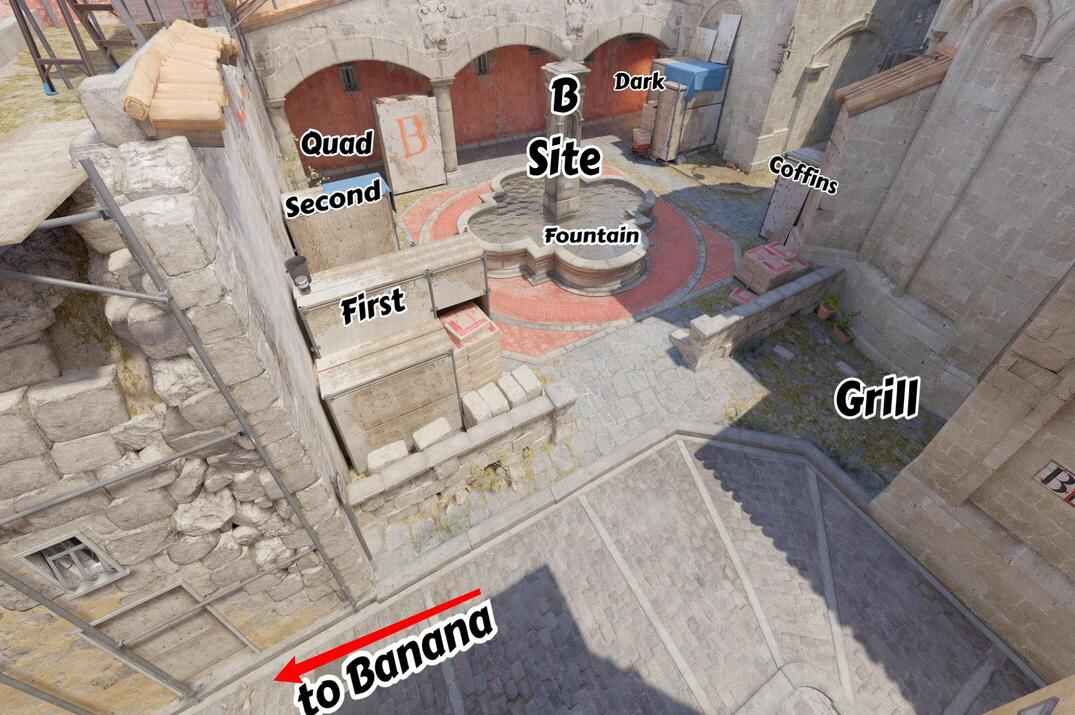 Open full size
- 1st
- The small space between the box stacks on the left of B as you come in from Banana.
- 2nd
- The hiding spot beside the boxes near Quad, facing Fountain.
- Quad
- The stack of boxes at the back of B. Not the game's Quad - that one is by Top Mid, see A Quad.
- Fountain
- The fountain in the middle of B.
- Dark
- The shadowed corner at the rear of B.
- Coffins
- The coffins at the back of B, a head-high spot for defenders.
- Grill
- The grill beside the B plant area.
- Ruins official
- The half-built ground behind B, next to the arch. Players call parts of it Construction and Garden.
CS2 Inferno CT Spawn Callouts
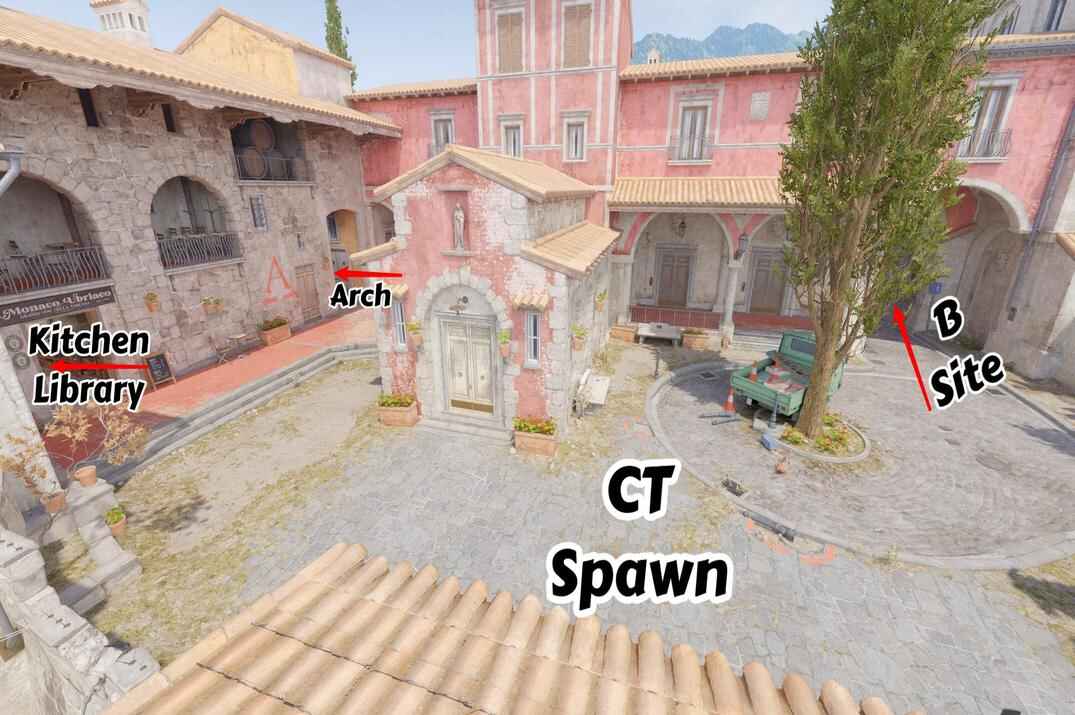 Open full size
- CT Spawn official
- Where the CTs start the round. How long the runs from here take is in Timings.
- Arch official
- The archway linking A Long with Speedway, CT Spawn and the way to B.
- Library official
- The building beside A with a way in from the CT Spawn side.
- Kitchen
- The room next to Library, on the CT Spawn side. Not the game's Kitchen - that one is in T Apartments.
- Terrace
- The raised area with flowers near CT Spawn, over Well and Speedway.
CS2 Inferno A Site Callouts
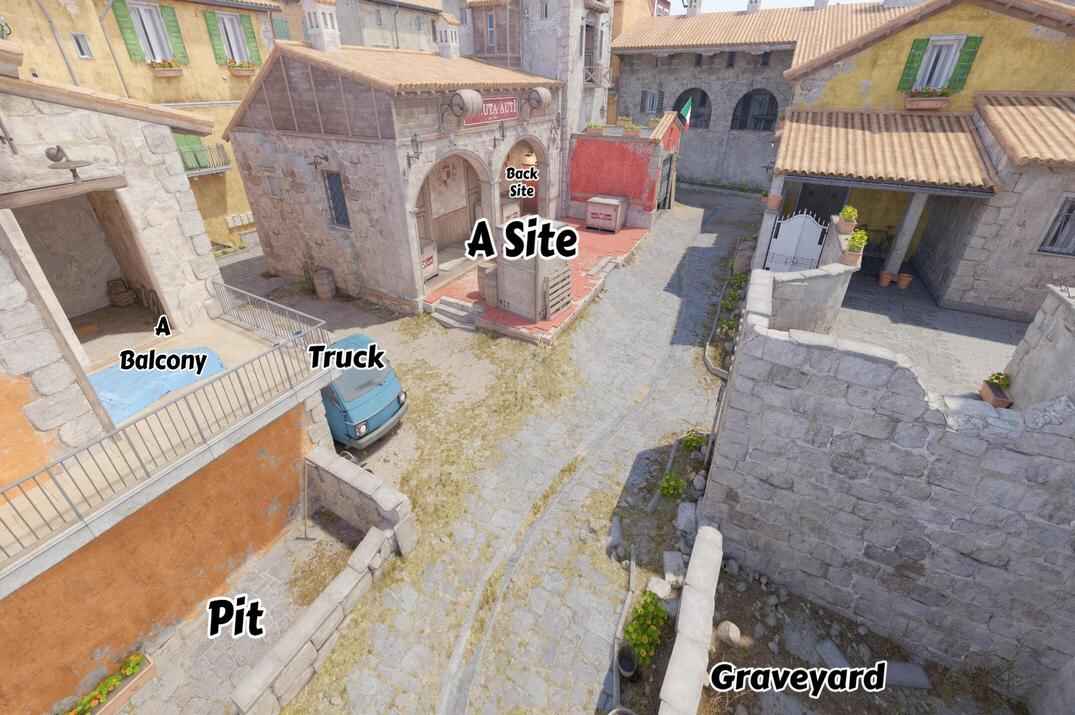 Open full size
- A Balcony official
- The balcony above Pit at the exit from CT Apartments. In the game files: Balcony.
- Truck
- The truck beside A Quad, used to climb to A Balcony and CT Apartments.
- Pit official
- The sunken area beside A, under A Balcony.
- Graveyard
- The walled spot behind A, with stone cover by the entrance.
- Cemetery
- The stone wall at the back of Pit, across from A Balcony.
- Back Site
- The rear part of A.
CS2 Inferno Second Mid Callouts
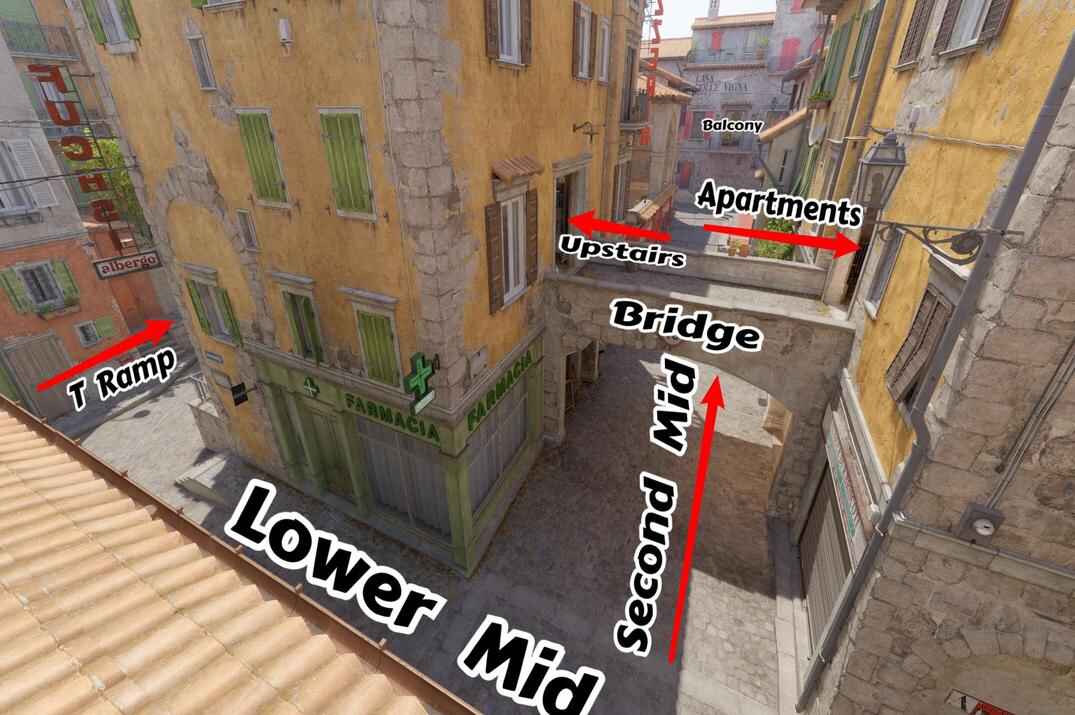 Open full size
- T Spawn official
- Where the Ts start the round. Ways out: T Ramp towards Banana and Mid, and Lower Mid towards T Apartments.
- Lower Mid official
- The area between T Spawn and T Apartments.
- T Apartments official
- The apartment block on the T side, with Upstairs, Kitchen and Deck inside. In the game files: Apartments.
- Upstairs official
- The upper floor of T Apartments, closest to T Spawn.
- Kitchen official
- A room in T Apartments, between Upstairs and Deck. The Kitchen players call is a different room, by Library.
- Deck official
- The part of T Apartments next to Kitchen, at the Second Mid end.
- Bridge official
- The passage from T Apartments down to Second Mid.
- Balcony official
- The balcony over Second Mid.
- Second Mid official
- The second way from the T side to A, below Mid, from T Apartments to CT Apartments.
- Back Alley official
- The alley below Second Mid that leads to CT Apartments.
- CT Apartments official
- The apartments on the A side of Second Mid, with the exit to A Balcony. Players shorten it to Apps. In the game files: Apartments.
CS2 Inferno Top of Mid Callouts
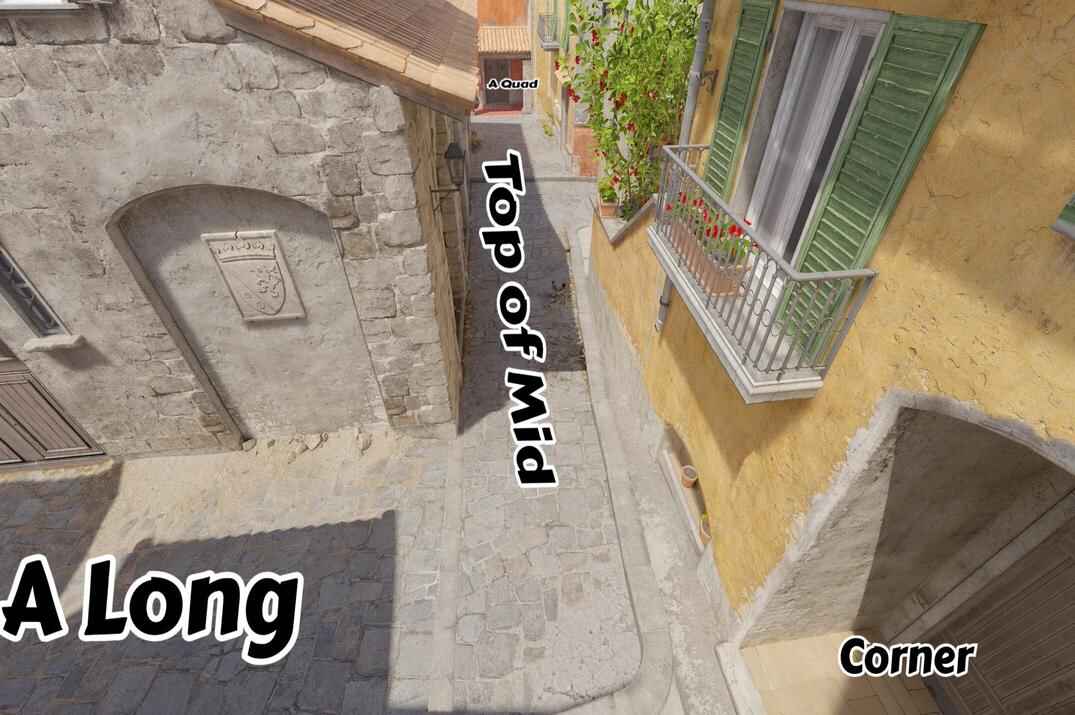 Open full size
- Top Mid official
- The A end of Mid, where CTs take their first positions. In the game files: Top of Mid.
- A Long
- The way to A through Arch and past Library.
- Corner
- The tucked-away corner on A Long, opposite Library.
- A Quad official
- The small raised area at the end of Top Mid, by A. In the game files: Quad.
Inferno Bombsites
How big each site is, where the bomb goes, and every way in.
The game files hold the exact zone where you can plant on each site. On A Site it is about 9.3 × 14.2 metres, on B Site about 11 × 11 - close in size, 129 m² on A against 116 on B.
A site
| Plant zone, game files | 368 × 560 u (9.3 × 14.2 m) |
| Plant zone area | 129 m² |
| CT Spawn to default plant | 1,976 u (50.2 m) |
| T Spawn to default plant | 4,180 u (106.1 m) |
| T side entrances | Top Mid, A Quad, A Balcony |
| CT side entrances | Arch, Library |
| Retake plant spots | 5 |
B site
| Plant zone, game files | 432 × 432 u (11.0 × 11.0 m) |
| Plant zone area | 116 m² |
| CT Spawn to default plant | 2,202 u (55.9 m) |
| T Spawn to default plant | 4,244 u (107.7 m) |
| T side entrance | Banana |
| CT side entrances | CT, Ruins |
| Retake plant spots | 4 |
The plant zone is the invisible shape in the map files that decides where the bomb can go - on the radar it is the outline around each site. On A it is two boxes side by side; on B it is a square with the corners cut off. Spawn distances are measured along the map, from the middle of each spawn to the default plant spot - the times are in Timings. In Retake mode the bomb starts already planted on one of the fixed spots per site: five on A and four on B. They are the dots on both maps below: the filled one is the default.
A Site
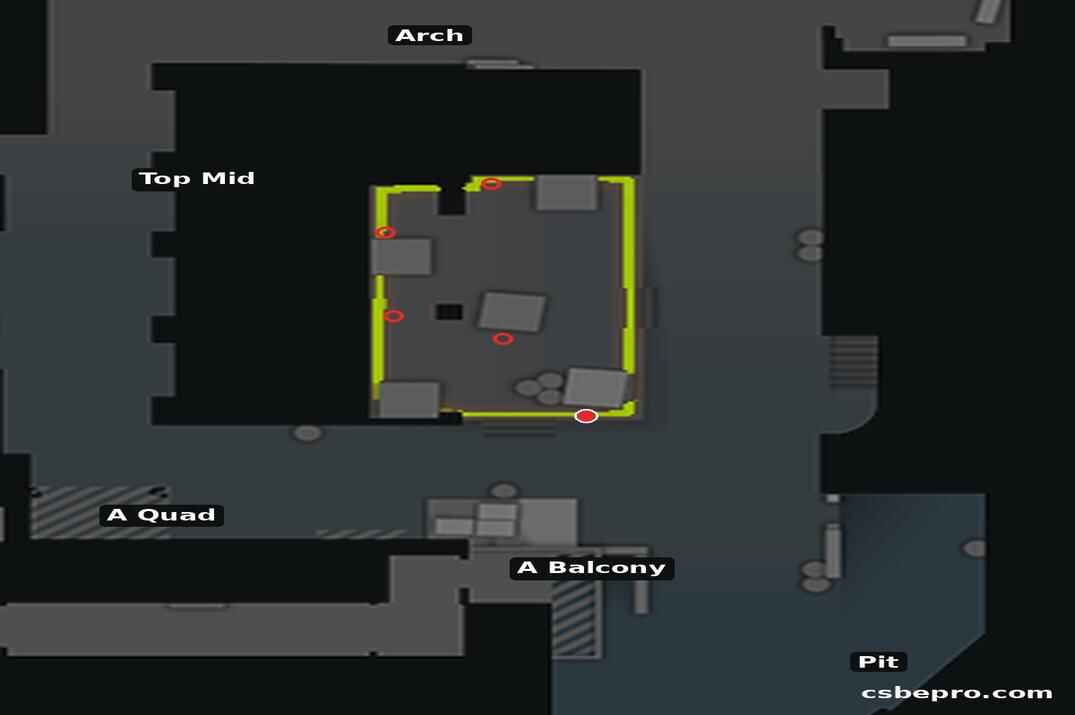
Five ways in: Top Mid, A Quad and A Balcony from the T side, Arch and Library from the CT side.
For the CTs the two sites are almost the same run: 1,976 units to the A plant, 2,202 to B. The Ts have 4,180 to go to A, so the CT lead on A is 2,204 units, about 8.8 seconds with the knife.
B Site
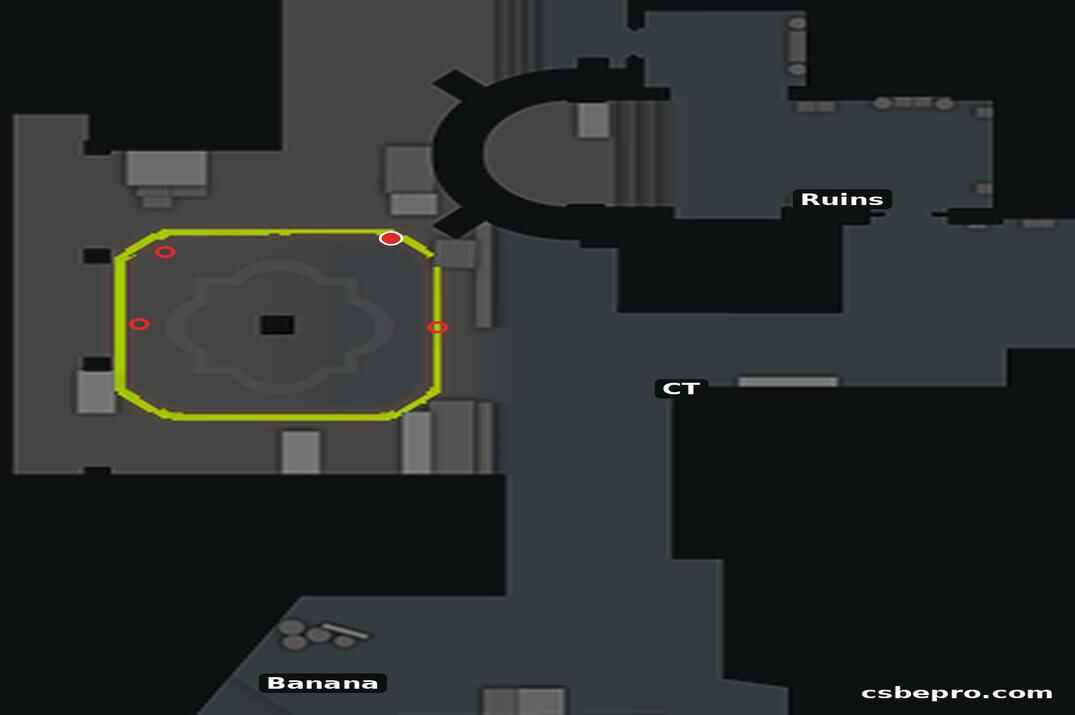
One way in for the Ts: Banana. CTs can enter from two sides - through CT and through Ruins.
For the Ts both sites are about the same run too: 4,244 units to B, 4,180 to A. The CT lead on B is 2,042 units - about 8.2 seconds with the knife, close to A.
Inferno Timings
How long the runs take - straight through the walls and along the map.
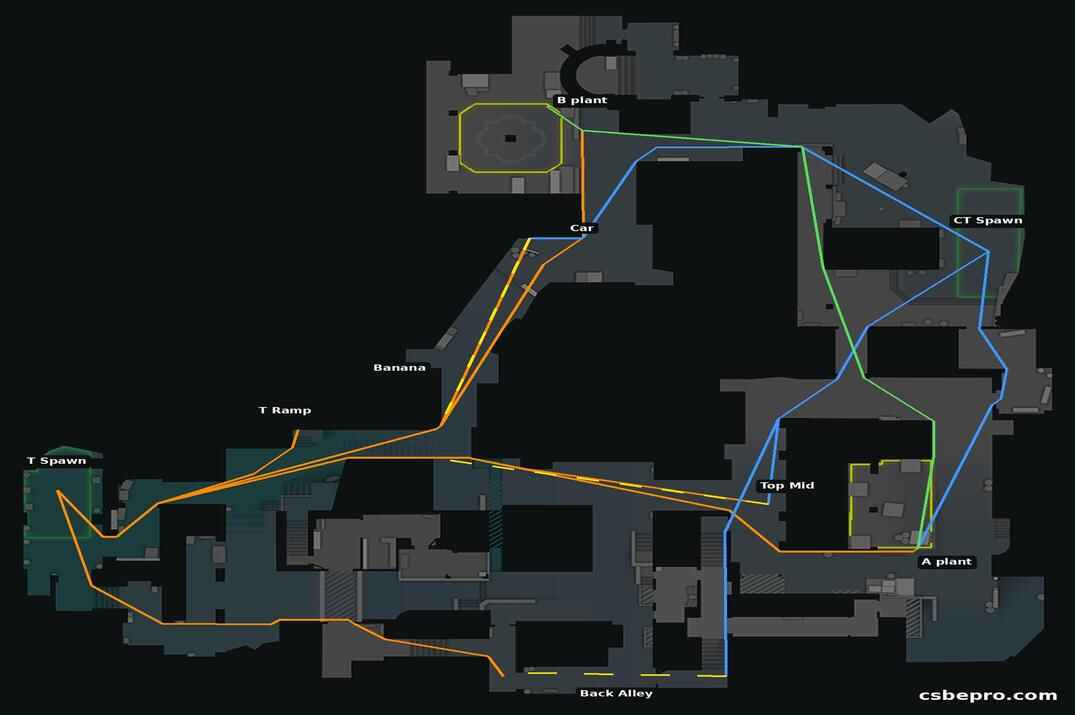
Every route below has two distances. Straight line is the gap between the two points, walls and all. Along the map is the shortest way around the walls on the in-game radar - the way you actually run. Time is the second distance divided by run speed: 250 units a second with the knife, 215 with an AK-47, 200 with an AWP. Stairs, height, boxes and drops are not counted, so treat the seconds as a close estimate, not a stopwatch. Times are measured from the middle of each spawn, the 16 standard spawn points per side - the Wingman ones are left out. Depending on where you start, a T time can be about 0.7 seconds shorter or longer, a CT time up to about 1.1 seconds.
| Route | Straight line, u | Along the map, u (m) | Knife, s | AK-47, s | AWP, s |
|---|---|---|---|---|---|
| T Spawn → T Ramp | 1,116 | 1,490 (37.8) | 6.0 | 6.9 | 7.5 |
| T Spawn → first seen from Top Mid | 1,612 | 1,903 (48.3) | 7.6 | 8.9 | 9.5 |
| T Spawn → first seen from Car | 1,698 | 1,999 (50.7) | 8.0 | 9.3 | 10.0 |
| T Spawn → bottom of Banana | 1,714 | 2,030 (51.5) | 8.1 | 9.4 | 10.2 |
| T Spawn → Back Alley, T end | 2,249 | 2,614 (66.3) | 10.5 | 12.2 | 13.1 |
| T Spawn → Car | 2,596 | 3,245 (82.4) | 13.0 | 15.1 | 16.2 |
| T Spawn → Top Mid | 3,055 | 3,393 (86.1) | 13.6 | 15.8 | 17.0 |
| T Spawn → A plant | 3,712 | 4,180 (106.1) | 16.7 | 19.4 | 20.9 |
| T Spawn → B plant | 3,210 | 4,244 (107.7) | 17.0 | 19.7 | 21.2 |
| CT Spawn → Top Mid | 1,855 | 1,957 (49.7) | 7.8 | 9.1 | 9.8 |
| CT Spawn → A plant | 1,899 | 1,976 (50.2) | 7.9 | 9.2 | 9.9 |
| CT Spawn → B plant | 2,106 | 2,202 (55.9) | 8.8 | 10.2 | 11.0 |
| CT Spawn → Car | 1,973 | 2,551 (64.7) | 10.2 | 11.9 | 12.8 |
| CT Spawn → Back Alley, CT end | 2,911 | 3,079 (78.1) | 12.3 | 14.3 | 15.4 |
| A plant → B plant | 3,211 | 3,864 (98.1) | 15.5 | 18.0 | 19.3 |
Straight lines miss the most on the way to B: the T run to the B plant is 4,244 units against 3,210 in a straight line, because Banana bends round the middle of the map. The CT run to Car is 2,551 against 1,973.
What the numbers mean
Banana has been one of Inferno's main routes to B since the CS 1.6 days, and early control of it still shapes many rounds. From Car the view runs all the way down to the bottom of Banana, about 32 metres, and the first T is there at 8.0 seconds with the knife. The first CT reaches Car at 10.2. By then a T with the knife out is about 13 metres up Banana, so the early fight is in the middle of it, not at the top.
In Mid it is close. A CT running to Top Mid gets there at 7.8 seconds with the knife and has an AWP ready at about 9.1 (1.27 seconds to deploy). The first T comes into view from Top Mid at 7.6, about 38 metres down Mid, or at 8.9 with an AK. It is a dead heat - well inside the spawn spread.
Back Alley is a T head start: the first T is at the far end at 10.3-10.5 seconds, the first CT at the CT Apartments end at 12.3, about 25 metres away.
CTs reach both sites well before the Ts: 7.9 seconds to the A plant against 16.7 for the Ts, and 8.8 to the B plant against 17.0. The rotation from the A plant to the B plant through Arch and CT Spawn is 3,864 units - 15.5 seconds with the knife, 18.0 with an AK.
Weapons on Inferno
Which guns fit the distances on this map, and which don't.
Every gun in CS2 has an accurate range - how far its first shot, fired standing still, stays tight enough to rely on. Inferno has fixed distances between the spots where fights happen. Compare the two and you get a useful picture of which weapons suit each sightline. The distances below are straight lines between positions on the in-game radar that can see each other, so they are approximate. Height is not counted either, so from A Balcony down to the A plant the real distance is a little longer. The accurate range figures are from the game update of 18 March 2026.
| Duel | Distance, u (m) | Area |
|---|---|---|
| Top Mid → Mid | 1,485 (37.7) | Mid |
| A Long → Pit | 1,396 (35.4) | A |
| Car → bottom of Banana | 1,246 (31.6) | Banana |
| Sand Bags (right) → Coffins | 1,039 (26.4) | B |
| Back Alley (CT end) → Back Alley (T end) | 971 (24.6) | Back Alley |
| A Long → A plant | 963 (24.4) | A |
| Sand Bags (left) → CT | 761 (19.3) | B |
| A Quad → A plant | 677 (17.2) | A |
| CT → B plant | 502 (12.7) | B |
| Pit → A plant | 474 (12.0) | A |
| A Balcony → A plant | 437 (11.1) | A |
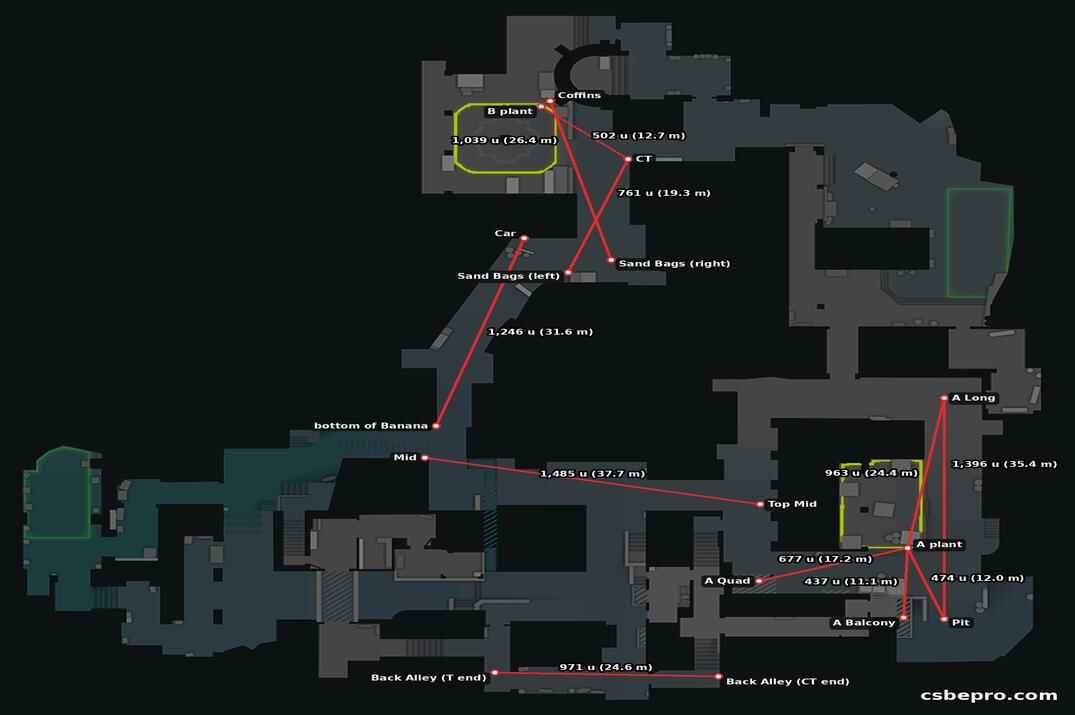
Accurate range is only one number. The guide for each gun has the rest: damage at every distance, how many hits it takes through armour, movement, and the spray pattern for every single bullet. The links are on the gun names below.
Inferno has three long lines - down Mid, down Banana and across A from A Long to Pit, all over 30 metres. Everything else is 26 metres or less, and the closest fights at both plant spots are SMG distance.
Mid and Banana: scope distance
From Top Mid the view runs down Mid to the T side, about 38 metres. The AWP (69.3 m), the SSG 08 (47.2 m) and the AUG scoped (38.3 m) cover it; the SG 553 scoped (37.1 m) is half a metre short.
From Car down to the bottom of Banana is about 32 metres. That is past every rifle without a scope - the M4A1-S with the silencer and the AK-47 crouched both stop at 28.2 m. With a scope, all four sniper and scoped rifles reach it.
B Site: rifle distance at the top of Banana
From the right side of Sand Bags to Coffins is about 26 metres - M4 distance (M4A4 27.7 m, M4A1-S 28.2 m), and the AK-47 (21.7 m) is almost 5 metres short. From the left side to CT it is 19 metres: the AK covers it, the FAMAS (18.6 m) is just short, the Galil AR (16.3 m) and the MP9 (15.9 m) more so.
A Site: from 35 metres to 11
After a plant on A the fights stretch from one end of the site to the other. A Long to Pit is about 35 metres - scope distance, with the FAMAS in burst mode (35.5 m) right at its edge. A Long to the plant itself is 24 metres, M4 distance again, and the AK is 3 metres short.
Around the plant it gets close. From A Quad it is 17 metres, from Pit 12, from A Balcony 11. The MP9 and the MP7 (14.4 m) cover the last two; the MAC-10 (11.0 m) is about 15 centimetres short even from A Balcony.
Back Alley, end to end, is about 25 metres - another M4 fight, and 3 metres past the AK.
On a pistol round the Glock-18 (20.1 m) and the USP-S with its silencer (23.8 m) both cover the five closest fights in the list, from 19 metres down. The Desert Eagle (24.6 m) adds A Long to the A plant and is right at its limit on Back Alley.
Shotguns are left out of this: their accurate range is 2-3 metres by design and says nothing about where they work.
Rule of thumb: scopes suit Mid, Banana and A Long, the M4s cover most fights in between, and SMGs work well in the closest fights at both plant spots.
Inferno Skins & Collections
Inferno skins by market listings and price, and how to get them now.
Inferno has no case of its own. Its skins come in two collections: The Inferno Collection from 14 August 2013, and The 2018 Inferno Collection, added for the London 2018 FACEIT Major on 1 September 2018 to replace the older one.
Each collection below has three tabs. Most listed are the skins with the most offers across the markets I track. Prices update every 15 minutes, and the range on each card runs from the cheapest variant to the most expensive one, wear and Souvenir variants included.
The 2018 Inferno Collection
No Covert skins here. The top two are Classified: the SG 553 | Integrale and the Dual Berettas | Twin Turbo. The SG 553 is one of the scoped rifles that reach the long line down Banana - see Weapons on Inferno.
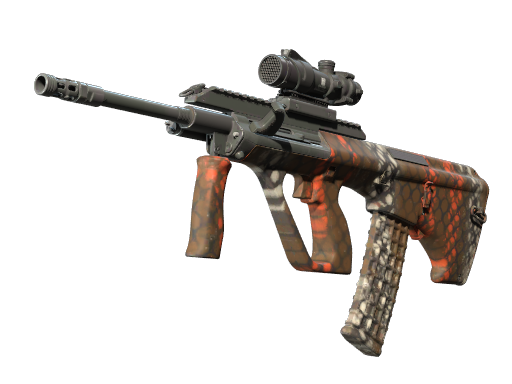
AUG | Sweeper
$0.02 - $0.11
View prices →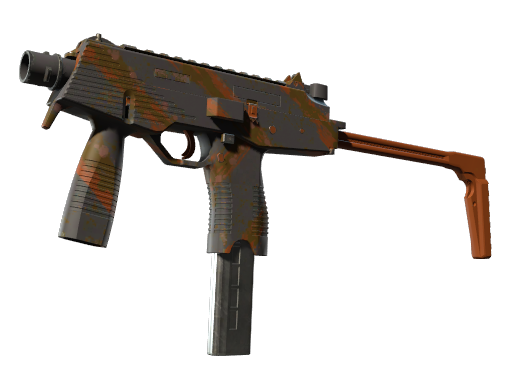
MP9 | Slide
$0.02 - $1.94
View prices →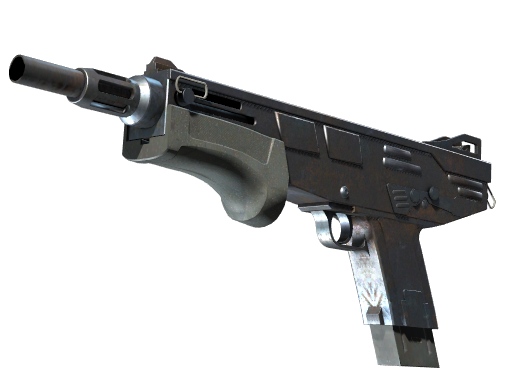
MAG-7 | Rust Coat
$0.01 - $0.36
View prices →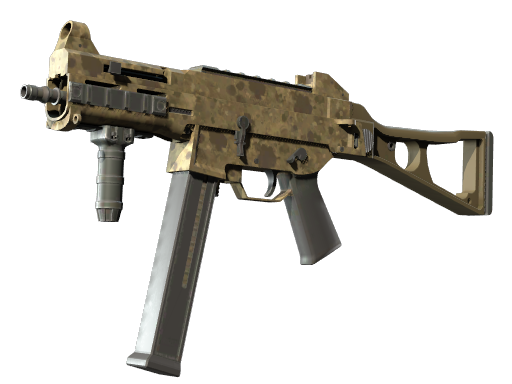
UMP-45 | Mudder
$0.01 - $0.89
View prices →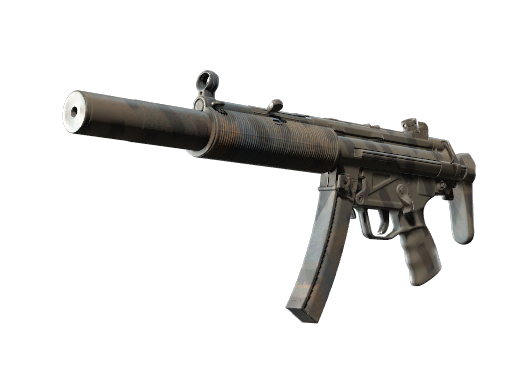
MP5-SD | Dirt Drop
$0.01 - $1.27
View prices →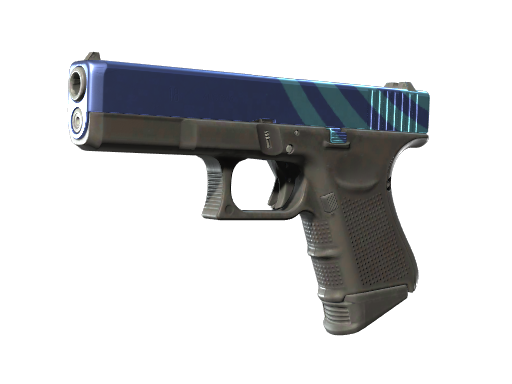
Glock-18 | High Beam
$0.11 - $2.30
View prices →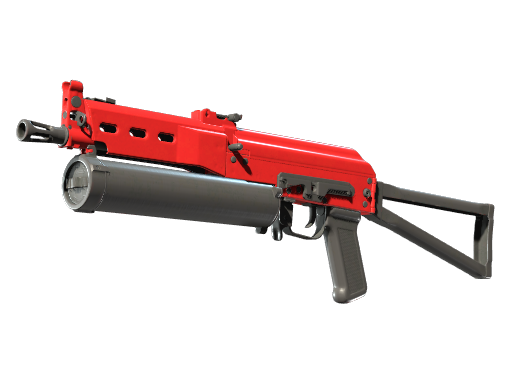
PP-Bizon | Candy Apple
$0.03 - $0.88
View prices →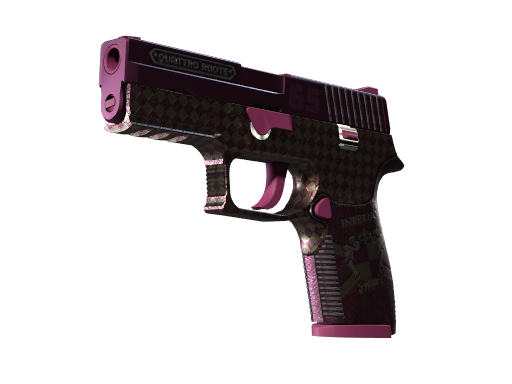
P250 | Vino Primo
$0.64 - $57.30
View prices →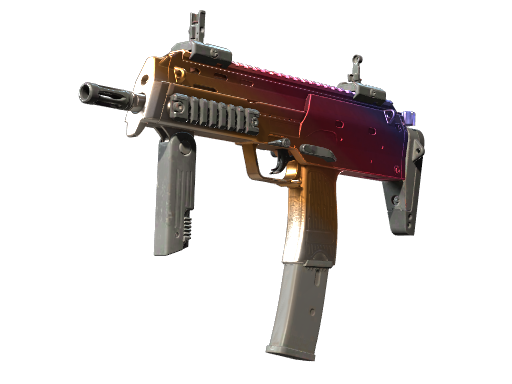
MP7 | Fade
$6.05 - $27.99
View prices →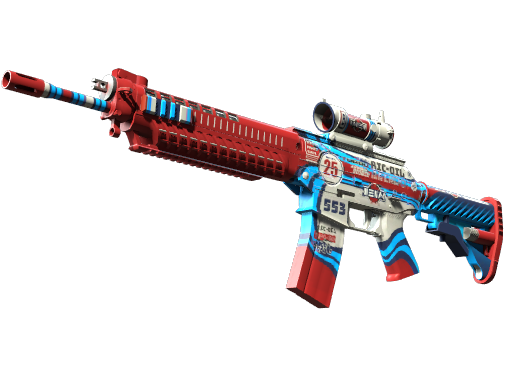
SG 553 | Integrale
$2.96 - $133.00
View prices →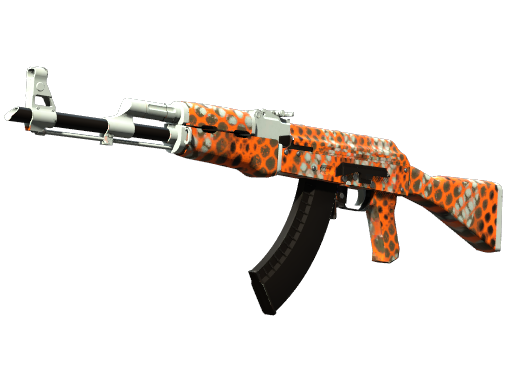
AK-47 | Safety Net
$2.23 - $28.94
View prices →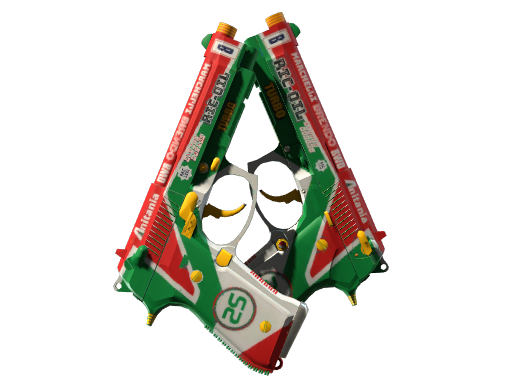
Dual Berettas | Twin Turbo
$1.76 - $99.00
View prices →P250 | Vino Primo
$0.64 - $57.30
View prices →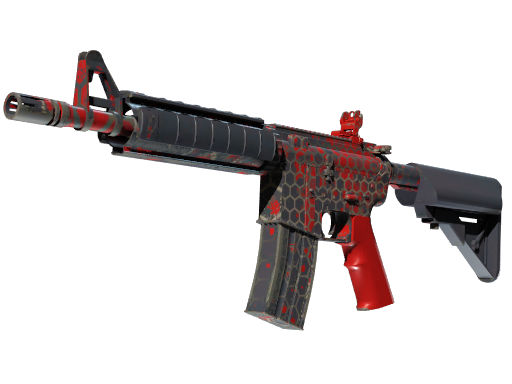
M4A4 | Converter
$0.50 - $8.36
View prices →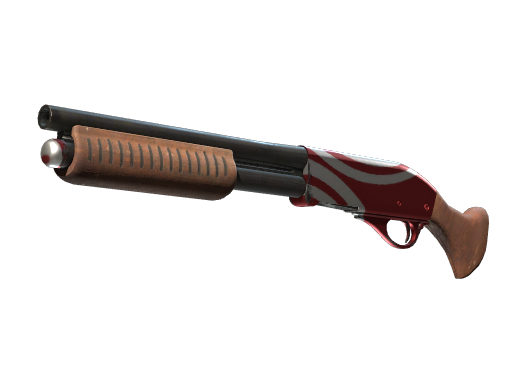
Sawed-Off | Brake Light
$0.44 - $2.63
View prices →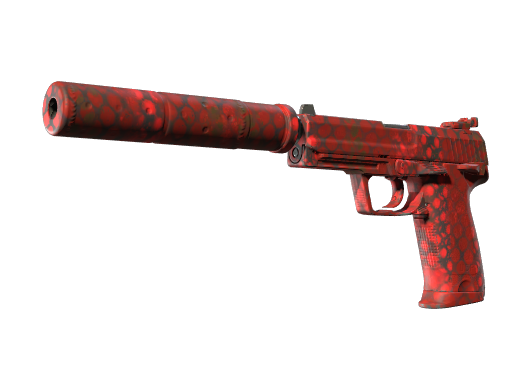
USP-S | Check Engine
$0.37 - $7.54
View prices →AUG | Sweeper
$0.02 - $0.11
View prices →MAG-7 | Rust Coat
$0.01 - $0.36
View prices →PP-Bizon | Candy Apple
$0.03 - $0.88
View prices →UMP-45 | Mudder
$0.01 - $0.89
View prices →MP5-SD | Dirt Drop
$0.01 - $1.27
View prices →MP9 | Slide
$0.02 - $1.94
View prices →Glock-18 | High Beam
$0.11 - $2.30
View prices →Sawed-Off | Brake Light
$0.44 - $2.63
View prices →Every skin with a price for every wear is on the 2018 Inferno Collection page.
The Inferno Collection
The original set, from the Arms Deal update. It has no Covert or Classified skins either.
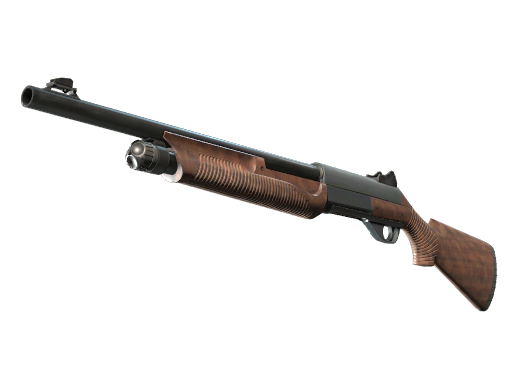
Nova | Walnut
$0.92 - $24.60
View prices →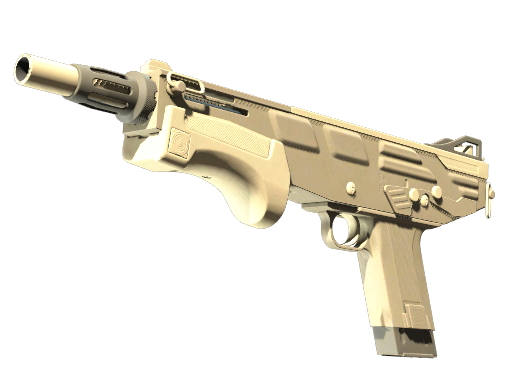
MAG-7 | Sand Dune
$0.88 - $29.49
View prices →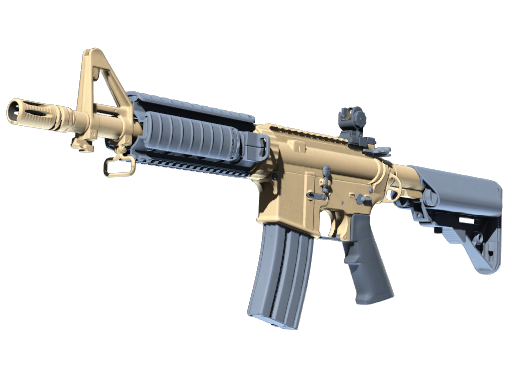
M4A4 | Tornado
$5.06 - $191.11
View prices →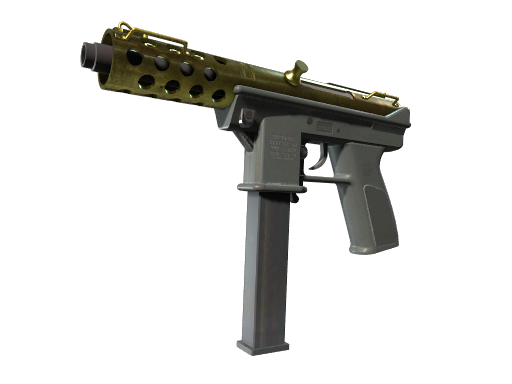
Tec-9 | Brass
$2.90 - $153.87
View prices →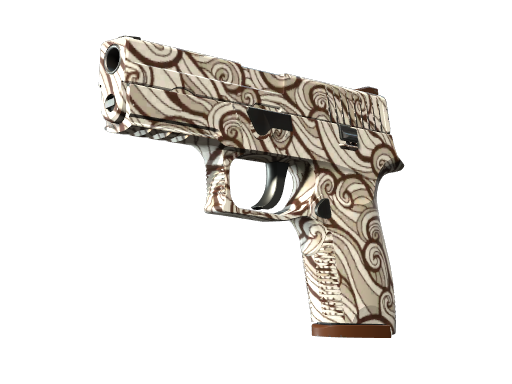
P250 | Gunsmoke
$1.55 - $34.61
View prices →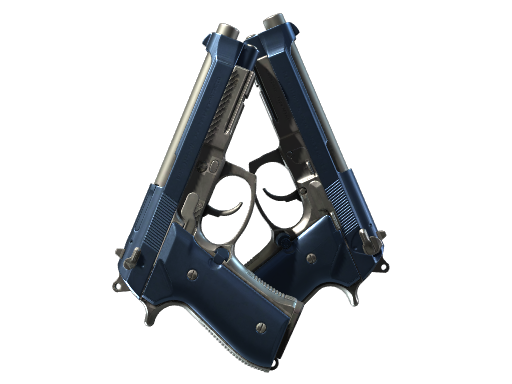
Dual Berettas | Anodized Navy
$8.40 - $13.50
View prices →Dual Berettas | Anodized Navy
$8.40 - $13.50
View prices →M4A4 | Tornado
$5.06 - $191.11
View prices →Tec-9 | Brass
$2.90 - $153.87
View prices →P250 | Gunsmoke
$1.55 - $34.61
View prices →Nova | Walnut
$0.92 - $24.60
View prices →MAG-7 | Sand Dune
$0.88 - $29.49
View prices →Dual Berettas | Anodized Navy
$8.40 - $13.50
View prices →Nova | Walnut
$0.92 - $24.60
View prices →MAG-7 | Sand Dune
$0.88 - $29.49
View prices →P250 | Gunsmoke
$1.55 - $34.61
View prices →Tec-9 | Brass
$2.90 - $153.87
View prices →M4A4 | Tornado
$5.06 - $191.11
View prices →Every skin with a price for every wear is on the Inferno Collection page.
How to get them now
According to CSGO Database the 2018 collection still comes in the weekly drop. Beyond that there are souvenir packages from Majors - it first came in the London 2018 Inferno Souvenir Package - trade-up contracts, and the market. The older Inferno Collection is out of the drop; its souvenir packages stopped with Boston 2018, so today it is trade-ups and the market.
Browse all collections and all CS2 cases, or check what your own skins are worth with the Inventory Value Calculator.
More CS2 Maps
The other map guides on the site.
 Premier
Mirage
Callouts, bombsites, timings, weapon ranges, and skins.
open → Premier
Dust2
Callouts, bombsites, timings, weapon ranges, and skins.
open → Premier
Ancient
Callouts, bombsites, timings, weapon ranges, and skins.
open →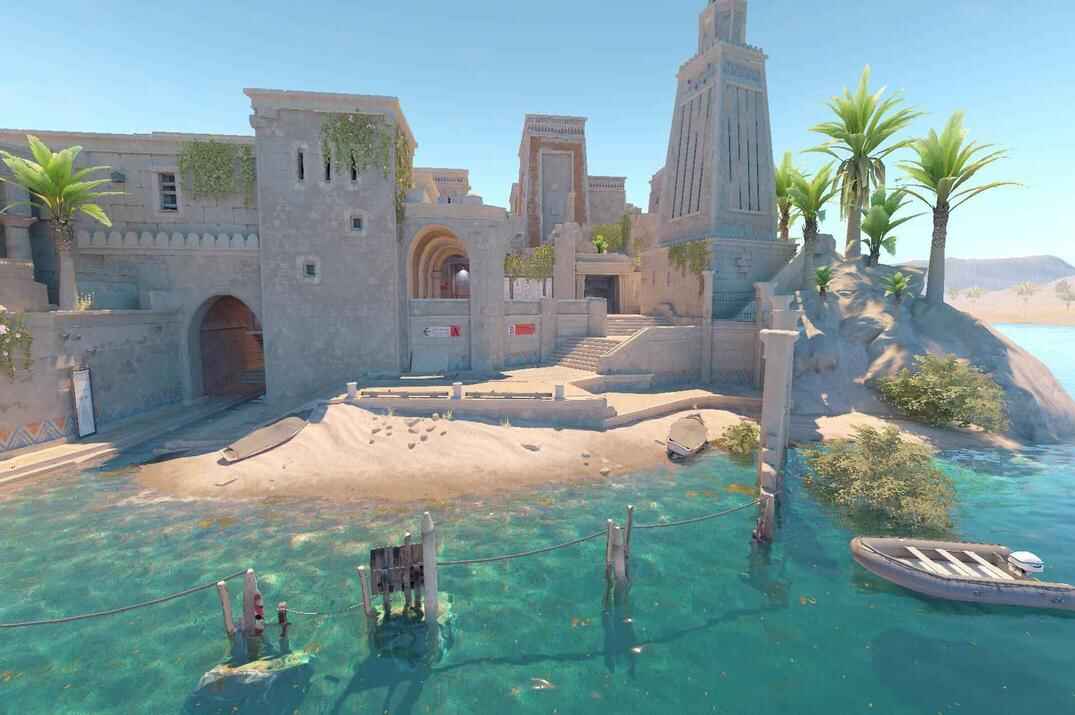 Premier
Anubis
Callouts, bombsites, timings, weapon ranges, and skins.
open →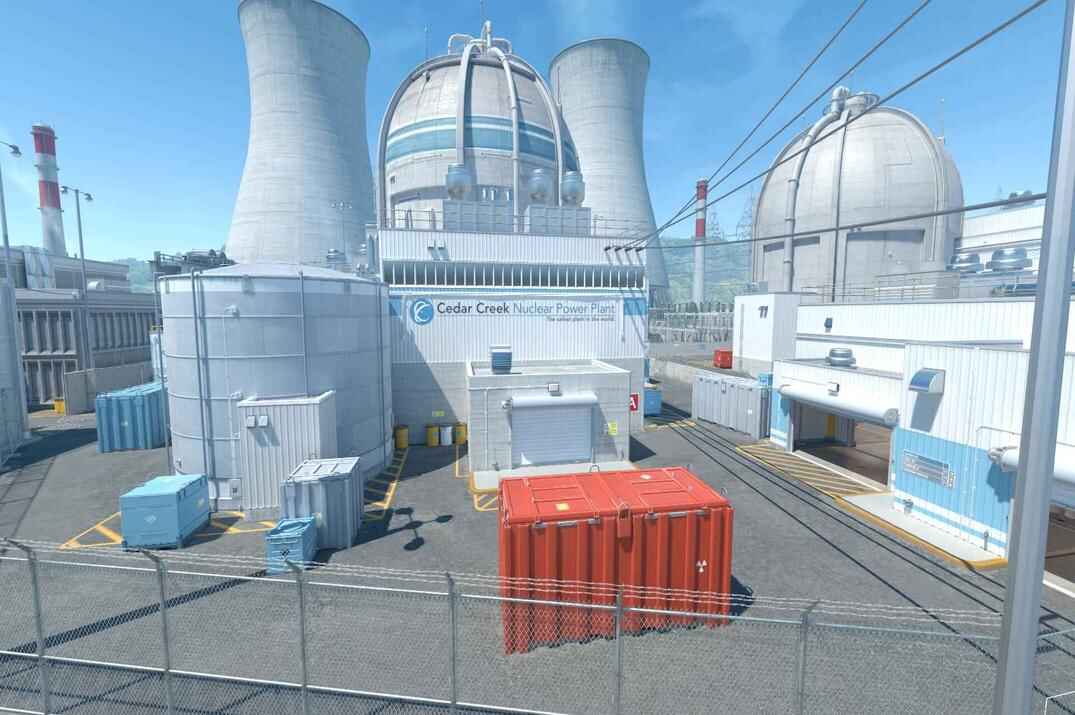 Premier
Nuke
Callouts, Outside, Ramp, upper and lower sites, rotations and grenade lineups.
open → Reserve
Overpass
Callouts, Connector, Canal, Playground, A and B routes, key positions and grenade lineups.
open →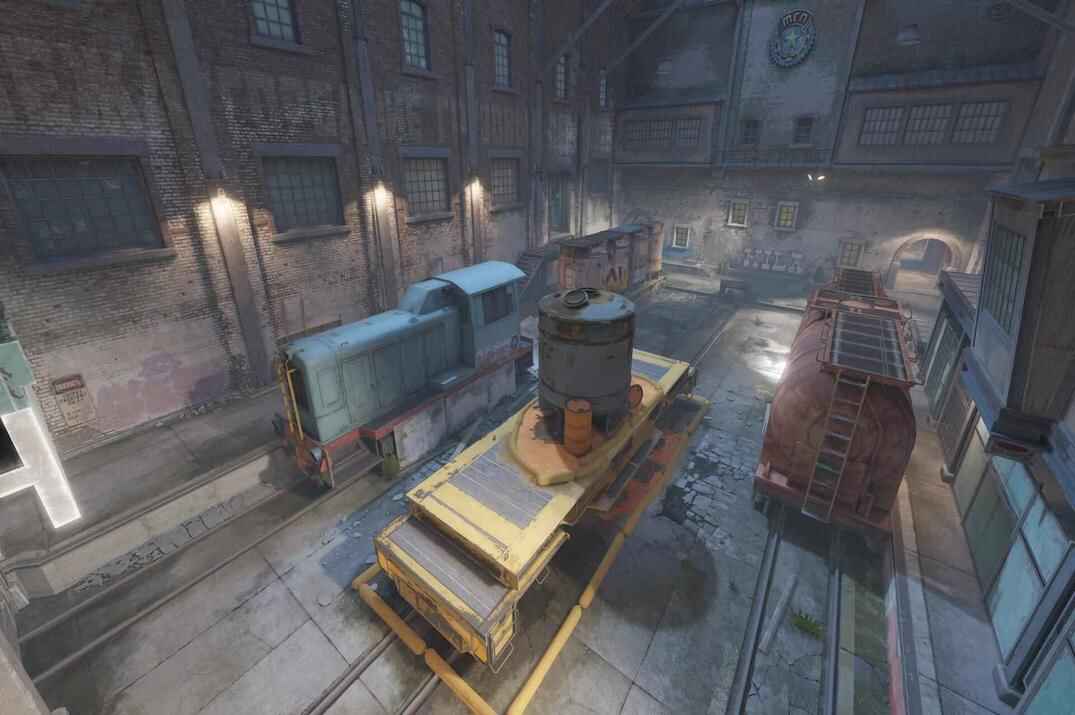 Reserve
Train
Callouts, A and B sites, Ivy, Popdog, ladders, common positions and grenade lineups.
open →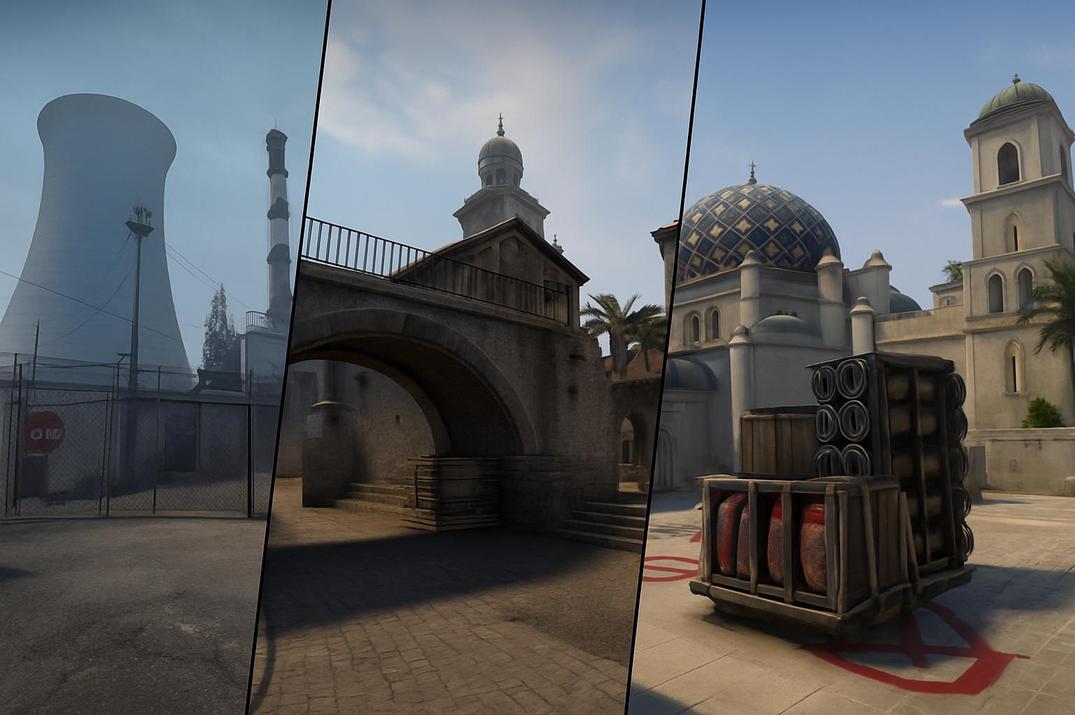 All maps
CS2 Maps
Every map in one place: Premier, Reserve, and the hostage maps.
open →Inferno Map Overview
Inferno hangs on two things: Banana, the route to B, and MID with Apartments, the two routes to A. Most of the early round is a fight over Banana and the center. The map is tight, full of close angles and short corridors, so utility does more work here than shooting does - molotovs and smokes into Banana and MID, flashes for the exits. Without them the entries fall apart. A gets taken as a split from mid and Apartments; B gets pressured through Banana. CT rotations are short, and crossfires are the shape most defenses take.
| Property | Details |
|---|---|
| Type | Bomb defusal |
| Terrorists | Phoenix Connexion (Eastern Europe) |
| Counter-Terrorists | SAS (United Kingdom) |
| Setting | Italy |
| Created by | Christopher "Narby" Auty |
| Released | 2001, Counter-Strike 1.1 |
| Map code | de_inferno |
Inferno Facts
The map arrived in the same Counter-Strike 1.1 patch as Dust 2, in 2001, made by Christopher "Narby" Auty. The early versions were darker and more enclosed than what we play now, and the Italian look came later - the original brief was closer to a generic European village.
The original scenario had nothing to do with the two bombsites we know. Terrorists were meant to blow up two gas pipelines running through the village.
Valve pulled Inferno out of Active Duty in April 2016 to rework it, with Nuke taking its place. The remake landed on October 10, 2016 - wider paths, much better lighting, dark corners removed. It came back to the pool in February 2017, this time replacing Dust2.
The Car callout on Banana no longer has a car. The rework replaced it with barrels, and nobody changed what they call it. Same story with the haystacks under the Bedroom windows, which became stairs, and with the Sandbags at the Banana exit - those are cement bags from a made-up Italian firm called Il Concreto. Someone did their homework on them, too: they're labelled cemento pozzolanico 32,5 R, an actual cement grade, with a CE mark and a 25 kg weight on the side.
The Inferno map has the largest bomb blast radius of any official defusal map. Valve pushed it from 500 to 620 units in 2022 to make some of the safer plant spots less safe.
CS2 Inferno Callouts
These are the callouts people actually use on Inferno. Nobody memorises every exact position - they call the nearest familiar spot, so learning these few names covers most of what you will hear in a round.
CS2 Inferno Mid Callouts
Open full size
- Underpass
- A low underground passage between Mid and Second Mid where players need to crouch through part of the route.
- Bench
- The bench position beside Mid, opposite the connection from Second Mid.
- Banana
- The narrow route connecting T Ramp and Bottom Mid with the B Site.
- Logs
- The recessed spot with stacked logs near the lower part of Banana.
CS2 Inferno Banana Callouts
Open full size
- Sand Bags
- The sandbags near the upper part of Banana where players can hold or hide.
- Car
- The car position on the top of Banana.
CS2 Inferno B Site Callouts
Open full size
- B Site
- The bombsite on the B side of Inferno where Terrorists can plant the bomb.
- 1st
- The small space between the box stacks on the left side of B when entering from Banana.
- 2nd
- The small hiding spot beside the boxes near Quad, facing Fountain.
- Quad
- The stack of boxes at the back of B, used as cover when defending the site.
- Fountain
- The fountain in the center of B Site.
- Dark
- The shadowed corner at the rear of B Site where defenders can stay hidden.
- Coffins
- The coffins at the back of B Site, often used as a defensive head-level position.
- Grill
- The grill beside the B plant area.
CS2 Inferno CT Spawn Callouts
Open full size
- CT Spawn
- The starting area for the Counter-Terrorist team.
- Arch
- The archway linking A Long with Speedway, CT Spawn, and the route toward B Site.
- Library
- The building beside A Site with direct access from the CT Spawn side.
- Kitchen
- The room next to Library, positioned closer to CT Spawn.
- Terrace
- The flower-covered raised area near CT Spawn overlooking Well and Speedway.
CS2 Inferno A Site Callouts
Open full size
- A Site
- The A-side bombsite where Terrorists can plant the bomb.
- A Balcony
- The balcony above Pit at the exit from CT Apartments.
- Truck
- The truck beside A Short that can be used to reach Balcony and CT Apartments.
- Pit
- The lowered area beside A Site underneath Balcony and CT Apartments. It is one of the main defensive positions on A.
- Graveyard
- The walled position behind A Site where players can hide behind the stone cover near the entrance.
- Cemetery
- The stone wall at the rear of Pit, directly across from Balcony.
- Back Site
- The rear section of A Site.
CS2 Inferno Second Mid Callouts
Open full size
- CT Apartments
- The main apartment section near A Site, commonly shortened to Apps or Apartments.
- Bridge
- The passage connecting Living Room with the rest of T Apartments, facing toward the Window side of CT Apartments.
- Upstairs
- An upper-floor room inside the apartment area near T Spawn and T Apps.
- Balcony
- The balcony overlooking Second Mid.
- Lower Mid
- The lower end of Mid closest to T Spawn.
CS2 Inferno Top of Mid Callouts
Open full size
- Top Mid
- The upper part of Mid where CTs often take their first defensive positions.
- A Long
- The route toward A Site through Arch and Library.
- Corner
- The tucked-away corner on A Long opposite Library.
- A Quad
- The small raised area on the end of Top Mid.
How to Play Inferno in CS2
Sound is worth more on Inferno than on most maps. The corridors are narrow and enclosed, so footsteps and reloads carry, and a whole push can be read off audio before anyone is visible. That runs both directions - walking costs a few seconds and saves a lot of information.
Boosts pay off here too, since there are enough odd spots that players never think to check upward. Fakes work for the same reason rotations are short: throwing utility at one site pulls defenders across, and the map is small enough that they'll believe it.
There are two halves to the map and not much in between. On the A half you go through the house and out through Apartments, either onto the site or into mid, which lets you shoot onto A from range or take the center. On the other half there's Banana, and that's the whole B side.


- Entry points onto A: Top of Mid · Apartments · Library · Arch
- Entry points onto B: Banana · Ruins
Inferno T Side Tactics
The corridors are tight, and entering without smokes and molotovs gets punished almost every time.
B goes through Banana, and there's no second option. Start with a molotov into the top of Banana at the barrels - the Car callout - to move anyone holding there, then take the exit with flashes. Coming out, check the sandbags on the right first, since that's where people sit. Then the coffins, and smoke the CT boost as you go in.
After the plant, put one player on Car and another on Fountain. That covers the retake from two directions and gives you information on where it's coming from.
A works best as a split from mid and Apartments. Smokes on Arch and Library cut the CT rotations, and the flashes go onto the corners right before the entry.
Inferno CT Side Tactics
Early utility and holding Banana and mid is most of the job. A well-timed molotov into Banana is often worth more than the fight it prevents.
The usual split is three players on the A half of the map and two on B. On the A half: one at Top Mid, one on Balcony, one back near the site itself. The two on B watch Banana, and they watch nothing else - B has one entrance and there's no reason to be looking anywhere but at it.
On the site, the classic A setup is a crossfire: someone in Pit, someone in Graveyard, and a player closer to the plant, so entries from different directions run into more than one angle.