What is a CS2 .cfg file and how does it work?
A .cfg file in Counter-Strike 2 is a simple text file that contains console commands, binds, and scripts. These commands can be executed automatically when the game launches or manually by running the config through the console. In practice, a config acts as a preset that tells the game exactly how to behave every time it loads.
Using a CS2 configuration means that you can keep all your personal settings together in one place - sensitivity, sound, performance options, HUD customization, and key binds. This is especially useful if you play on different computers, reinstall the game, or want a reliable backup in case your settings are reset after an update. Instead of configuring everything again, you simply load your config and continue playing with familiar settings.
Configs are also commonly shared between players. Many people copy settings from friends or professional players to experiment and learn from their experience, then adjust the values to fit their own playstyle.
Example commands inside a config file:
sensitivity 1.2
volume 0.4
fps_max 0
bind "mouse4" "+jump"
CS2 Config File Location (cfg Folder Path)
By default, Counter-Strike 2 is installed inside the standard Steam directory on your system drive. If you haven’t changed the Steam installation path, all game files are stored in C:\Program Files (x86)\Steam\, inside the \steamapps\ folder. The CS2 configuration files are located at:
C:\Program Files (x86)\Steam\steamapps\common\Counter-Strike Global Offensive\game\csgo\cfg\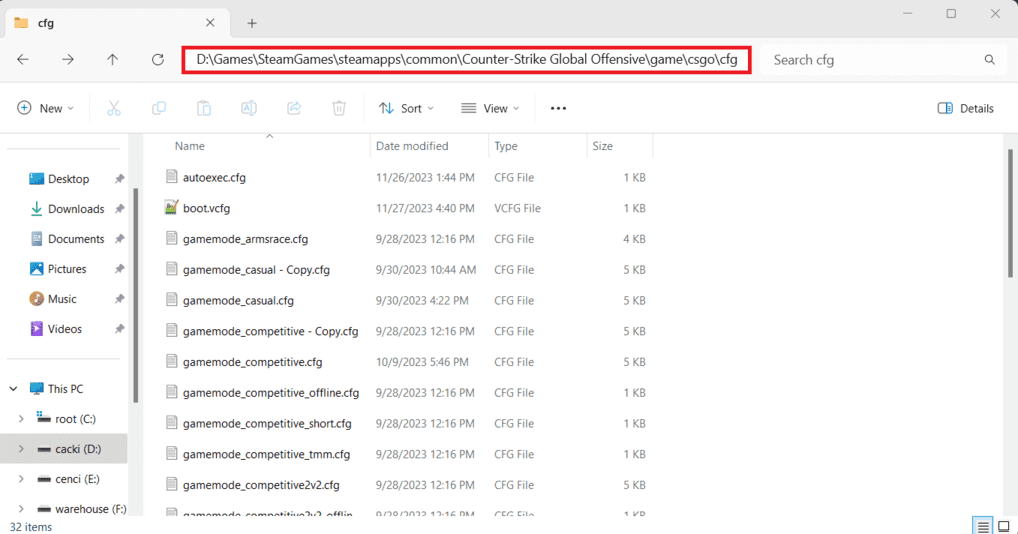
This cfg folder is where all your .cfg files should be placed. Any config you want to execute - manually or automatically - must be stored here or in a subfolder inside this directory.
If you’re not sure where CS2 is installed on your system, the easiest way to find the correct folder is through Steam itself:
- Open Steam and go to your Library.
- Find Counter-Strike 2, right-click it, hover over Manage, and select Browse local files.
or:
- Open Steam and go to your Library.
- Right-click Counter-Strike 2 and select Properties.
- Open the Installed Files tab and click Browse….


Once the game folder opens, navigate to \game\, then \csgo\, and finally \cfg\. This is the main configuration directory used by CS2, and all configs are loaded from this location.
If you use multiple Steam libraries or have Steam installed on another drive, the folder structure will be the same - only the drive letter or SteamLibrary location will differ.
How to Create and Load a CS2 Config File
As mentioned earlier, a CS2 config is just a regular text file with the .cfg extension. Inside the \cfg\ folder, create a new file (for example, config.txt), add your commands, binds, and scripts, then save the file by changing its extension from .txt to .cfg. Once this is done, your config is ready to be loaded in the game.
One common mistake is saving the file as config.cfg.txt without realizing it. To avoid this, make sure Windows shows file extensions:
- Open Control Panel and go to File Explorer Options
- Open the View tab and uncheck Hide extensions for known file types
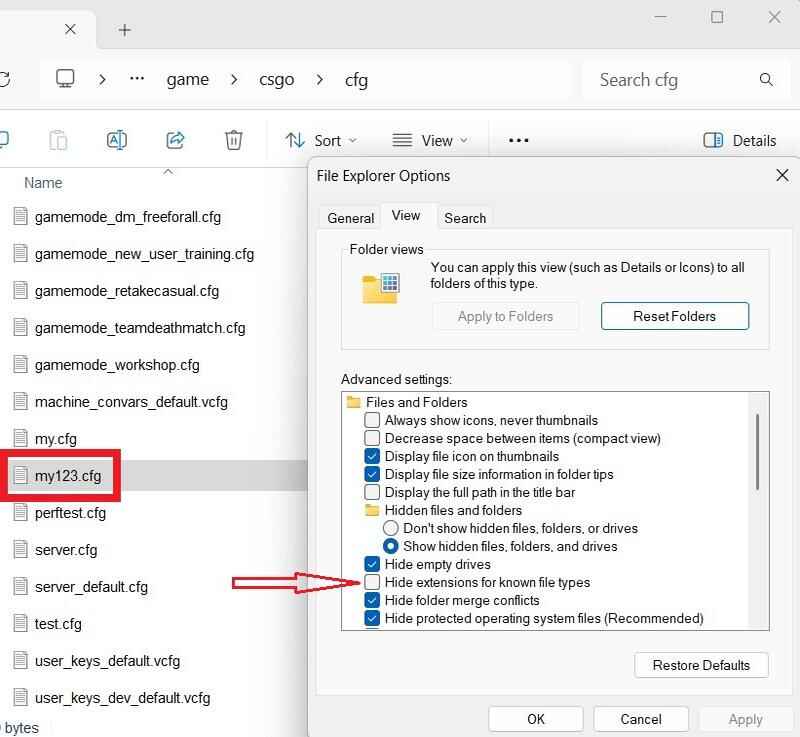
This ensures your config file is saved correctly and can be executed by the game.
How to Execute Your Config
A configuration file can be loaded manually or automatically. You can execute it directly from the console, load it through Steam launch options, or use an autoexec.cfg file that runs every time the game starts. Each method works slightly differently, and you can choose the one that fits your setup best.
Via Console (Manual)
First, make sure the developer console is enabled in Counter-Strike 2.
- Launch the game and go to Settings -> Game
- Set Enable Developer Console to Yes
- Press the ~ key (default) to open the console
- In the console, type:
exec config.cfg - Press Enter, close the console, and test your settings in-game
This method is useful for quick testing or loading different configs on demand. You can execute any config file the same way, as long as it’s located in the cfg folder.
Via Launch Options (Automatic)
Steam launch options allow you to run console commands automatically when the game starts. Any console command added here must begin with a + symbol.
To add a config to launch options:
- Open Steam and go to your Library
- Right-click Counter-Strike 2 and select Properties
- Under the General tab, find Launch Options
- Add the following command:
+exec config.cfg

This will execute your config every time the game launches. Keep in mind that launch options are processed after autoexec.cfg, which can matter if the same commands appear in both files.
If you want a full breakdown of all available CS2 launch options, you can check my detailed guide: Counter-Strike 2 Launch Options Guide 2026
Via autoexec.cfg (Automatic)
The autoexec.cfg file is a special configuration file that loads automatically every time the game starts, without requiring any launch options. While its origins go back to early Counter-Strike versions, in modern CS2 it simply acts as an optional system config.
By default, autoexec.cfg does not exist and must be created manually.
- Go to the CS2 cfg folder and create a file named autoexec.txt
- Add your commands, binds, scripts and change the file extension from .txt to .cfg
Once created, autoexec.cfg will always execute when the game launches. No additional setup is required.
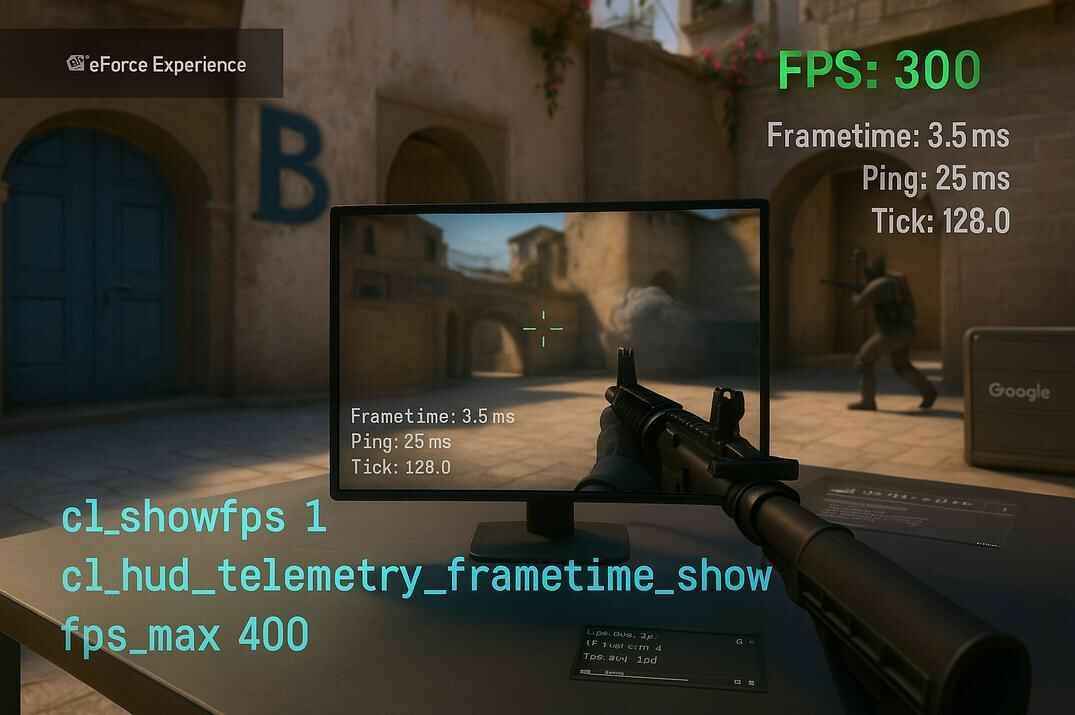
To verify that your autoexec is loading correctly without entering a match, you can check the console output or temporarily add a visible command, such as: cl_showfps 1

If the FPS counter appears in the main menu, your autoexec is working.
How to Manage Multiple CS2 Config Files
As your config grows, it can quickly turn into a long list of commands and binds that becomes hard to read and maintain. Instead of putting everything into one file, CS2 allows you to split your settings across multiple configuration files and load them in a specific order.
A common setup looks like this:
- config.cfg - core settings such as HUD, crosshair, mouse, and etc.
- binds.cfg - all key binds
- scripts.cfg - custom scripts (aliases)
You then use one main file to load the rest. For example, at the end of config.cfg, you can add:
exec binds.cfg
exec scripts.cfg
When you execute config.cfg, it will automatically load binds.cfg and scripts.cfg afterward. This approach keeps everything organized and makes it much easier to edit or troubleshoot specific parts of your setup.

It’s also worth remembering that configs are executed from top to bottom, so settings loaded later will override earlier values if they conflict.
Folder Structure for Configuration Files
In addition to your main configs, you may end up with extra files for testing, specific game modes like Casual, Competitive, or Premier, or even configs for offline practice with bots. As the number of files grows, keeping everything in the main cfg folder can quickly become messy.
Creating one or more custom subfolders for your configs helps solve this. For example, it:
- Keeps the main cfg directory clean
- Separates your personal configs from game default files
- Makes backups and transfers to another PC easier
- Simplifies testing and editing multiple setups
- Reduces the risk of accidentally modifying important game files
To do this, create a folder such as \myfiles\ inside the cfg directory and place your configs there. You can then execute them by specifying the path, for example: exec myfiles\config.cfg
CS2 does not automatically scan subfolders, so any config stored there must be executed explicitly. Once set up, this structure gives you full control over your configs without mixing them with the game’s default files.
Useful Tips for CS2 CFG Files
Before diving into specific tips, it’s worth understanding that small details in config management can save a lot of time later. Knowing how configs are parsed, where settings are stored, and how to extract your current in-game values makes it much easier to build a clean, reliable setup instead of guessing or starting from scratch.
Using Comments in CS2 Configs
Anything that comes after two slashes (//) inside a config file is treated as a comment and completely ignored by the console. Comments are useful for organizing your config, separating sections, or leaving notes for yourself so you remember what each part does.
// FPS section
fps_max 0
// Mouse section
sensitivity 1.15
// Always show FPS counter
cl_hud_telemetry_frametime_show 2
Well-commented configs are much easier to edit later, especially if you haven’t touched them in a long time.
Creating Separate Config Files
Instead of putting everything into one large file, it’s often better to split your settings into multiple smaller configs. For example, you might have fps.cfg, binds.cfg, crosshair.cfg, and similar files.
This makes navigation and editing faster, keeps your setup clean, and helps preserve default game files. It also allows you to load or test specific settings without affecting the rest of your configuration.
How to Get Your Current CS2 Settings from Game Files
If you already play with settings you like, you don’t need to guess values or recreate everything manually. Counter-Strike 2 stores your active settings in player-specific configuration files inside your Steam userdata folder.
These files contain the exact values currently used by the game - including crosshair settings, key binds, and other personal options - and can be used as a reference when building your own config.
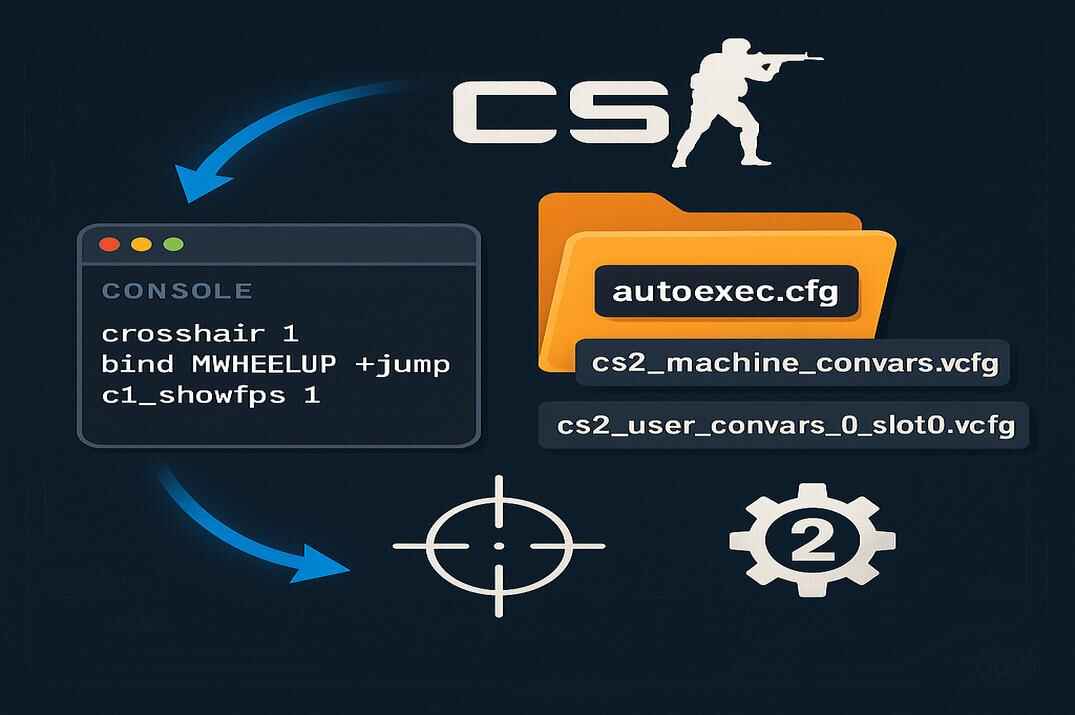
The most important files are located here:
..\Steam\userdata\YOUR_STEAM_ID\730\local\cfg\- cs2_user_convars_0_slot0.vcfg - stores console variables such as crosshair settings, HUD options, and gameplay values
- cs2_user_keys_0_slot0.vcfg - contains all your current key binds
You can open these files with any text editor, find the settings you want (such as crosshair values), and copy them into your own .cfg file for long-term use. This is especially useful if you’ve tuned your settings over time and want to preserve them before reinstalling the game or moving to another system.

If you want a deeper explanation of how these player configuration files work and how to safely edit or extract values from them, I’ve covered it in detail in my guide: CS2 Config Location Guide 2026: Where are Config Files Stored?
Config Syntax and File Paths
When executing config files, CS2 is very forgiving with syntax. The leading slash and the .cfg extension are optional, and you can use either forward or backward slashes in paths. All of the following commands work the same way:
exec \myfiles\config.cfg
exec myfiles/config
exec myfiles\config
This flexibility makes it easier to organize configs into folders without worrying too much about exact formatting.
Developer Mode and Debugging
If you want to see detailed information about how configs are loaded - including execution order and possible errors - you can enable developer mode using the -dev launch option. This causes the console to show a loading report when the game starts.
Developer mode is useful for troubleshooting, but it may add extra overhead during gameplay, so it’s best used only when you’re testing or fixing issues.
Redundant Autoexec Loading in Launch Options
Some guides recommend adding exec autoexec.cfg to Steam launch options. This is unnecessary and misleading. The autoexec.cfg file loads automatically by design and is executed before launch options.
Adding it manually does nothing useful and can lead to confusion when troubleshooting config issues.
CS2 Config Files FAQ

Do configs and autoexec files work in Counter-Strike 2?
Yes. Counter-Strike 2 fully supports .cfg files, including manual configs, autoexec.cfg, and configs executed via launch options. The system works very similarly to CS:GO.
Is using config files allowed and safe?
Yes. Using configs, binds, and basic scripts is completely allowed. They only automate console commands that the game already supports and do not affect VAC or game integrity.
What is the difference between config.cfg and autoexec.cfg?
config.cfg is loaded only when you execute it manually or via launch options. autoexec.cfg loads automatically every time the game starts, without any extra commands. Autoexec is usually used for permanent settings.
Do I need to add autoexec.cfg to Steam launch options?
No. autoexec.cfg loads automatically by design and is executed before launch options. Adding exec autoexec.cfg to launch options is unnecessary and does nothing useful.
Why doesn’t my config load when I use exec?
The most common reasons are:
- The file is saved as config.cfg.txt
- The file is placed in the wrong folder
- There is a typo in the file name
If needed, make sure file extensions are visible in Windows and that the config is inside the correct cfg directory.
Can I use multiple config files instead of one big file?
Yes, and it’s often recommended. You can split settings into separate files (for example, binds, scripts, or FPS settings) and load them in sequence using the exec command.
Where can I find my current in-game settings?
Your active settings are stored in player-specific files inside your Steam userdata folder, such as cs2_user_convars_0_slot0.vcfg and cs2_user_keys_0_slot0.vcfg. These files contain your current values and can be used as a reference when building your own config.
Will my config be reset after CS2 updates?
In most cases, no. Custom configs stored in the cfg folder are not overwritten by updates. However, keeping a backup is always a good idea, especially if you frequently tweak settings.
Can I share my config with other players?
Yes. Config files are plain text and can be shared easily. Other players can copy them into their cfg folder and execute them. Keep in mind that settings should always be adjusted to fit individual preferences and hardware.