Types of Crosshairs in CS 1.6
Counter-Strike 1.6 gives players surprising control over how their crosshair looks and behaves - even though the game is more than two decades old. Unlike modern versions with visual menus and sliders, here you control everything through console commands. Once you understand the basics, you can make your crosshair small, static, colorful, or perfectly centered to match your aim style.
Default crosshair
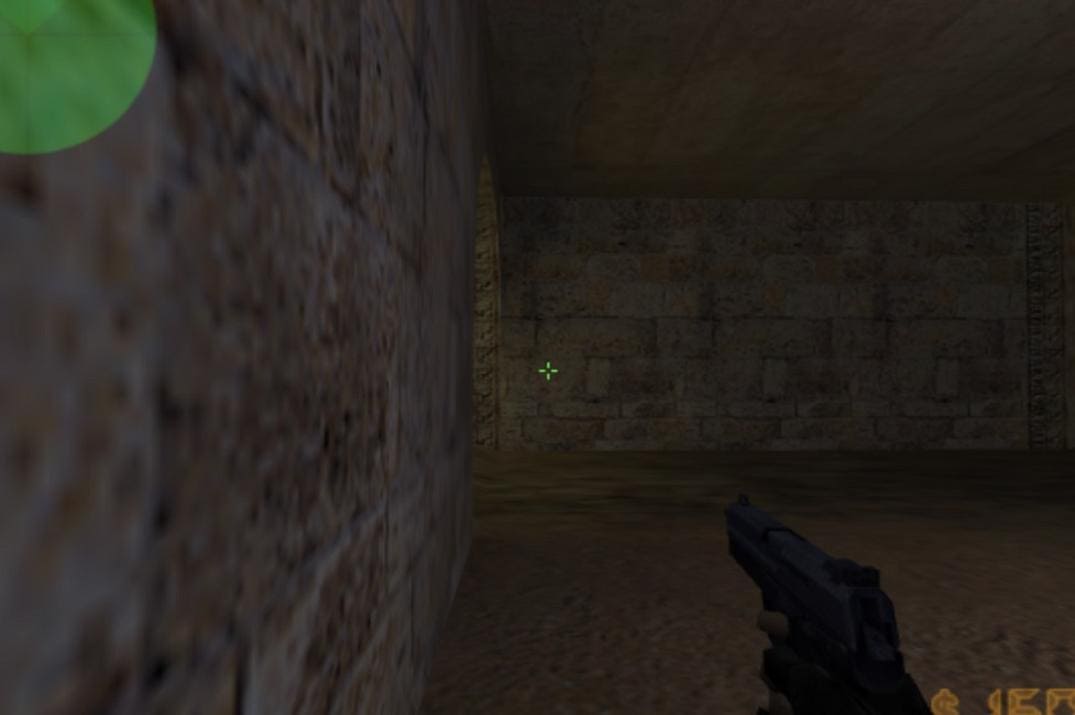
The default CS 1.6 crosshair is dynamic. That means it expands when you move or shoot, and contracts when you stop. This behavior helps beginners understand accuracy - your crosshair grows wider when your bullets are less precise.
However, advanced players often find it distracting because it constantly changes size. On some monitors or low resolutions, this movement can even obscure your target mid-fight.
Static crosshair
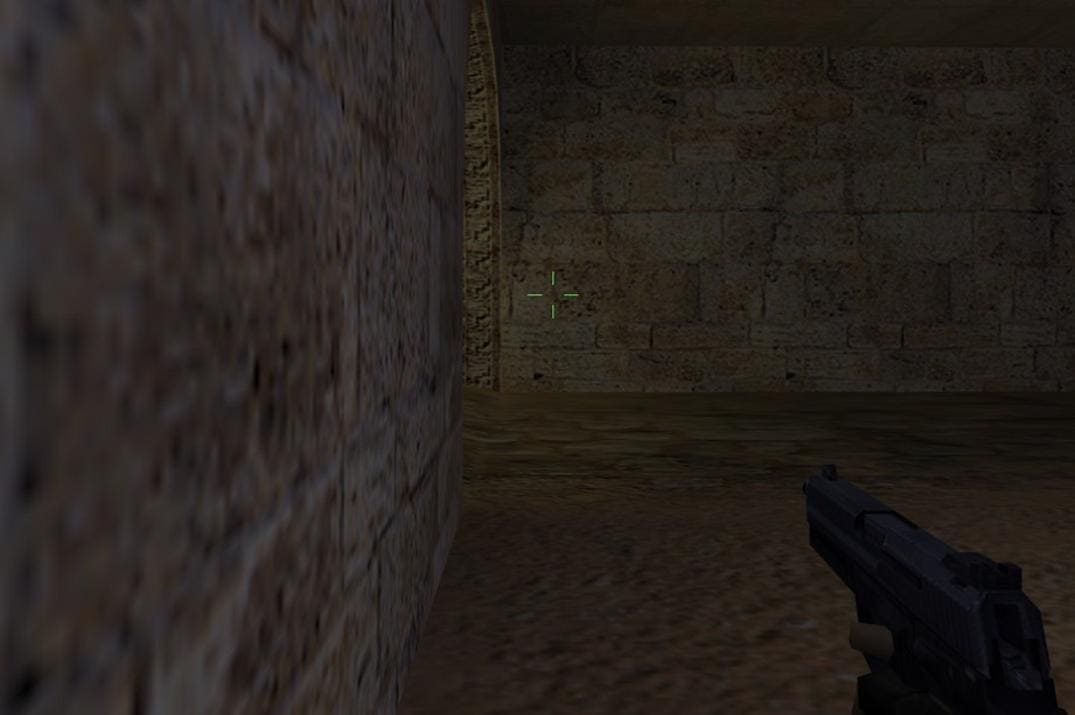
Many experienced players switch to a static crosshair (non-expanding) for better focus. It stays the same size no matter what you do - running, jumping, or spraying.
A static crosshair allows your eyes to memorize a single reference point. You no longer rely on animation to understand weapon spread; instead, you learn it through muscle memory. It’s a small change that makes your aim much more predictable over time.
Small crosshair
A small crosshair is another favorite among experienced players. It keeps the lines tight around the center, leaving more room to see your target.
This setup is perfect for precise shooting and headshots, especially with rifles or pistols. Just be careful with the size and color - if you lose visibility on bright textures (like de_dust2 or snow maps), your accuracy might actually suffer instead of improving.
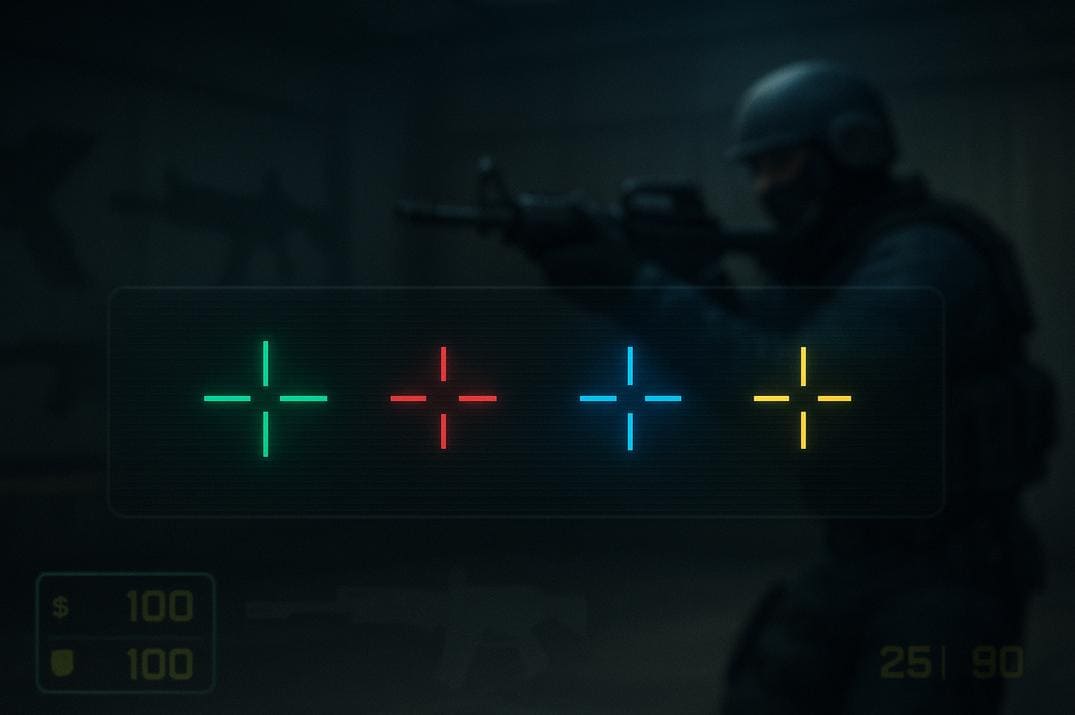
Crosshair color and style
Color is just as important as size. In CS 1.6, you can change your crosshair color to green, red, blue, yellow, or light blue. Most players prefer bright green because it contrasts well against nearly all map textures.
Still, the "best color" depends on your monitor brightness and resolution. Try switching colors when testing maps - for example, green works great on de_dust2, but blue or red might be better on darker maps like de_nuke or cs_office.
Resolution and aspect ratio impact
Your screen resolution affects how big your crosshair looks. At lower resolutions (like 640×480), the crosshair appears thicker and larger; at higher ones (1024×768 or 1280×960), it looks smaller and sharper.
This is why pros in the 2000s often played on 640×480 (the best with the black side bars) and 800×600 - it made the crosshair appear bold and easy to see during fast motion. If you switch resolutions today, make sure to recheck your crosshair size, because it may feel completely different even with the same settings.
All Ways to Customize the Crosshair in CS 1.6
Counter-Strike 1.6 gives players several ways to customize their crosshair - from simple in-game options to precise console commands and permanent config tweaks. Each method has its purpose: game menu is quick and easy, while the console and configuration files unlock full control and consistency across games.
Game Menu
You can change the basic appearance of your crosshair directly from the game menu: Options -> Multiplayer -> Crosshair appearance

Here you’ll find three simple settings:
- Crosshair size: Auto-size, Small, Medium, or Large
- Crosshair color: Green, Red, Blue, Yellow, or Light Blue
- Translucent: adds semi-transparency for better visibility
These settings apply instantly and are great for beginners who just want a quick adjustment without touching the console.
However, unlike Counter-Strike 2, where players can fully customize shape, outline, gap, dot, and thickness from the menu itself, the CS 1.6 interface is very limited. Because of this, most experienced players move to console commands for finer control - allowing them to create the exact crosshair behavior they want.
Console Commands for Crosshair Control
The developer console is where you unlock the real power of customization.
Here are the main commands every CS 1.6 player should know:
cl_dynamiccrosshair "0/1"       // toggles dynamic behavior (0 = static, 1 = dynamic)
cl_crosshair_size "1/2/3"       // adjusts size precisely
cl_crosshair_color "RGB"        // changes color: "50 250 50" (default)
cl_crosshair_translucent "0/1"  // controls transparency
For example, a popular small static crosshair setup is:
cl_dynamiccrosshair "0"
cl_crosshair_size "1"
cl_crosshair_color "50 250 50"
cl_crosshair_translucent "0"
You can enter these commands directly into the console, or test them live while in-game to instantly see the result. The console allows far more precision than the menu - you can fine-tune exact pixel sizes or even switch setups between rifles and snipers.
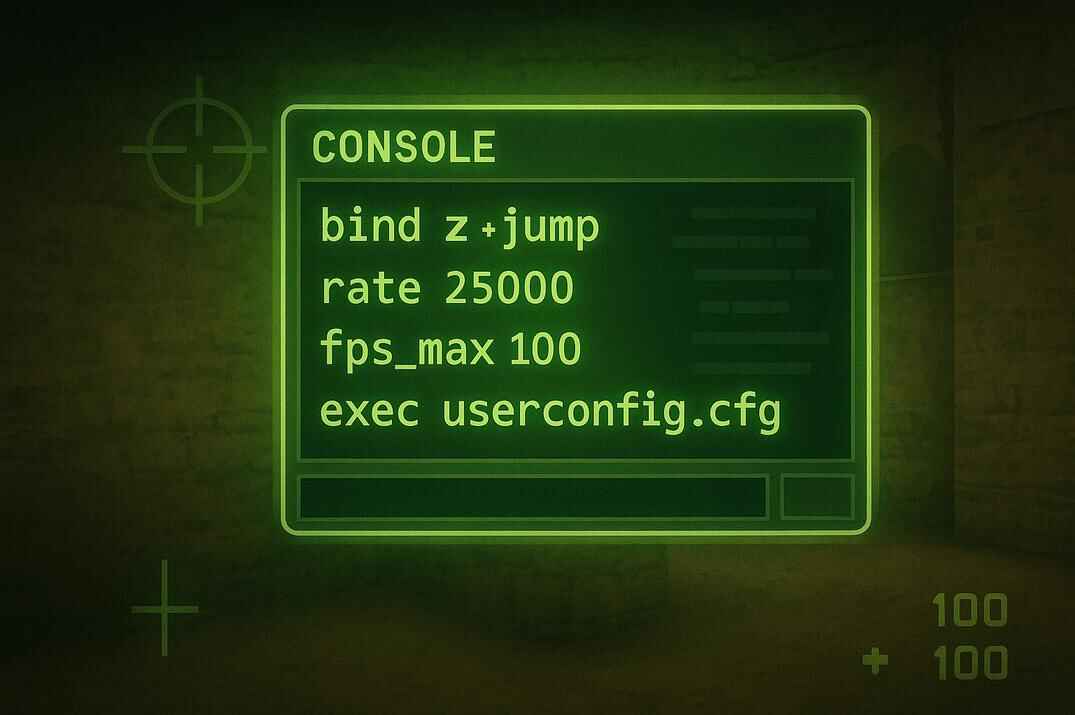
Config Files - How to Save Your Crosshair Permanently
After finding your perfect crosshair setup, you’ll want it to load automatically every time you start Counter-Strike 1.6. This can be done through the game’s configuration files - config.cfg, userconfig.cfg, or your own custom file. Knowing how these files interact will keep your settings stable and easy to restore.
config.cfg - Main File
This is the game’s main configuration file. It’s automatically rewritten whenever you change anything from the in-game settings - graphics, binds, or even crosshair options. That’s why it’s better not to store personal commands here.
Many players prefer to keep the original config.cfg file read-only, which is a safe and best choice. Others make a few adjustments first and then lock it to prevent changes. This protects your setup from being overwritten and lets you easily roll back changes if something breaks.
userconfig.cfg - Personal File

This is the recommended file for personal settings, binds, and scripts. It’s executed automatically because the default config already includes a line that calls userconfig.cfg on startup.
If it doesn’t exist, create it manually in the same folder and add your preferred crosshair commands:
cl_dynamiccrosshair "0"
cl_crosshair_size "1"
cl_crosshair_color "50 250 50"
cl_crosshair_translucent "0"
Your custom crosshair will now load every time you start the game, even if you tweak menu settings later.
Custom Config - Manual Setup

You can also create your own config file - for example, mycfg.cfg. This method is useful when you want to separate scripts, training settings, or different setups.
To make it run automatically, you can choose one of three options:
- Add this line to your config.cfg or userconfig.cfg:
exec mycfg.cfg - Add a Launch Parameter in Steam:
+exec mycfg.cfg - Or execute it manually in the game console:
exec mycfg.cfg
Each method works the same way - your file will load when the game starts or when you call it manually.
For a complete technical breakdown of how these files work - including the differences between config.cfg, userconfig.cfg, and autoexec.cfg, plus tips for protecting your settings - check out my detailed guide: 👉 Counter-Strike 1.6 Config Guide - Commands and Optimization
The Truth About the cl_lw 0 Crosshair Trick

If you’ve ever searched for "how to make your crosshair smaller in CS 1.6", you’ve definitely seen hundreds of videos and posts recommending a so-called trick:
+duck
cl_lw 0
-duck
According to countless forums, old-school websites, and YouTube videos, this command combination "shrinks your crosshair" - supposedly giving you a tighter, more accurate aim. And yes, it does work visually - but only on the surface. In reality, it’s one of the most misunderstood tweaks in Counter-Strike 1.6 history.
What the cl_lw Command Actually Does
The command cl_lw stands for Client Lagged Weapon prediction. It tells the game whether to calculate weapon behavior (fire animation, recoil, bullet decals, muzzle flashes, and shot direction) locally on your computer or wait for confirmation from the server.
cl_lw 1 - Enabled (default)
The client predicts your shots immediately. You see the bullet holes, recoil animation, and firing effect instantly, even before the server responds. This keeps the gameplay smooth and responsive - essential for online games.
cl_lw 0 - Disabled (legacy developer mode
The client stops predicting weapon behavior. Every bullet, decal, and muzzle flash must now be confirmed by the server.
The result: your latency practically doubles - every action waits for the server’s approval before showing up on your screen. That’s why you can fire perfectly on target, even see bullet holes appear where you aimed, yet the server doesn’t count the hit. It feels like you hit the enemy, but in reality, the shot was never registered.
This command was originally meant for debugging and testing latency - not for gameplay.
Why This Trick Became So Popular
During the 2000s, when Counter-Strike 1.6 was exploding across LAN clubs and online forums, many players shared this command as a "hidden developer secret". Back then, few people really understood how the GoldSrc engine handled weapon prediction and latency. So when players saw their crosshair "shrink" after entering the command, they assumed it made aiming tighter and more accurate.
YouTube tutorials and old forum posts kept spreading this misinformation for years - even some CS:GO-era channels still repeat it today.
But the truth is simple, cl_lw 0 doesn’t improve accuracy - it only delays weapon feedback. However, if your ping is below 10 ms, this command is acceptable and can safely be used on a local network.
The cl_lw 0 trick is one of those myths that refuses to die - mainly because it looks convincing. But anyone who understands the GoldSrc engine knows it’s not an improvement; it’s just a client-side delay disguised as a smaller crosshair.
- It works only visually.
- It doesn’t improve your aim.
- It makes the game slower and less responsive.
Avoid using it in online play!
CS 1.6 Crosshair FAQ

How can I make my crosshair smaller in CS 1.6?
Use the command cl_crosshair_size 1 in the console. You can adjust the number to make it slightly larger or smaller. For most players, values between 1 and 3 work best.
How do I make my crosshair static instead of expanding?
Disable dynamic behavior with cl_dynamiccrosshair 0. This keeps the crosshair stable while shooting or moving.
Can I change the crosshair color?
Yes. Use the RGB format, for example: cl_crosshair_color "255 255 255" for white or cl_crosshair_color "0 255 0" for green. Any combination from 0–255 works.
Why does my crosshair keep resetting?
Your settings are being overwritten by the game. Save your commands inside userconfig.cfg - this file loads automatically each time you start Counter-Strike 1.6.
What does cl_crosshair_translucent do?
It controls the opacity of the crosshair.
0 = solid and bright; 1 = slightly transparent. Most players prefer 0 for maximum clarity.
Is it true that +duck and cl_lw 0 make the crosshair smaller?
Only visually. The command disables client-side weapon prediction and adds input delay. It doesn’t improve accuracy - it’s one of those old myths from the LAN era.
Why do pro players use a small crosshair?
Because a small static crosshair doesn’t block the target’s head and makes precise aiming easier. Large or dynamic ones reduce visibility and focus.
Does screen resolution affect the crosshair?
Yes. At lower resolutions (e.g., 640×480) the crosshair appears thicker and more compact. Higher resolutions make it sharper but thinner.
What is the best crosshair for CS 1.6?
Small, static, solid color (usually green or white). The best crosshair is the one you can see clearly and aim with comfortably.