Home » Counter-Strike 2 » VERTIGO
11/11
VERTIGO
Introduction
Vertigo is one of the most unique and challenging maps in Counter-Strike 2, offering vertical gameplay, tight corridors, and high-risk engagements. This guide covers strategies, callouts, and gameplay tips to help you play on the map.
Overview
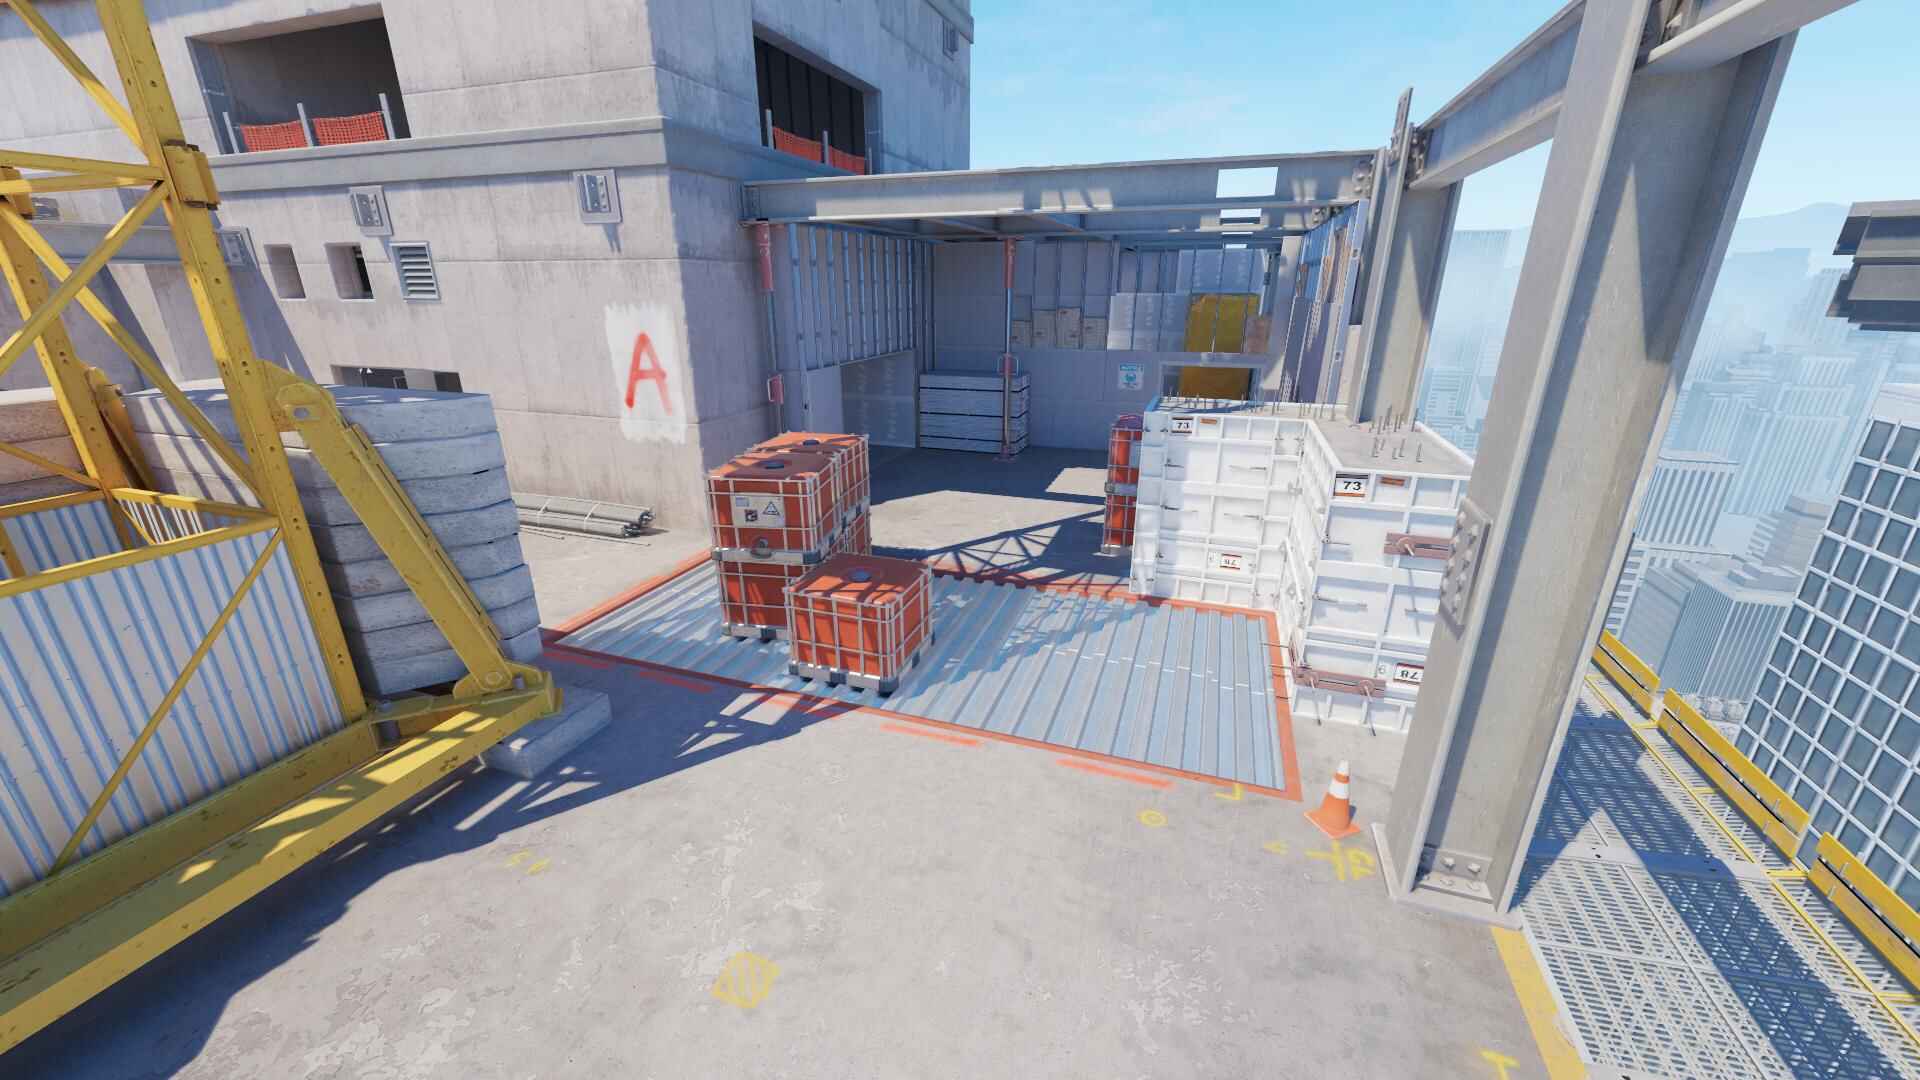
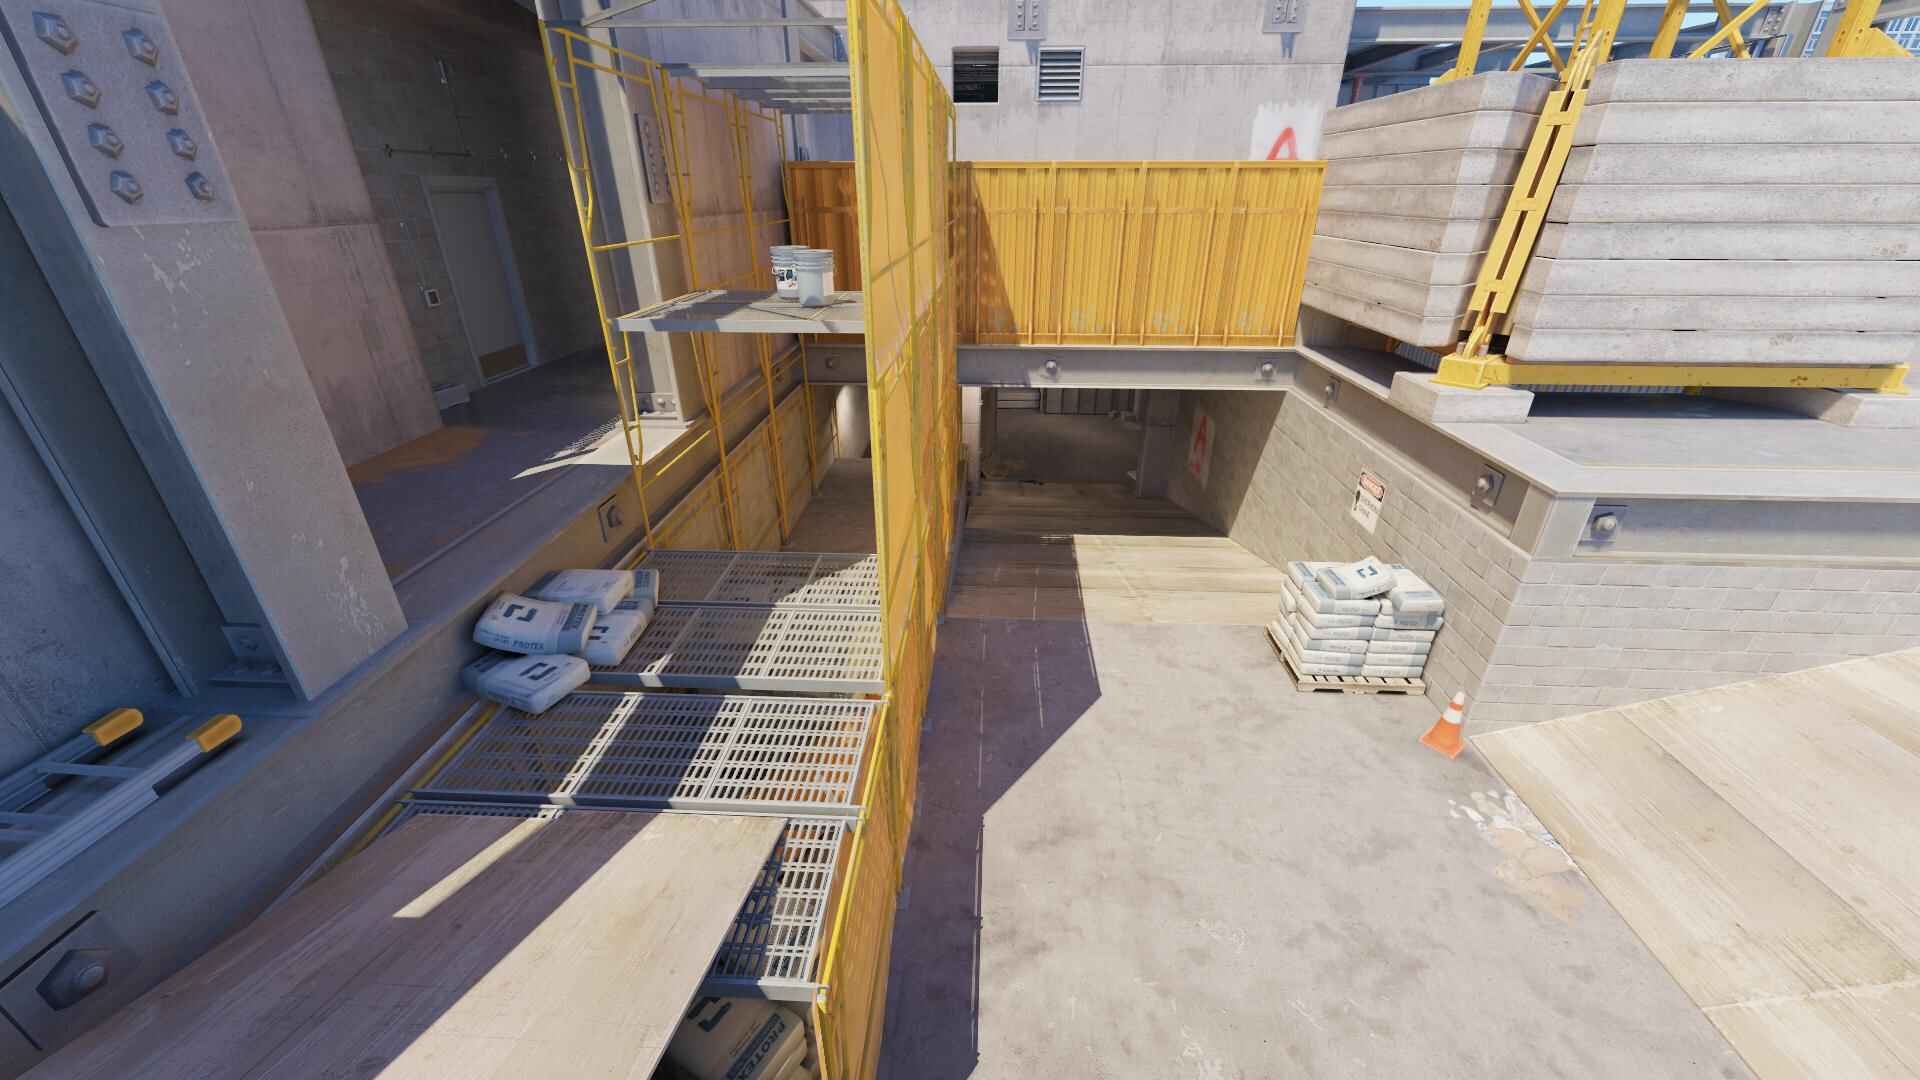
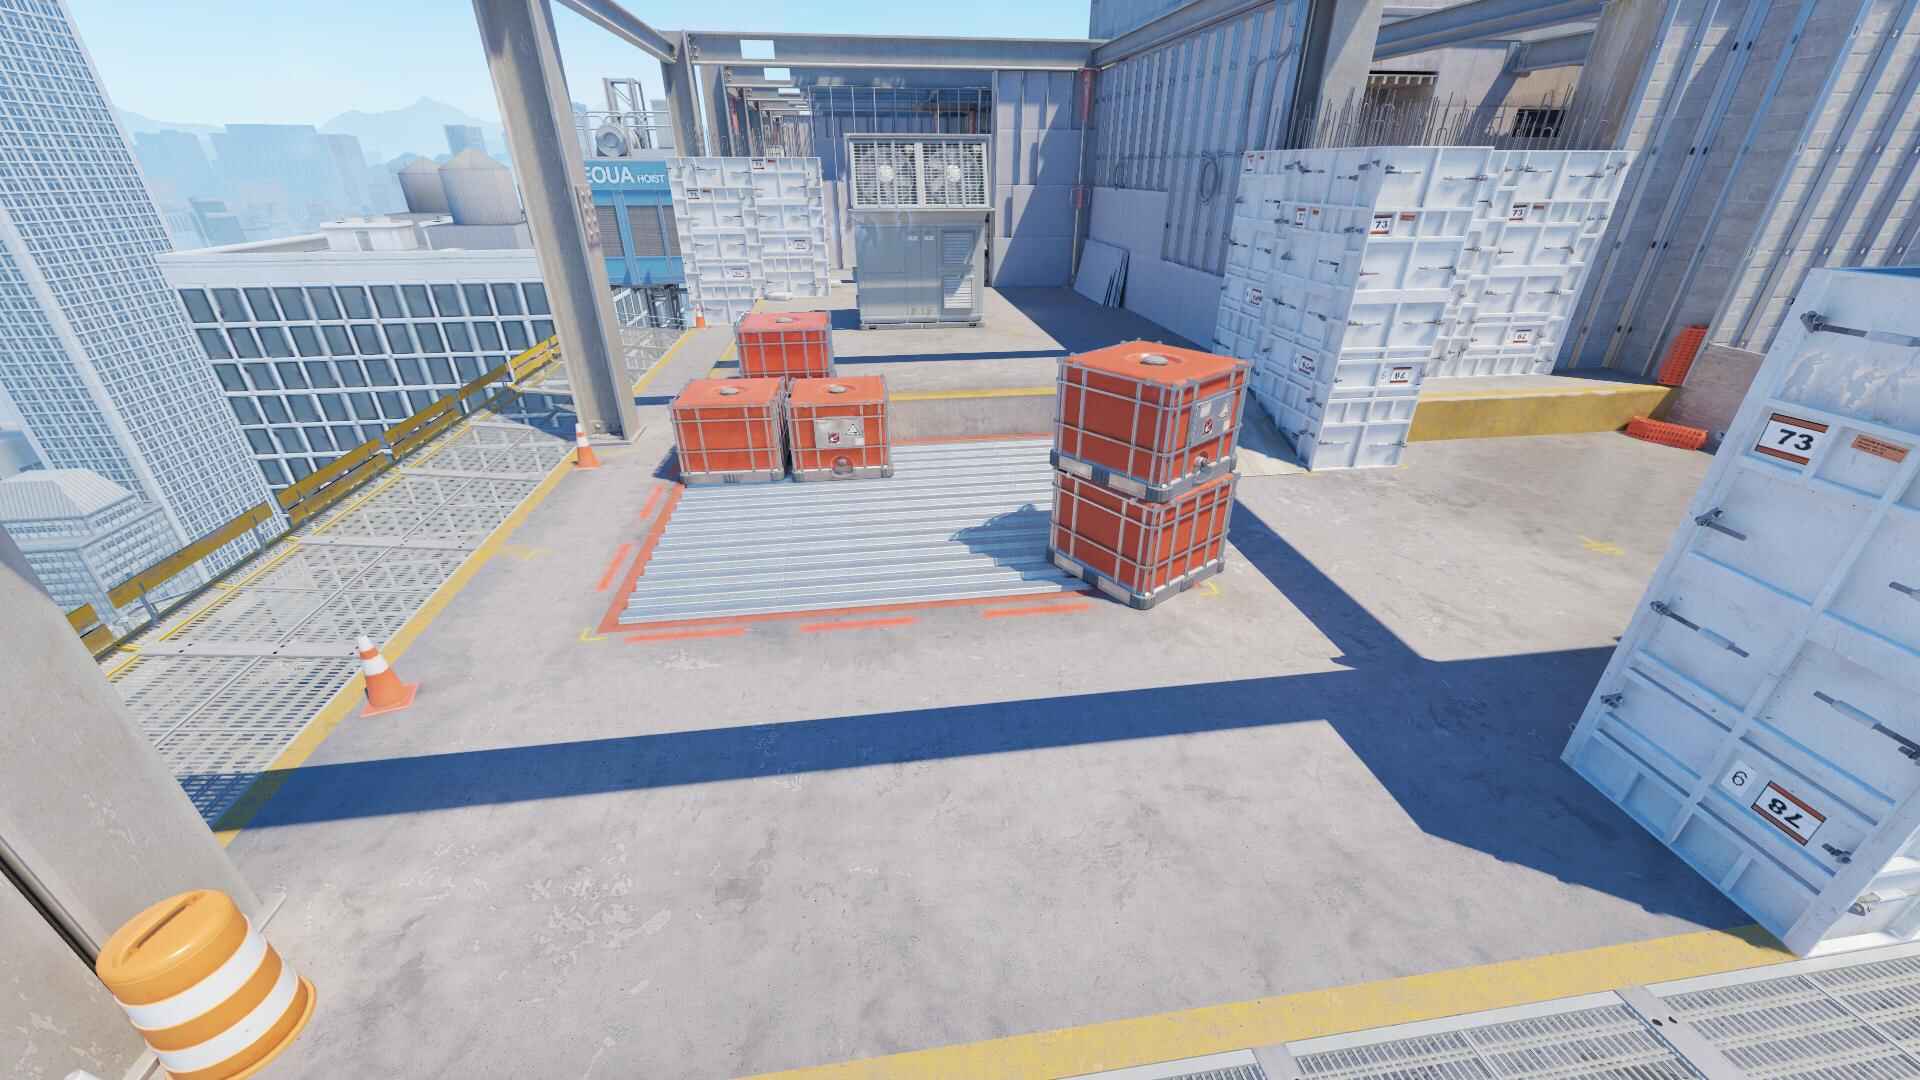
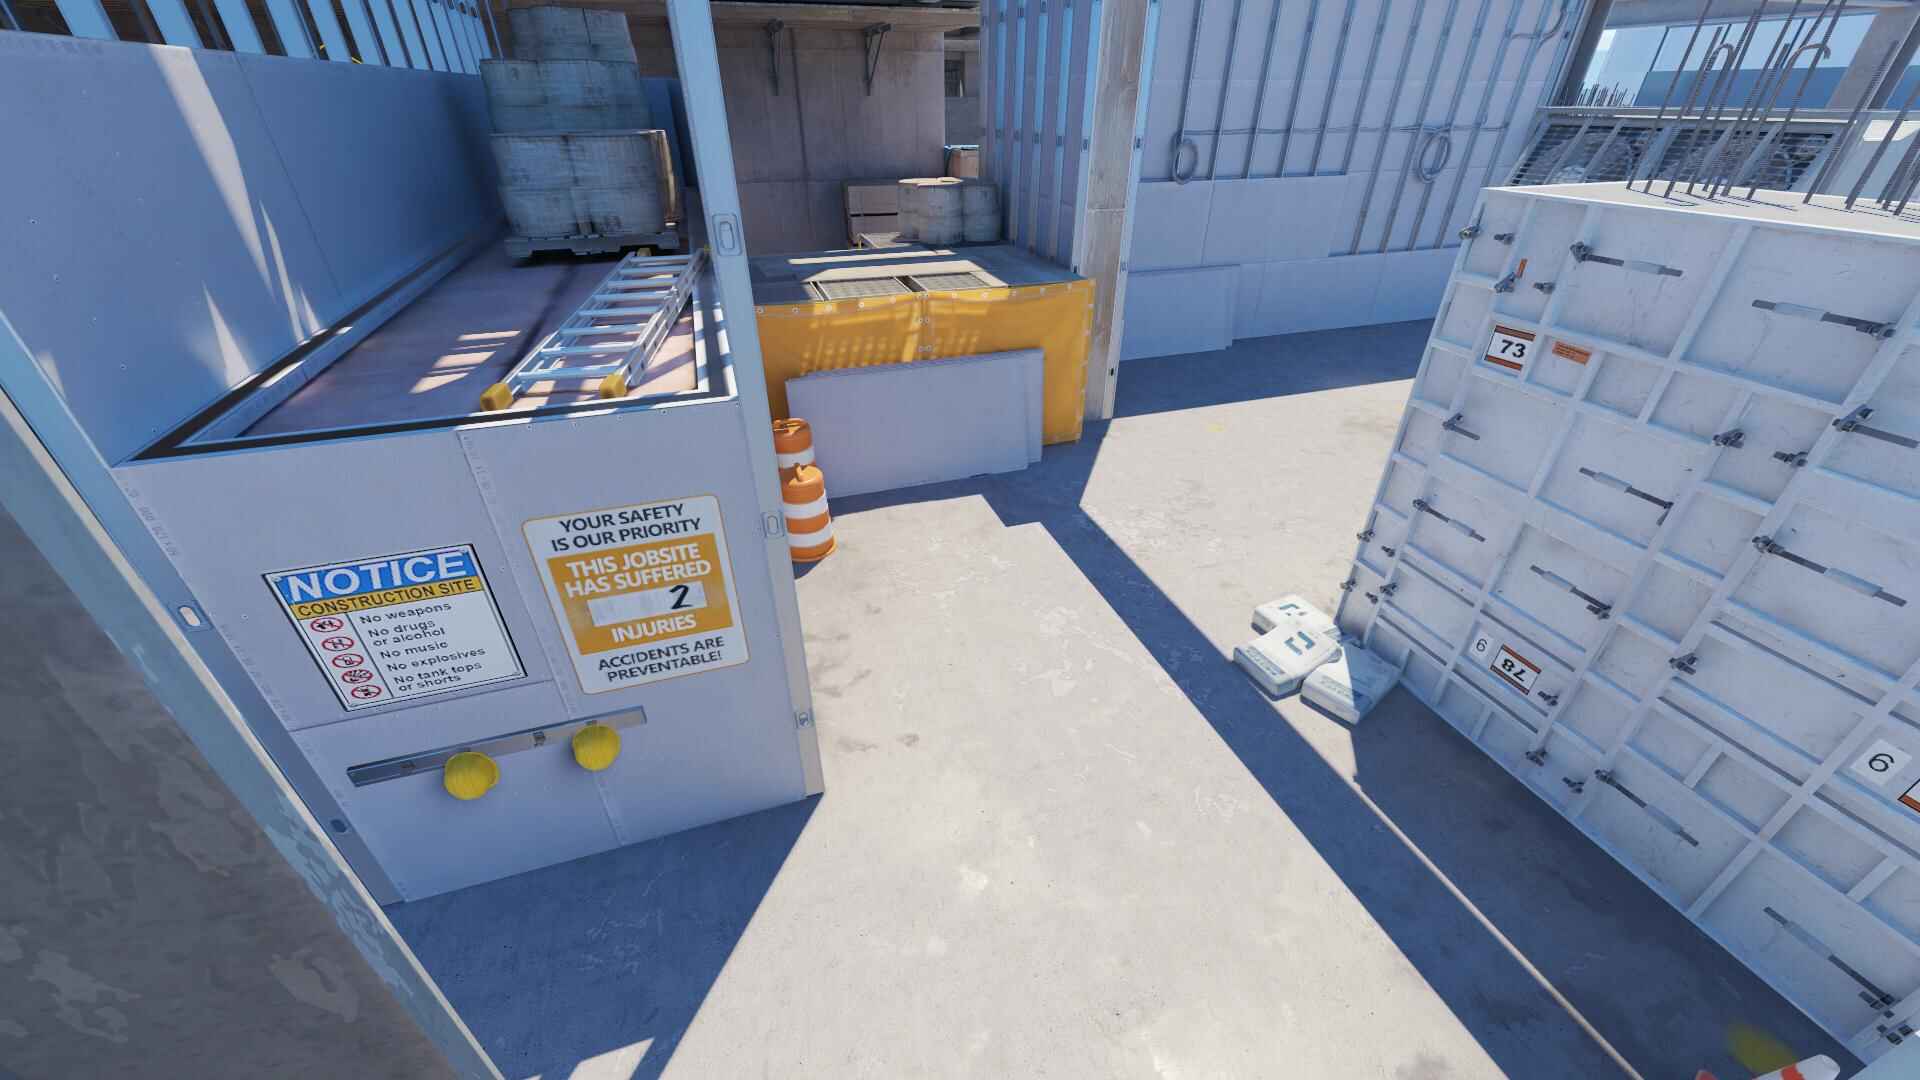
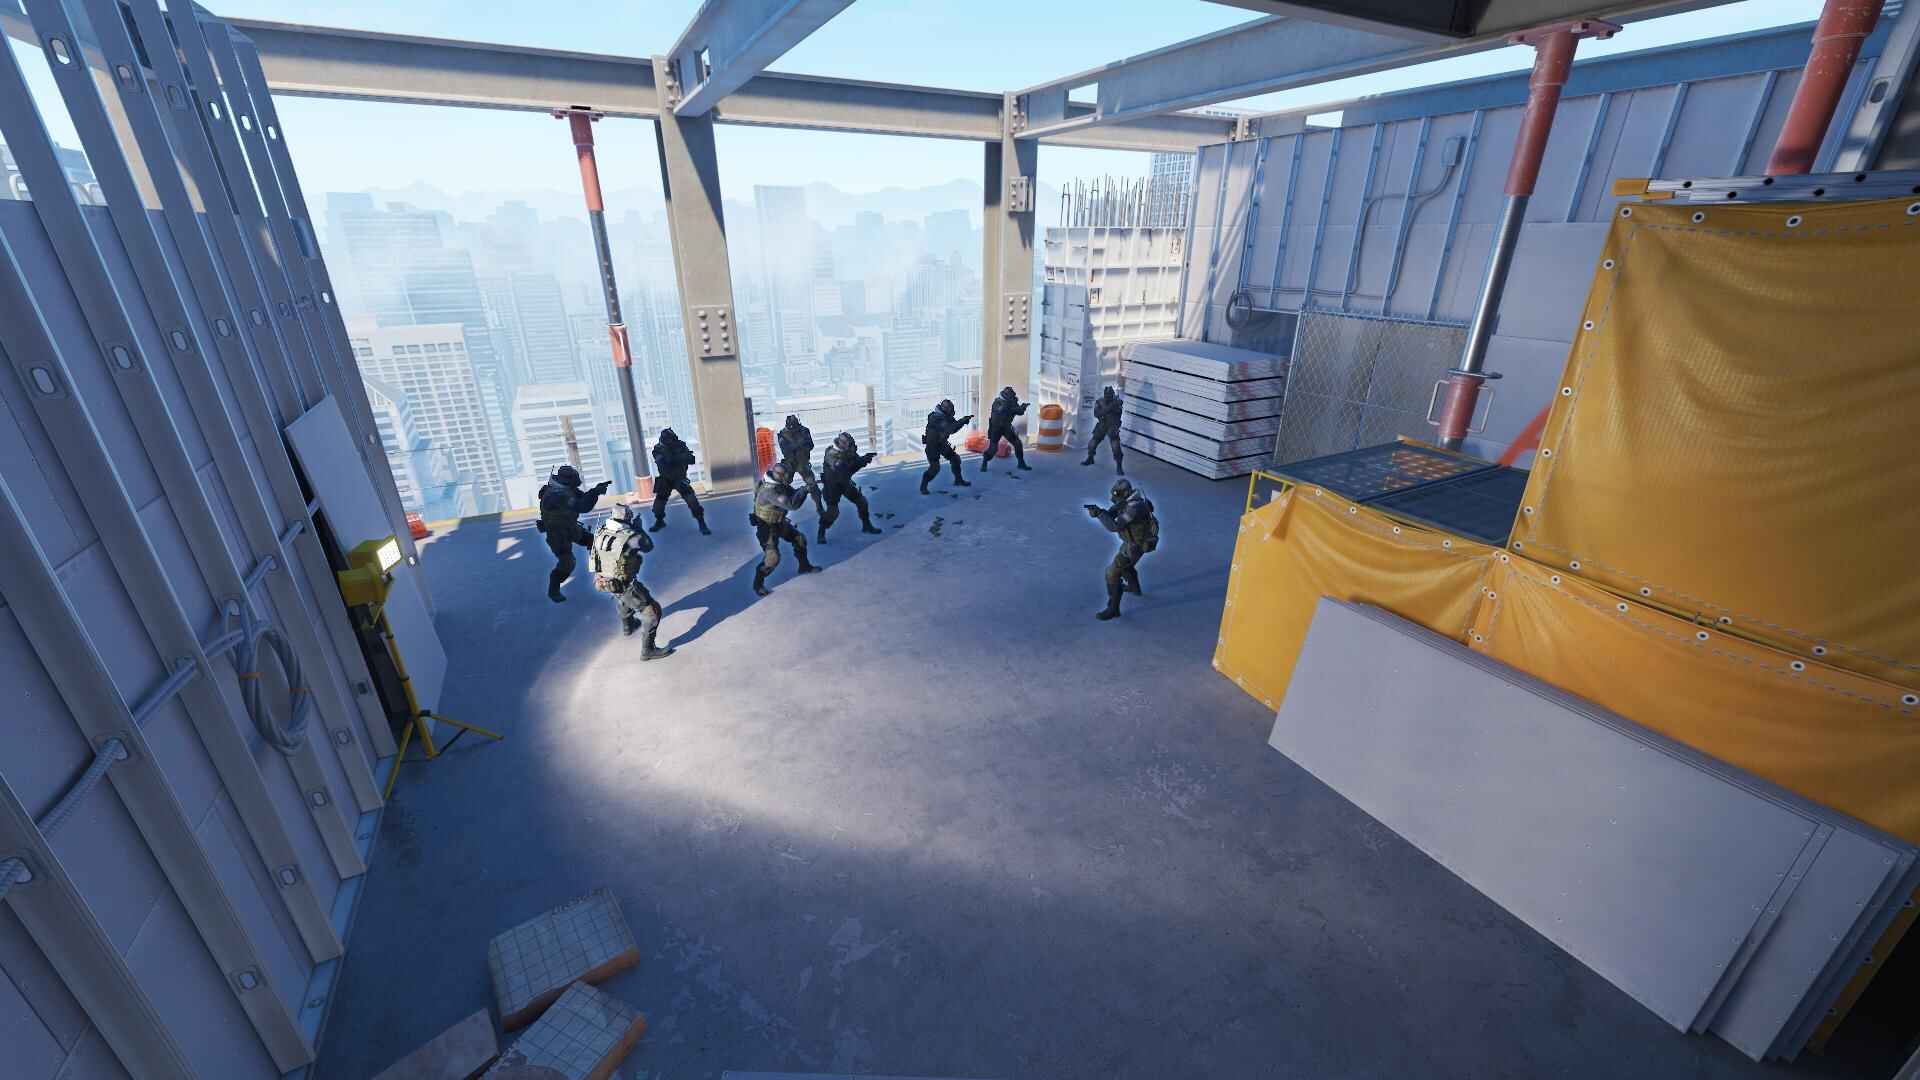
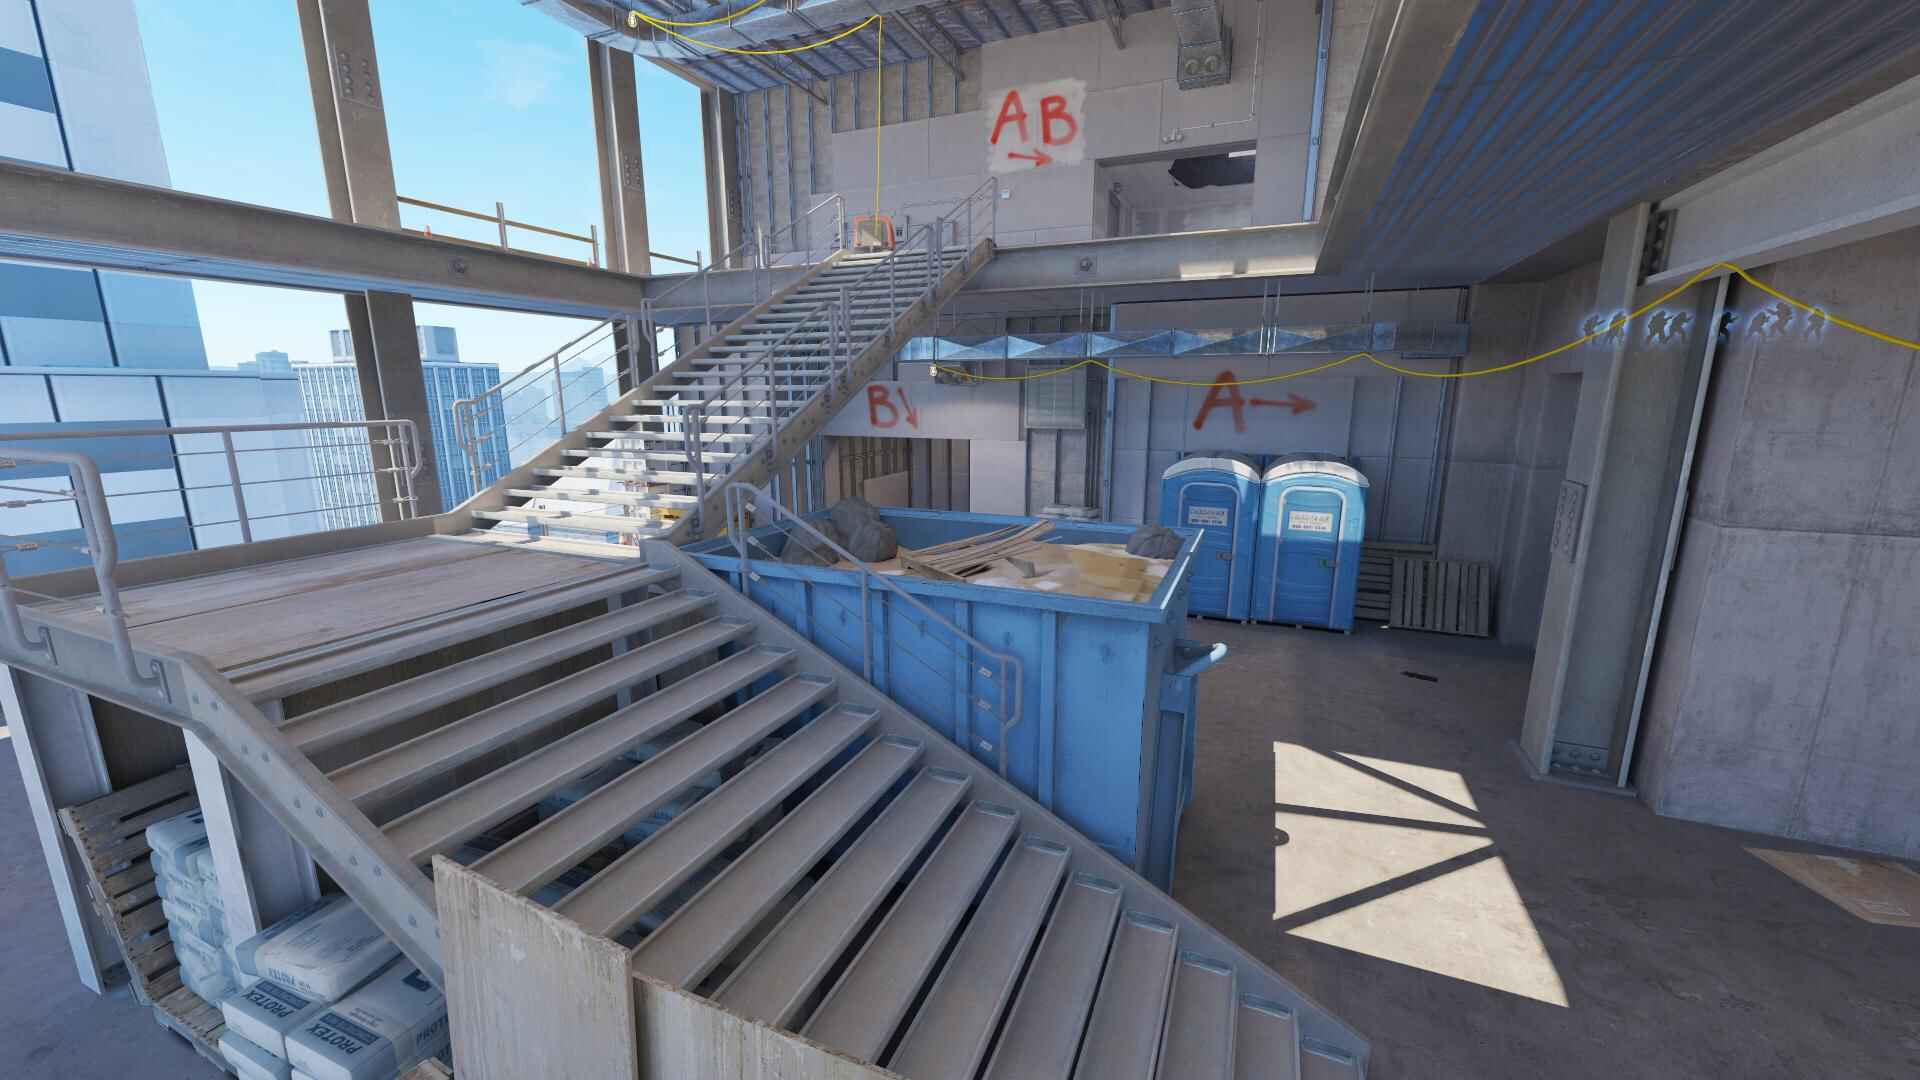
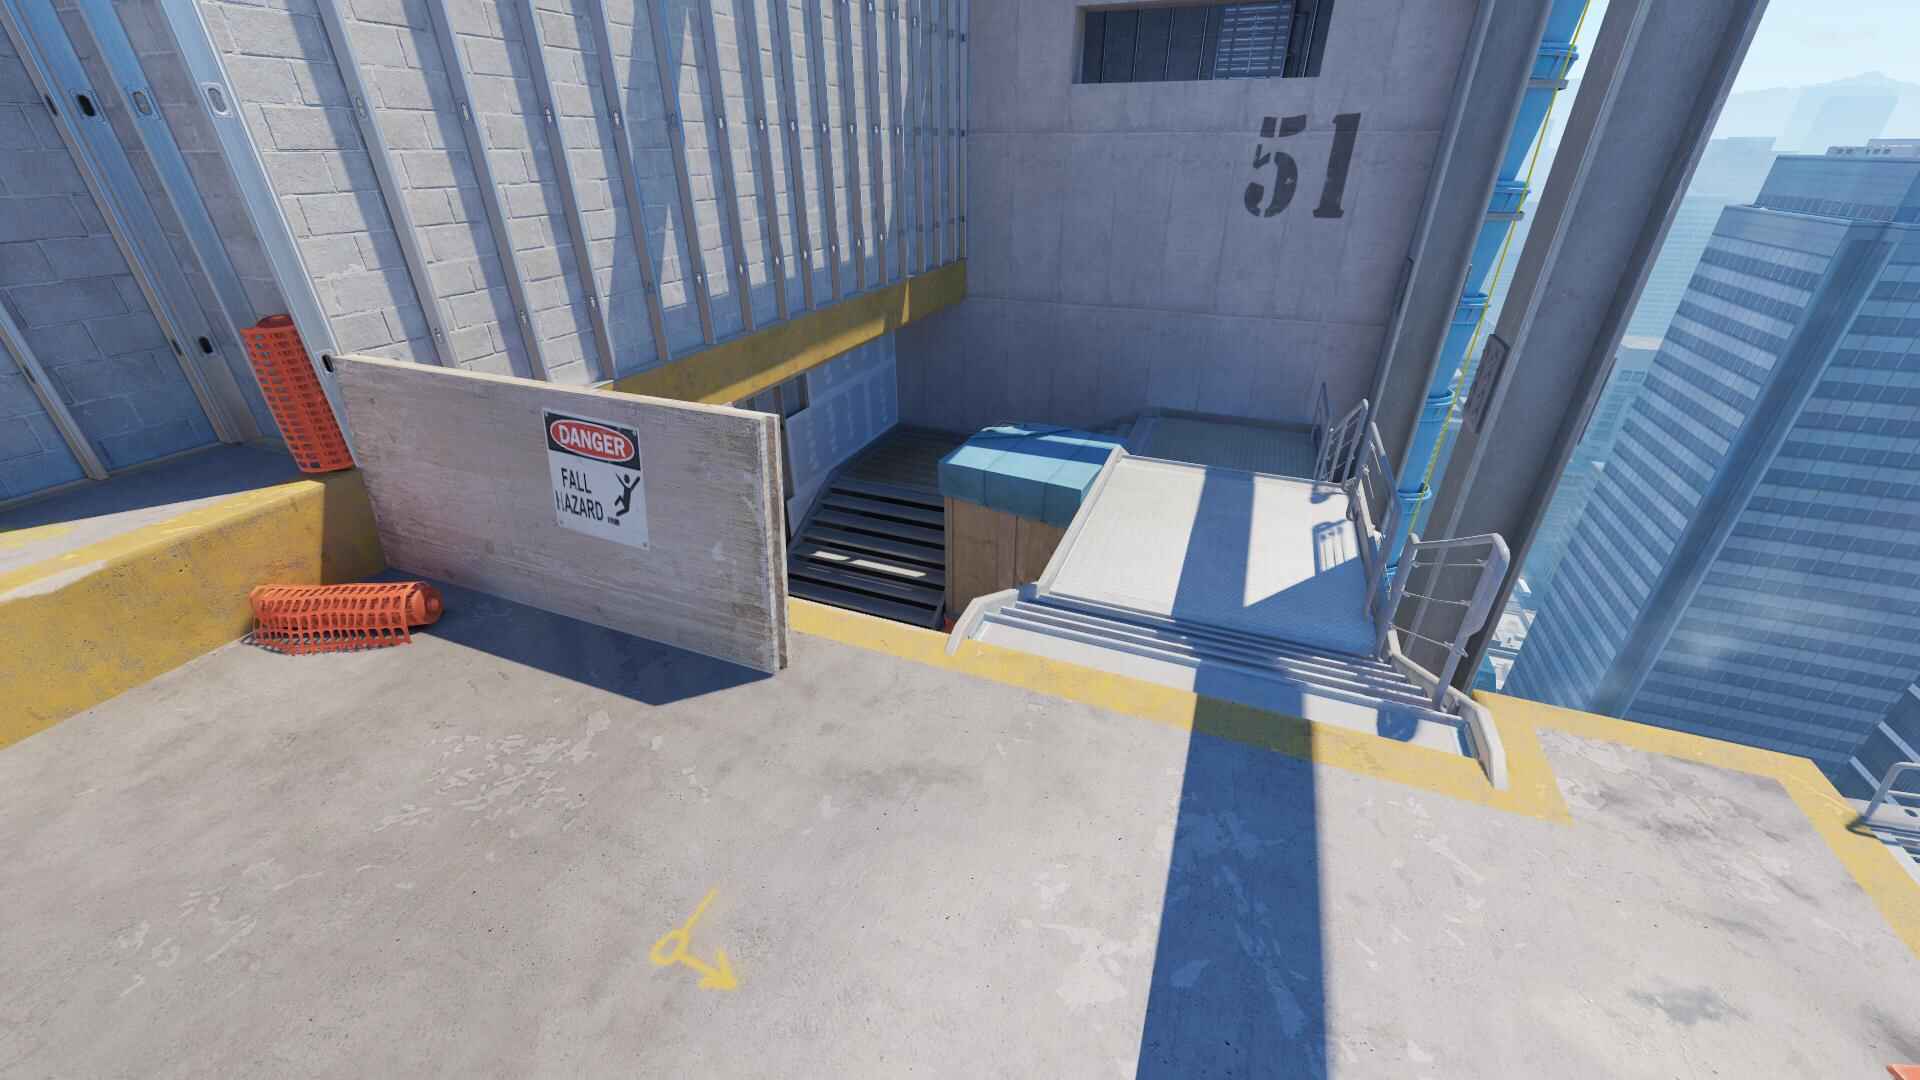
Vertigo takes place on a high-rise construction site with two bomb sites A and B, spread across multiple levels. The map has a compact layout with narrow corridors and open drop-offs, which makes positioning and utility usage incredibly important. The design pushes players to stay alert at all times, as it’s easy to fall off the map (funny moment and voice =)) or get caught from unexpected angles.
Because the map is small and layered vertically, rotations between sites are fast, which forces teams to make quick decisions. Holding control of key areas and moving together as a team can make a huge difference here.
About
- Map Type: Bomb-defusal
- Faction Terrorist: Phoenix Connexion, Eastern Europe
- Faction Counter-Terrorist: SAS (Special Air Service), UK
- Location: USA
- Release Year: 2012
- Map code: de_vertigo
Logo

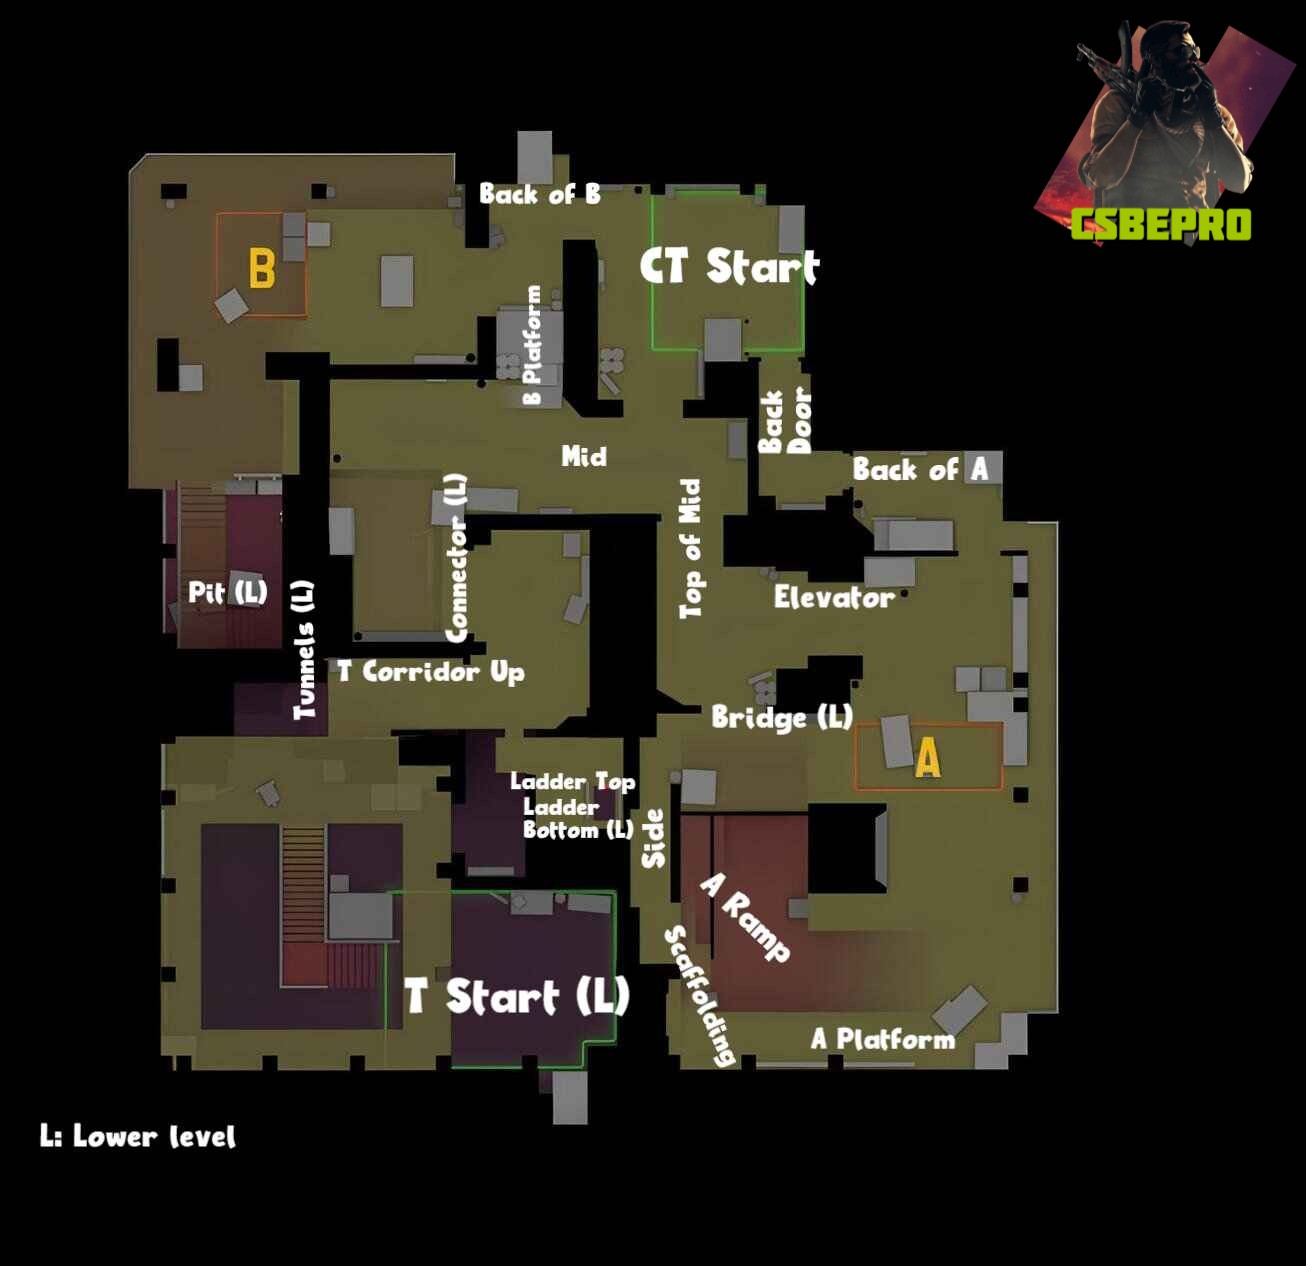
Vertigo Map Callouts
CT Start – Where Counter-Terrorists spawn.
T Start (L) – Terrorists’ spawn on the lower level.
Mid – The center of the map, connecting to multiple areas.
Top of Mid – Important area leading to both A and B.
Connector (L) – Links Mid to other zones.
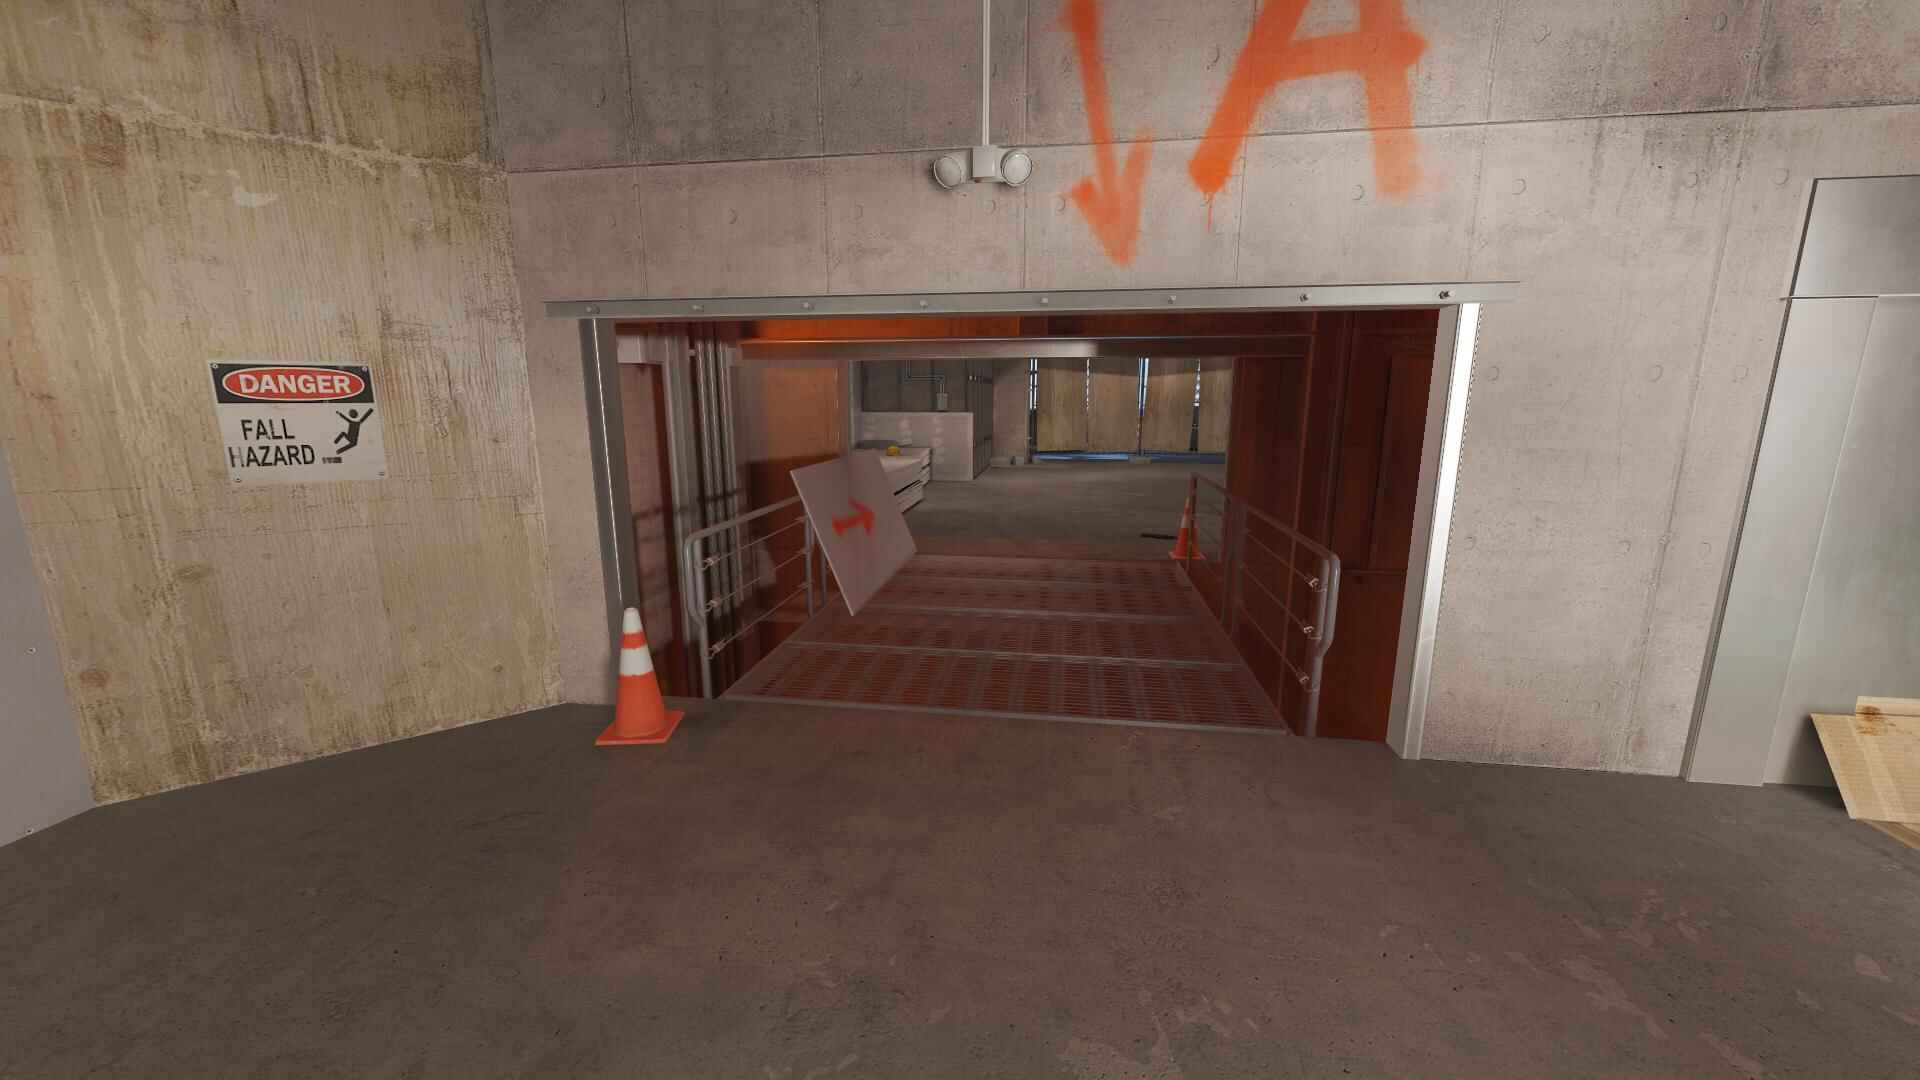
Back Door – Alternate route to A site.
Elevator – A usual CT position near A.
A Ramp – Main approach for Ts heading to A.
A Platform – Raised ground near the A bomb site.
Side – A narrow passage near A.
Bridge (L) – Lower path that leads toward A.
Back of A – Defensive spot behind A for CTs.
B Platform – Elevated area where CTs often hold.
Back of B – Defensive space behind the B site.
Pit (L) – Lower ground near B site.
Tunnels (L) – Route to B from lower level.
Scaffolding – Structure near A Ramp, good for holding or pushing.
Ladder Top / Bottom – Key vertical connector.
T Corridor Up – Path going from lower to upper level.
Tactical Strategies
Terrorist Side
When playing T-side on Vertigo, it’s smart to go for early control of A Ramp. Use smokes to cut off vision and molotovs to clear out common CT spots like sandbags. Mid control is also very important, it gives you more options and forces the CTs to guess where you’re headed. Try combining pressure from Ramp and Mid to hit A, or use Mid and Stairs for a B site attack.
Good utility use makes a big difference. Use flashbangs to push opponents off angles, smoke off dangerous sightlines, and throw molotovs to deny CTs safe positions.
Counter-Terrorist Side
As CTs, it’s key to challenge A Ramp early. Use utility to slow down the Terrorists and make it harder for them to take space. Keep control of Mid to prevent easy splits and fast rotations. Always communicate and be ready to rotate quickly, this map doesn’t give you much time to react.
Sometimes, it’s worth going for a surprise push on Ramp or Mid. This can catch Ts off guard and give your team valuable info. Use vertical positions and off-angles to your advantage, this can throw off enemies and help you win crucial fights.
Tips
Always listen closely to footsteps and other sounds, they can tell you exactly where the enemy is heading. Don’t just rush into contested areas without thinking. Play smart, use your utility with your teammates, and move together. Keep an eye out for enemy boosts or strange angles. Creative plays are common on Vertigo, and you don’t want to get caught unprepared.
Conclusion
Controlling Vertigo map in Counter-Strike 2 takes good coordination, smart use of utility, and solid map awareness, especially with all the vertical action. With the help of this guide, you’ll have a better shot at taking control of the map and beating the other team.
Want to sharpen your skills even further? Don’t stop here – check out other classic and competitive maps like Ancient, Anubis, Dust 2, Inferno, Italy, Mirage, Nuke, Office, Overpass, and Train. Each has its own twists, tactics, and secrets waiting to be mastered.
