Home » Counter-Strike 2 » NUKE
07/11
NUKE
Introduction
Nuke is one of the most well-known and challenging maps in Counter-Strike 2. It brings a mix of close fights, smart rotations, and vertical levels that test both new and experienced players. If you’re looking to get better on Nuke, this guide will walk you through the key areas, basic strategies, and some helpful tips.
Overview
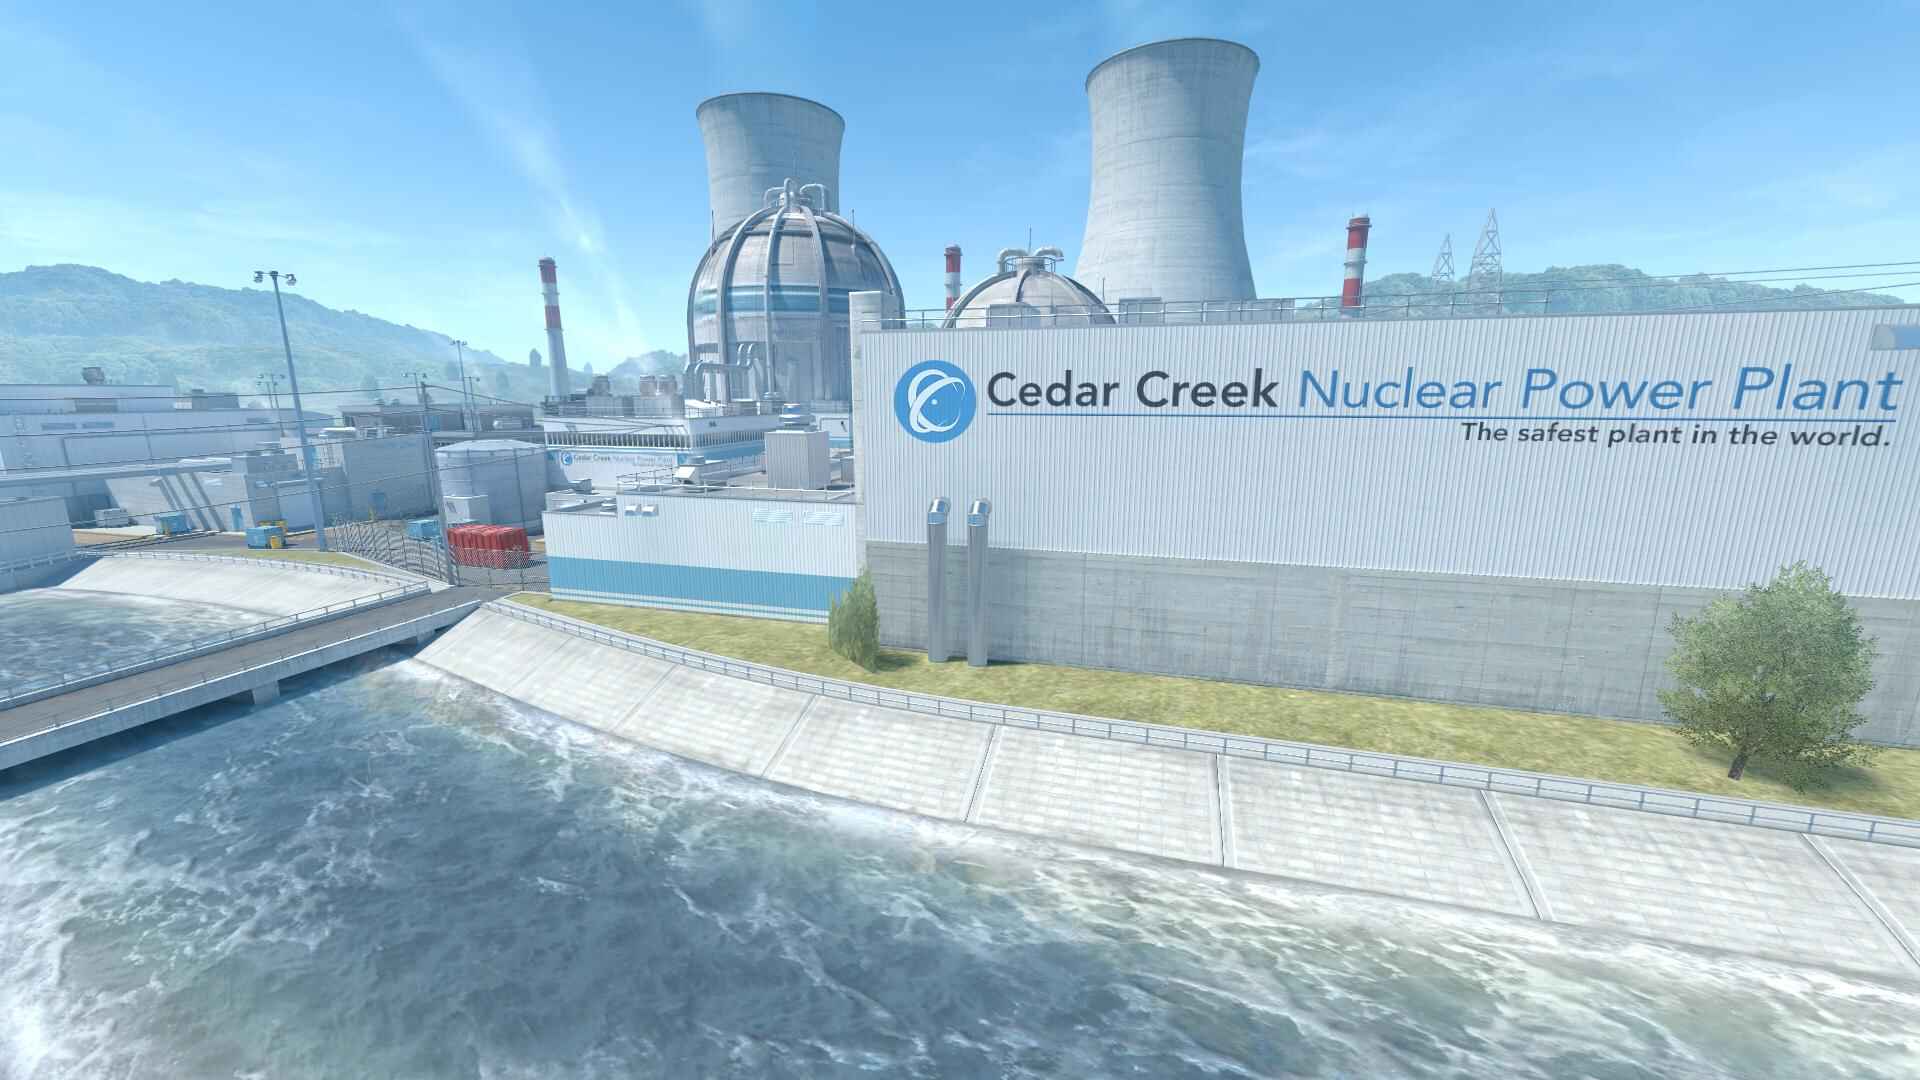
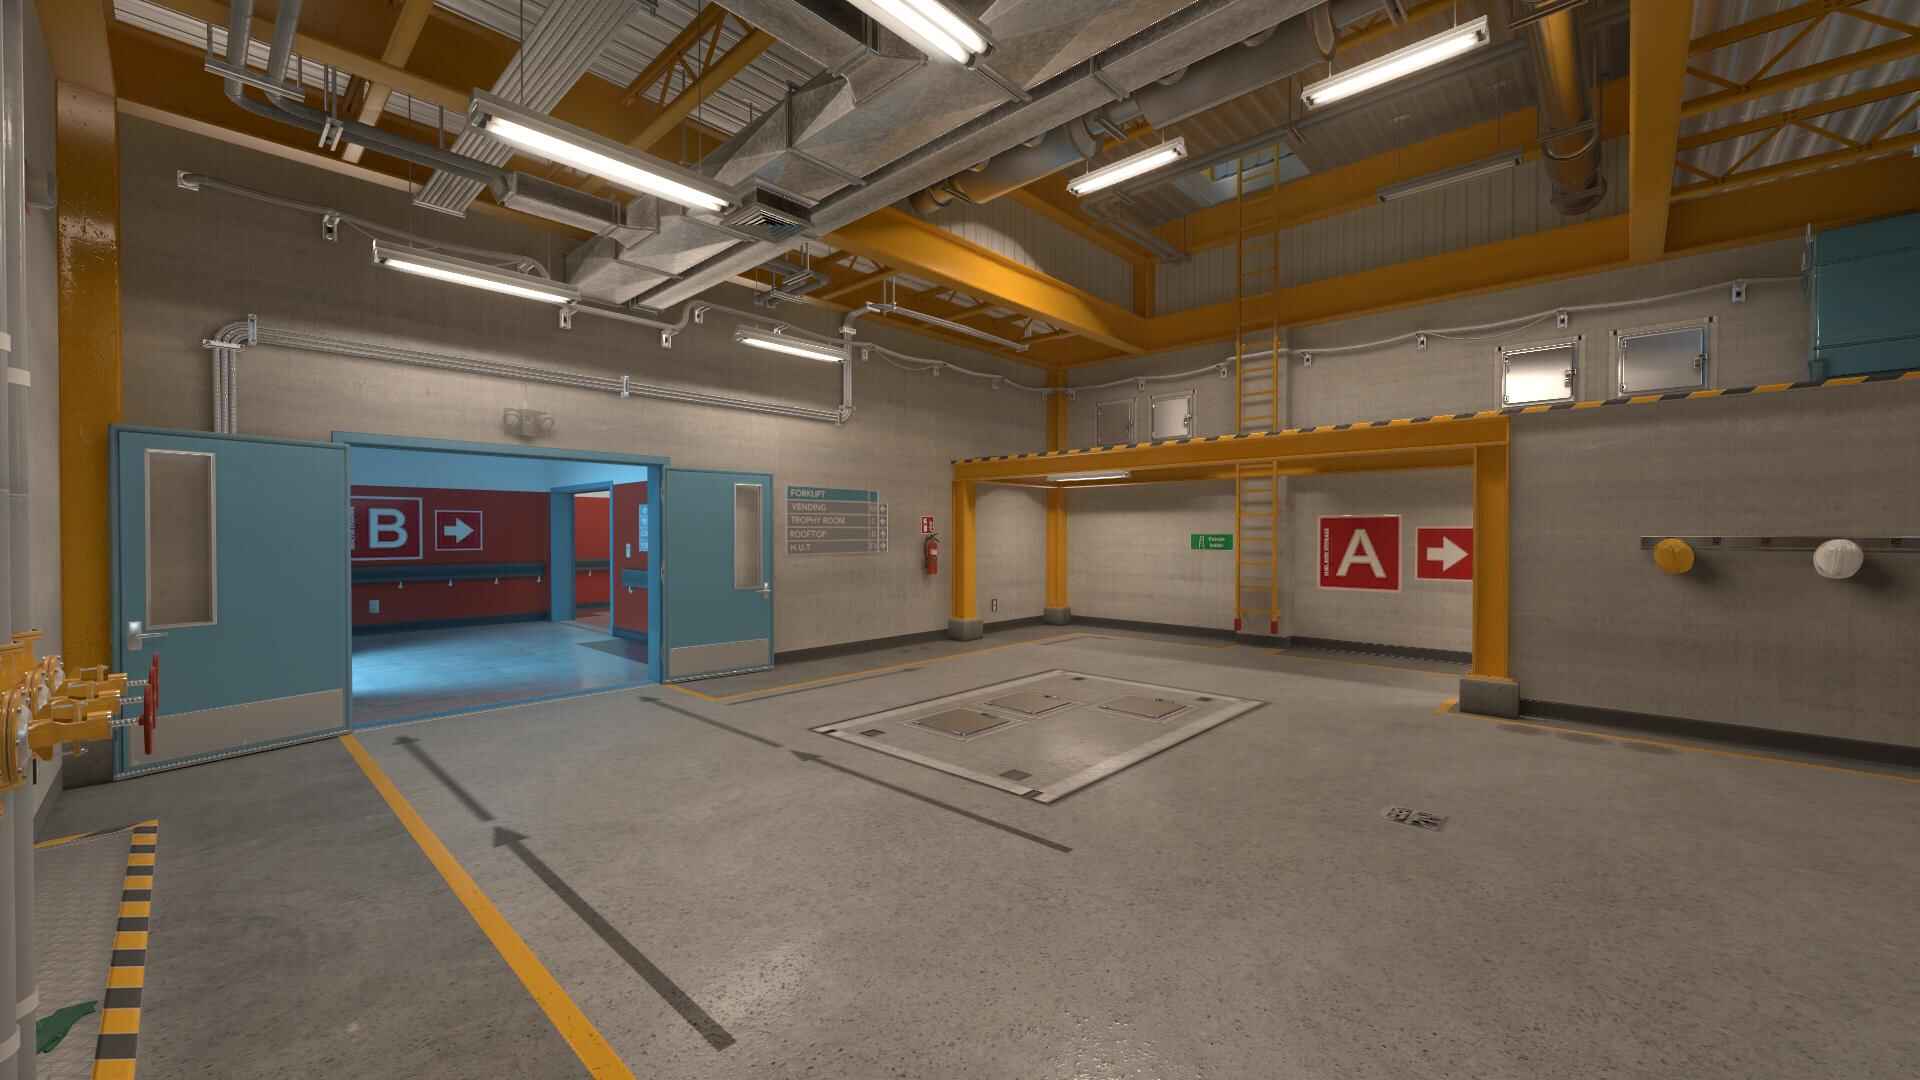
Nuke with the ventilation (hello from Die Hard movie) stands out as one of the trickiest maps in CS2. To do well here, you need good teamwork, smart use of grenades, and solid awareness of where everyone is. The map is unique because of its two bombsites: A (Upper) and B (Lower), which sit on different floors.
Controlling Outside is super important. If Terrorists win control here, they can go down Secret and sneak into B, or set up a split attack on A. For Counter-Terrorists, holding this area often means using an AWP, smoke grenades, and smart teamwork to slow the enemy down.
Because the map has so many layers, listening for sounds helps a lot. You can often tell where enemies are just by hearing their footsteps or if someone drops into a vent. Learning to move quietly while catching these sound cues can give you a big edge.
About
- Map Type: Bomb-defusal
- Faction Terrorist: Phoenix Connexion, Eastern Europe
- Faction Counter-Terrorist: SAS (Special Air Service), UK
- Location: USA
- Release Year: 1999
- Map code: de_nuke
Logo
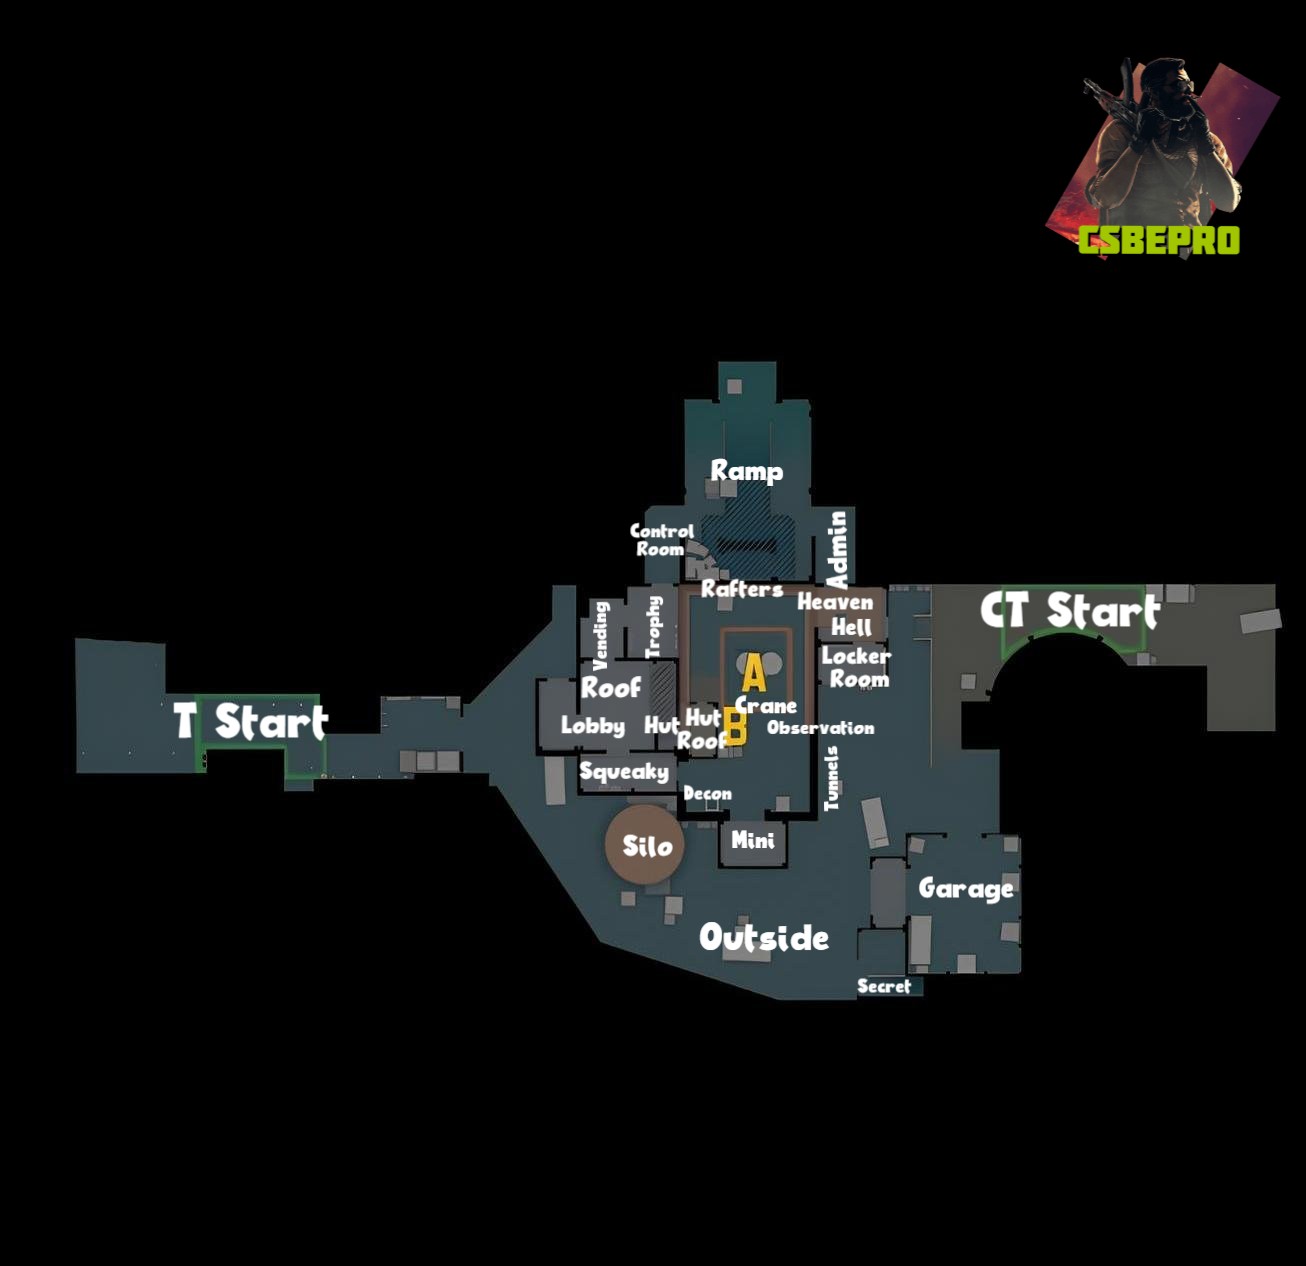
Nuke Map Callouts
T Start – Where the Terrorists spawn.
CT Start – Where the Counter-Terrorists spawn.
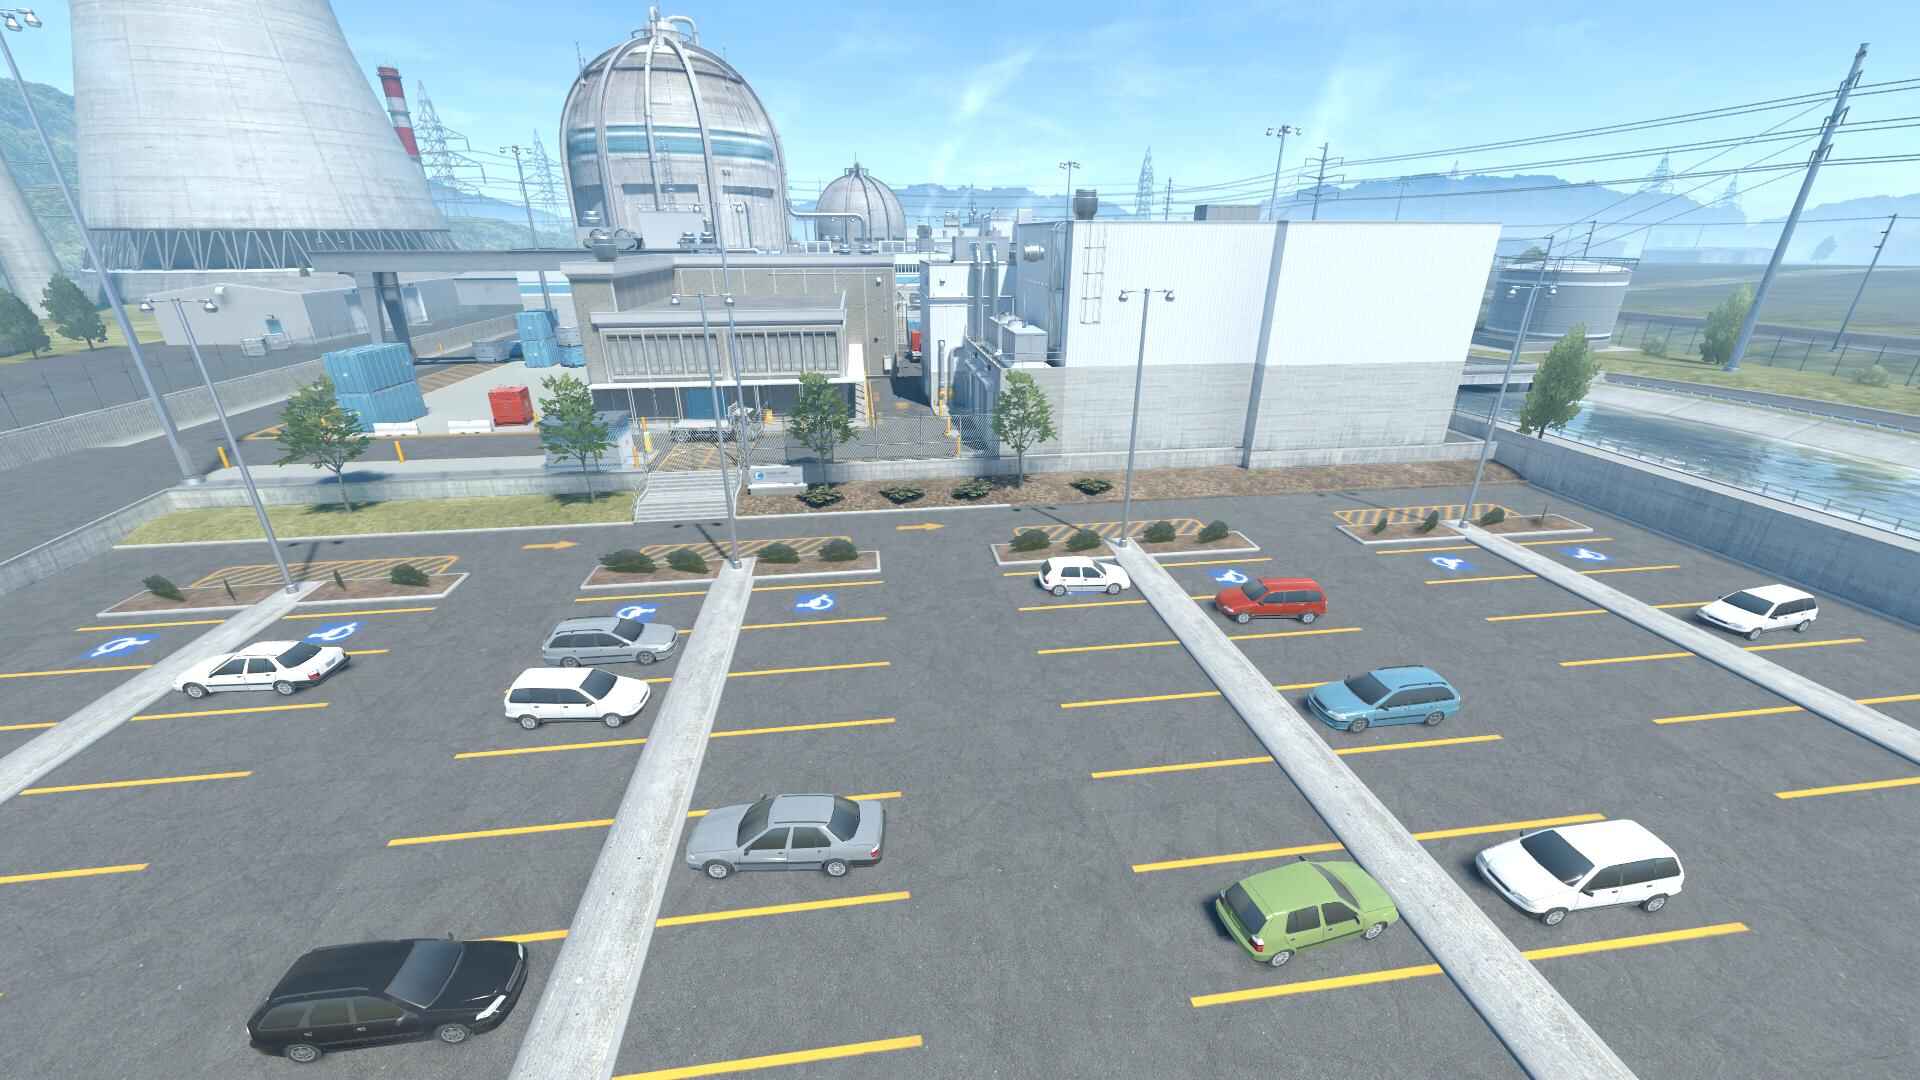
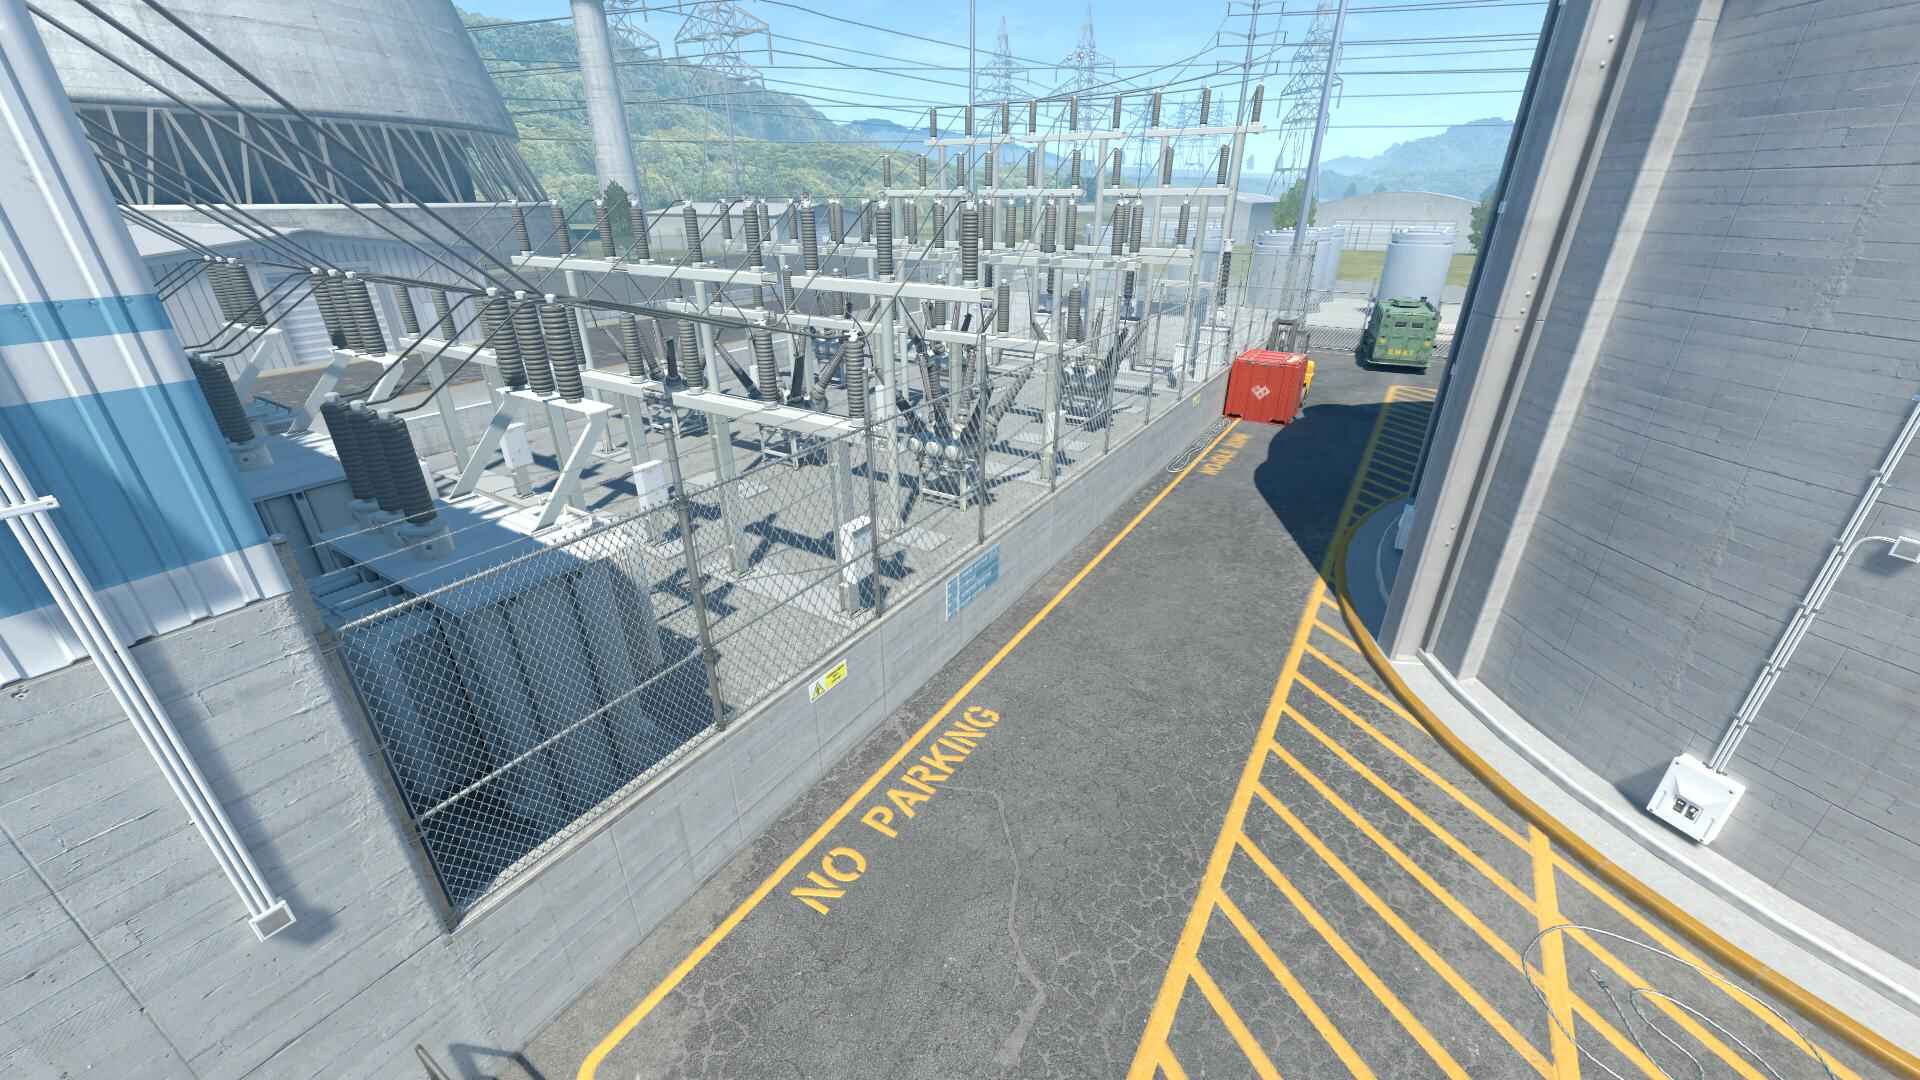
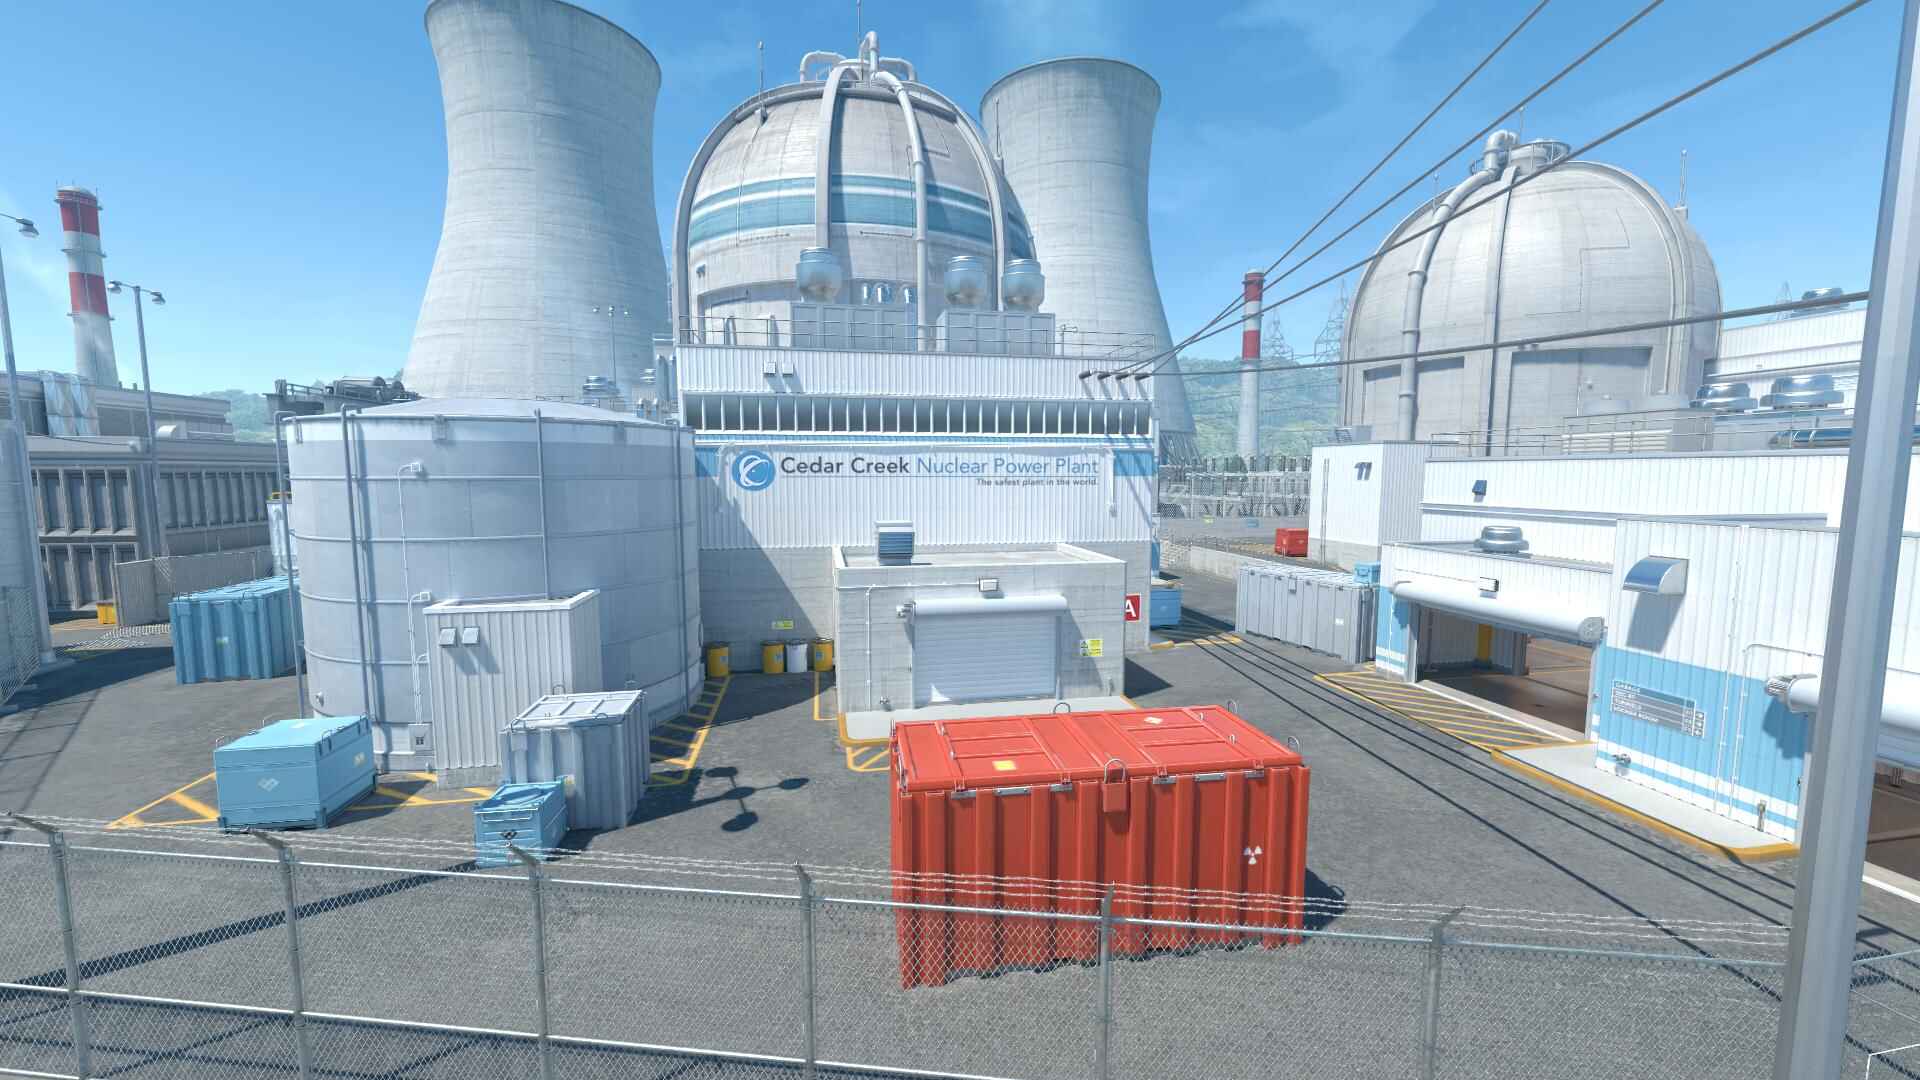
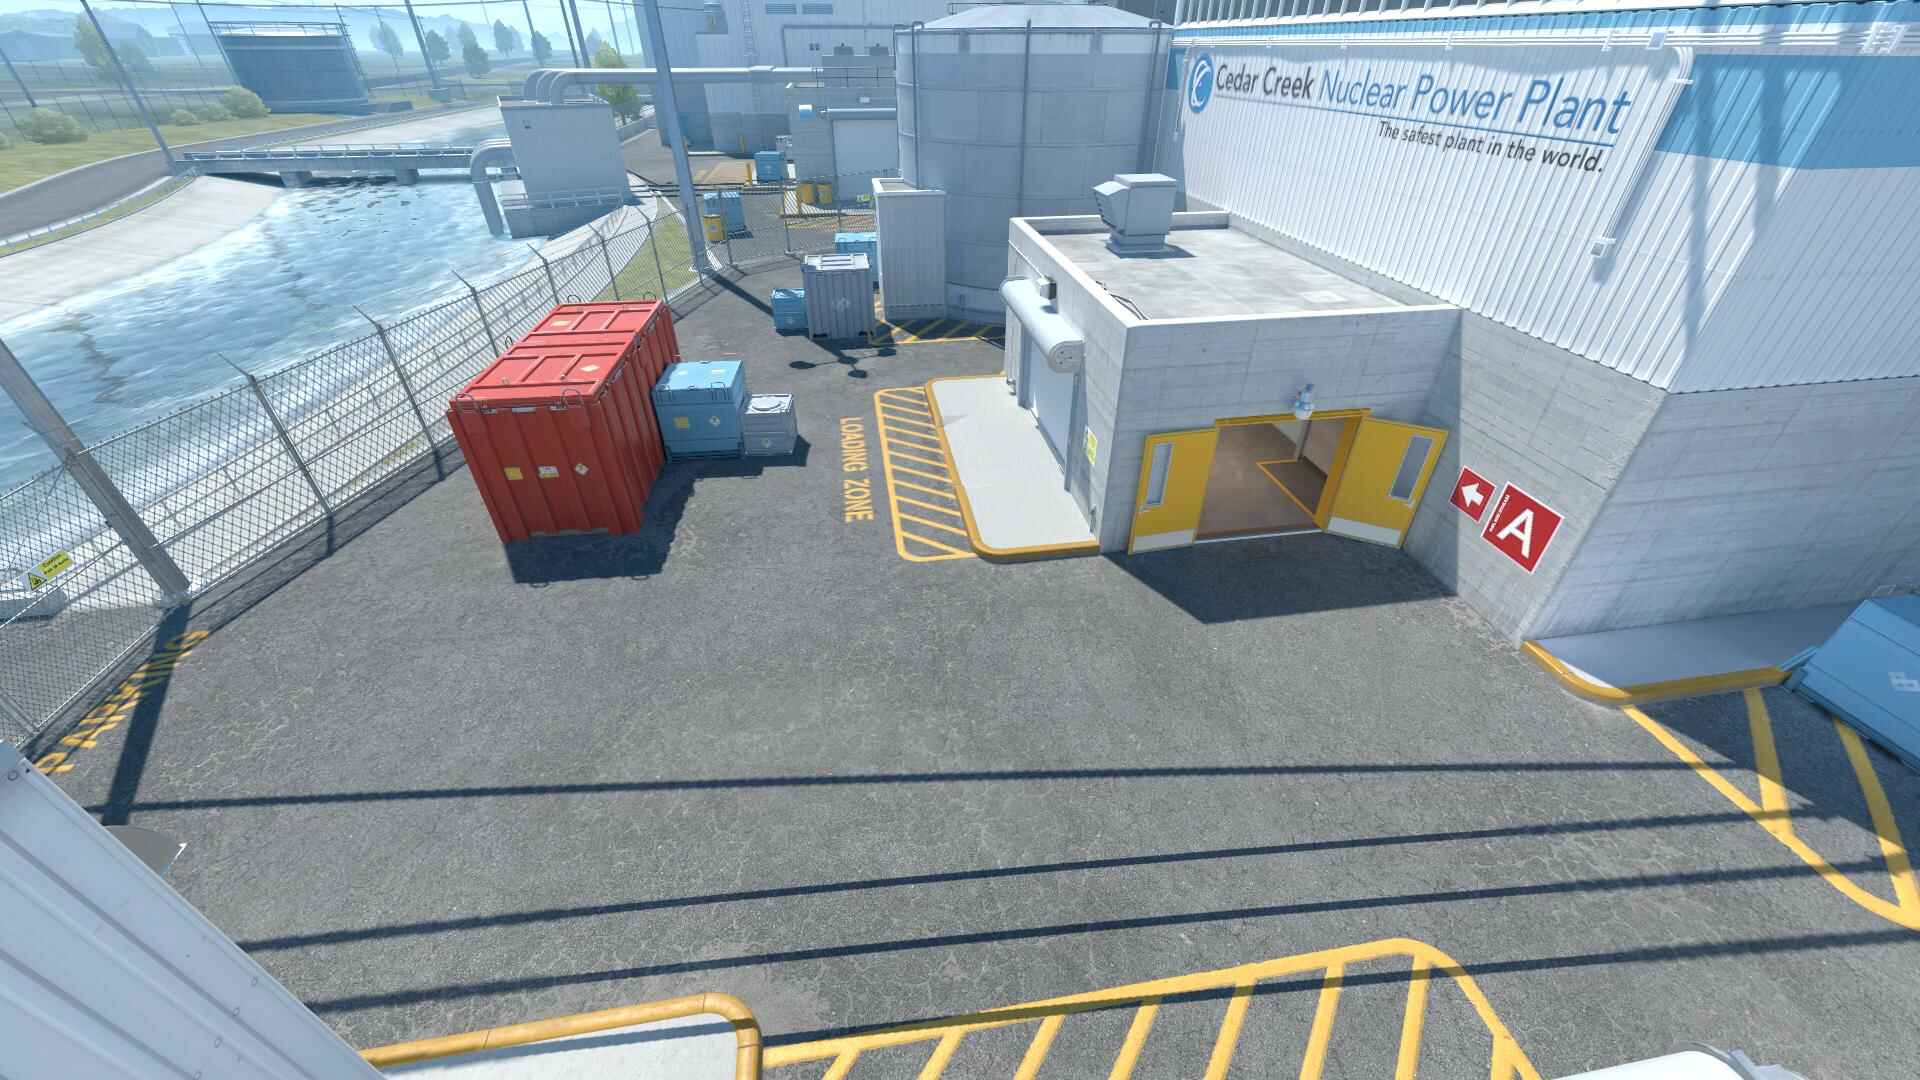
Outside – The big open space between T Start and Garage, leading to Secret and Mini.
Silo – A tall structure near T Spawn. Players can climb it for better views and peeks.
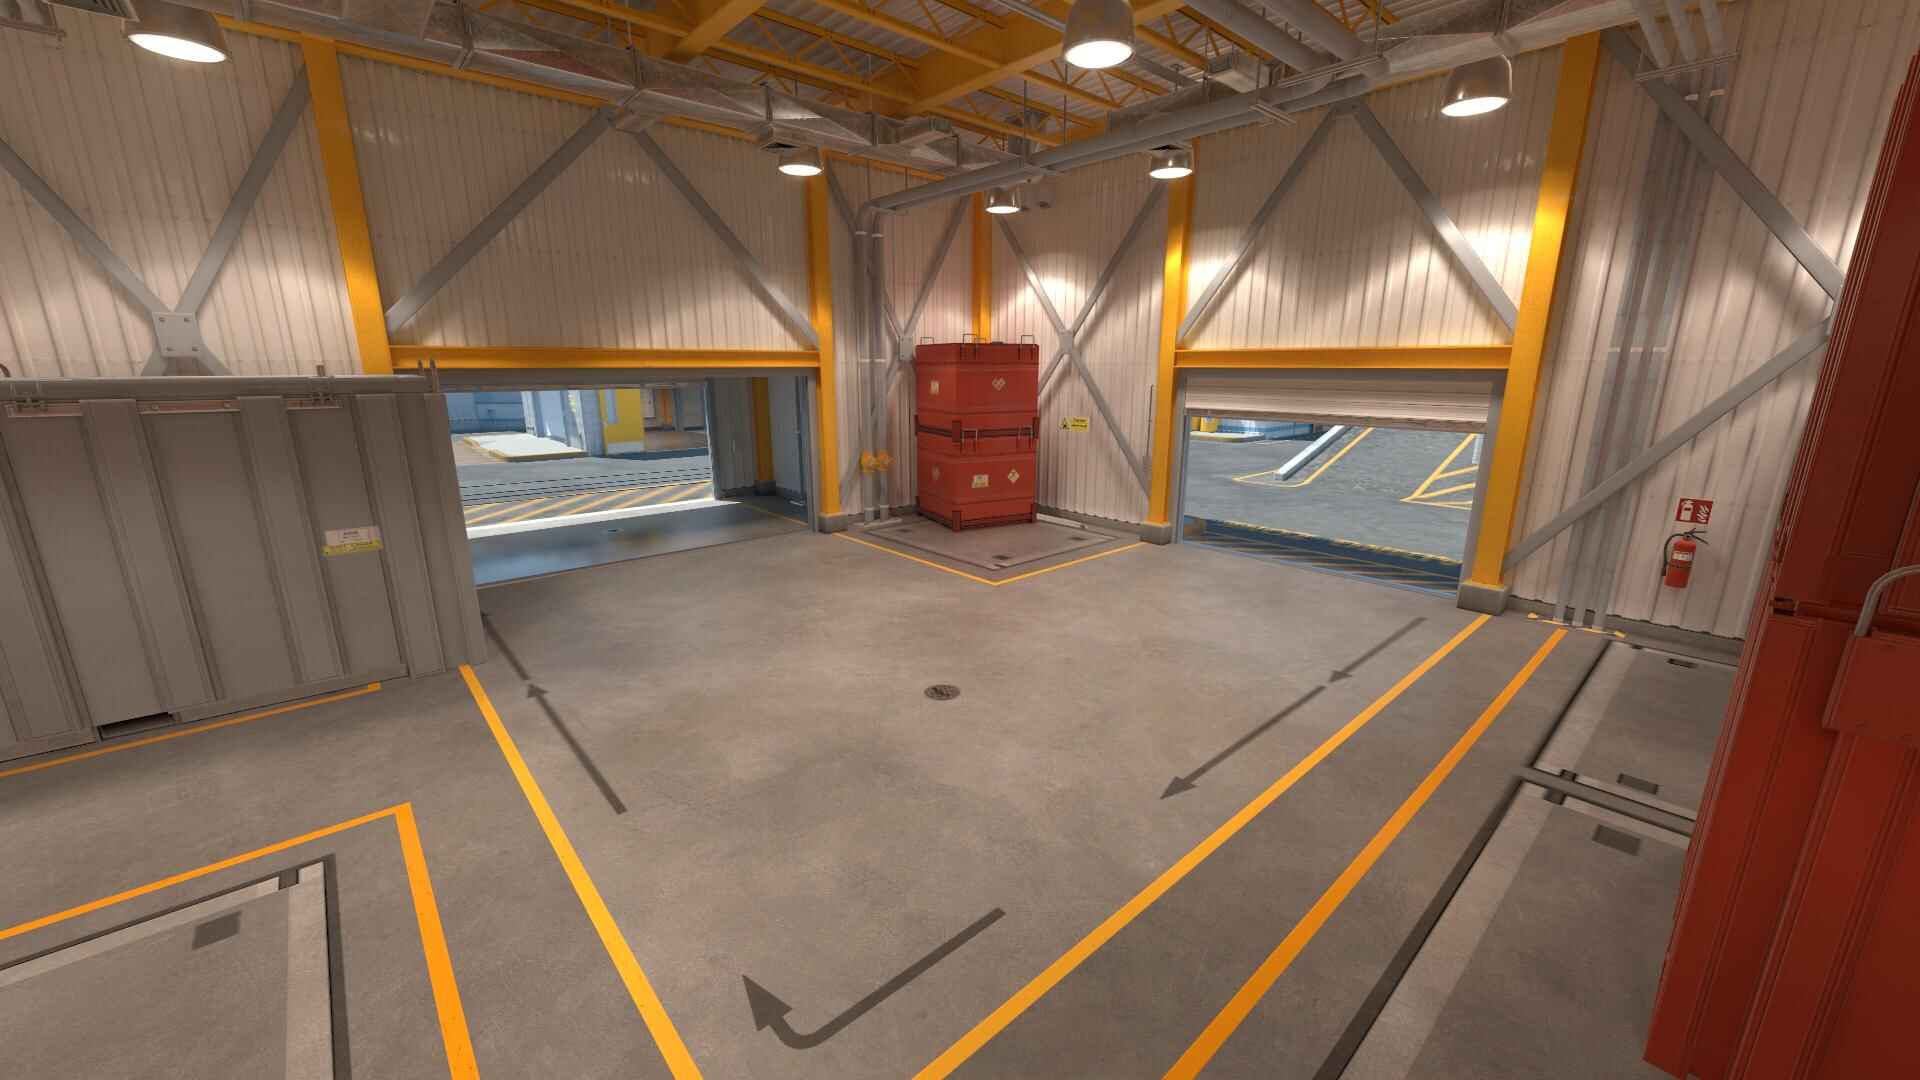
Garage – A building near Outside where CTs often play defense.
Mini – A small room near Outside that leads to A site.
Secret – A hidden path from Outside to the lower B site.
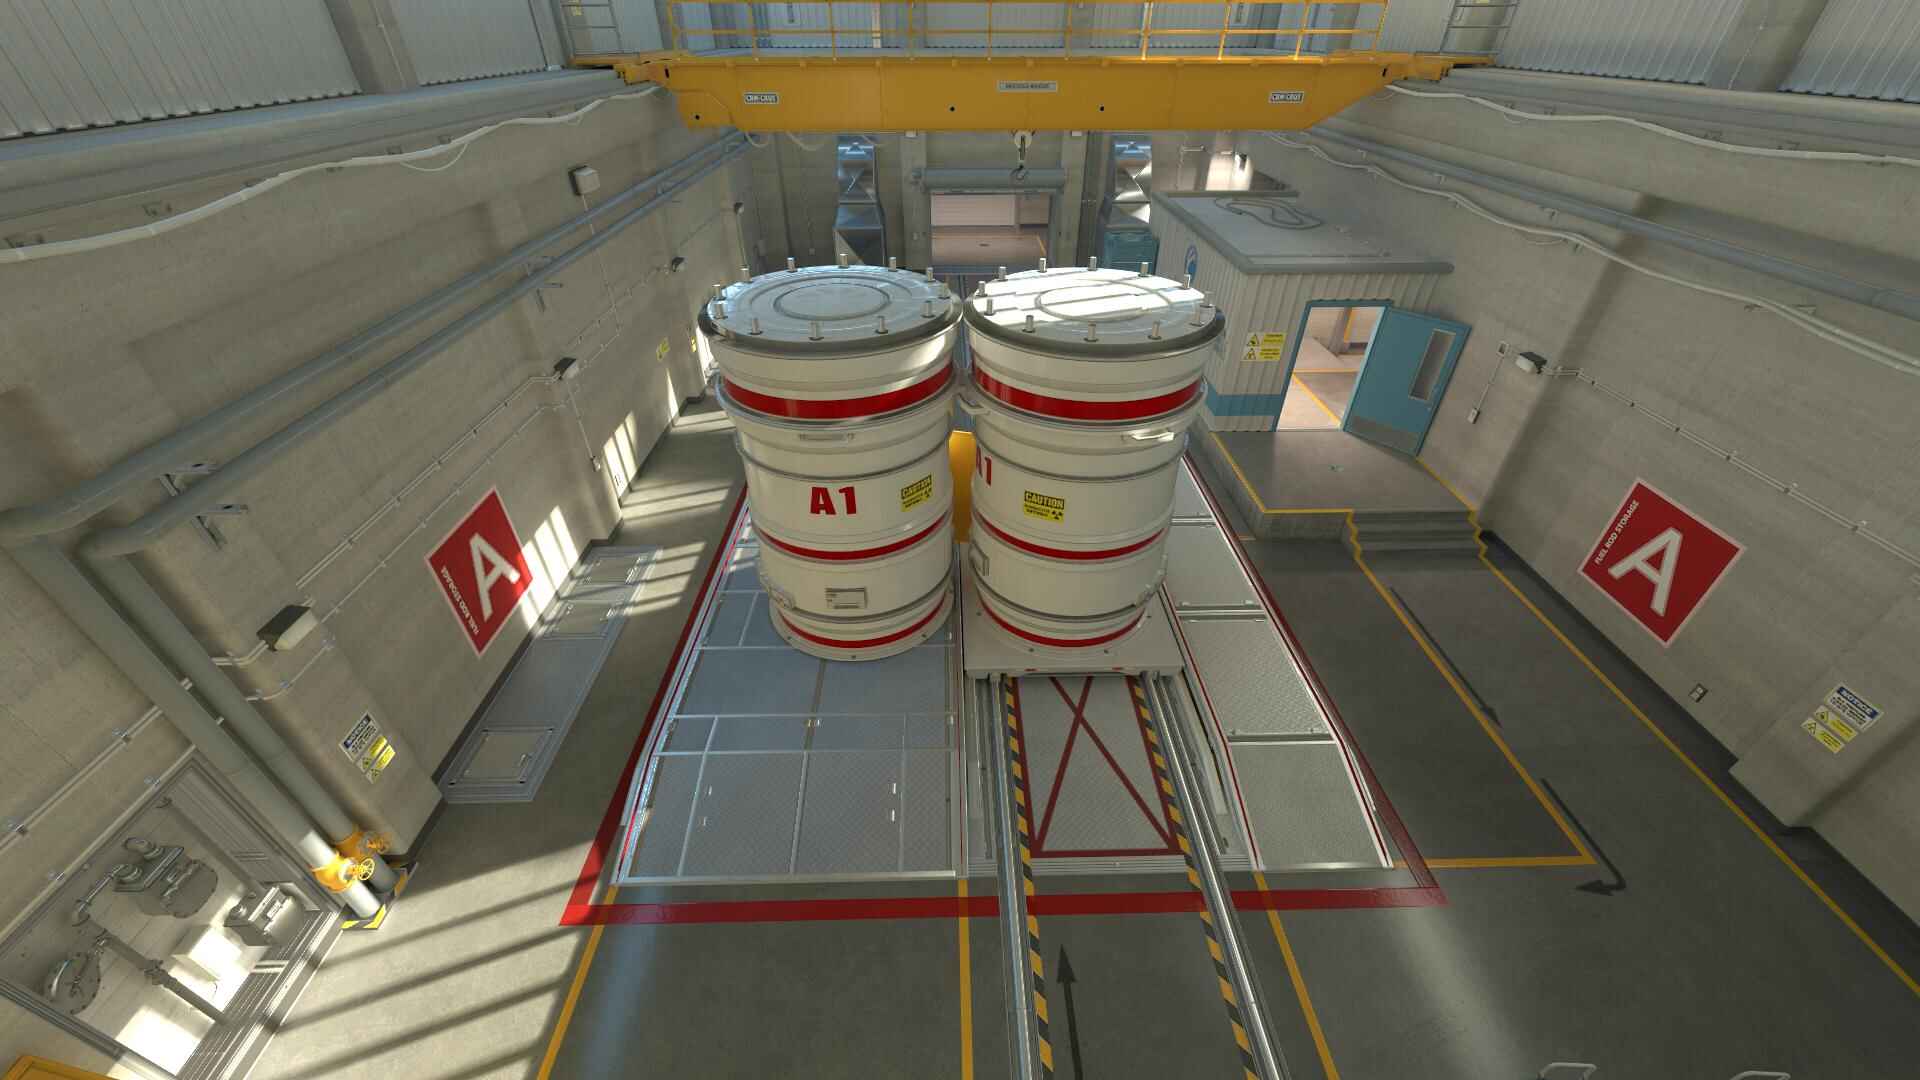
A Site – The top-level bombsite inside the main building.
Hut – An entrance to A site from Lobby.
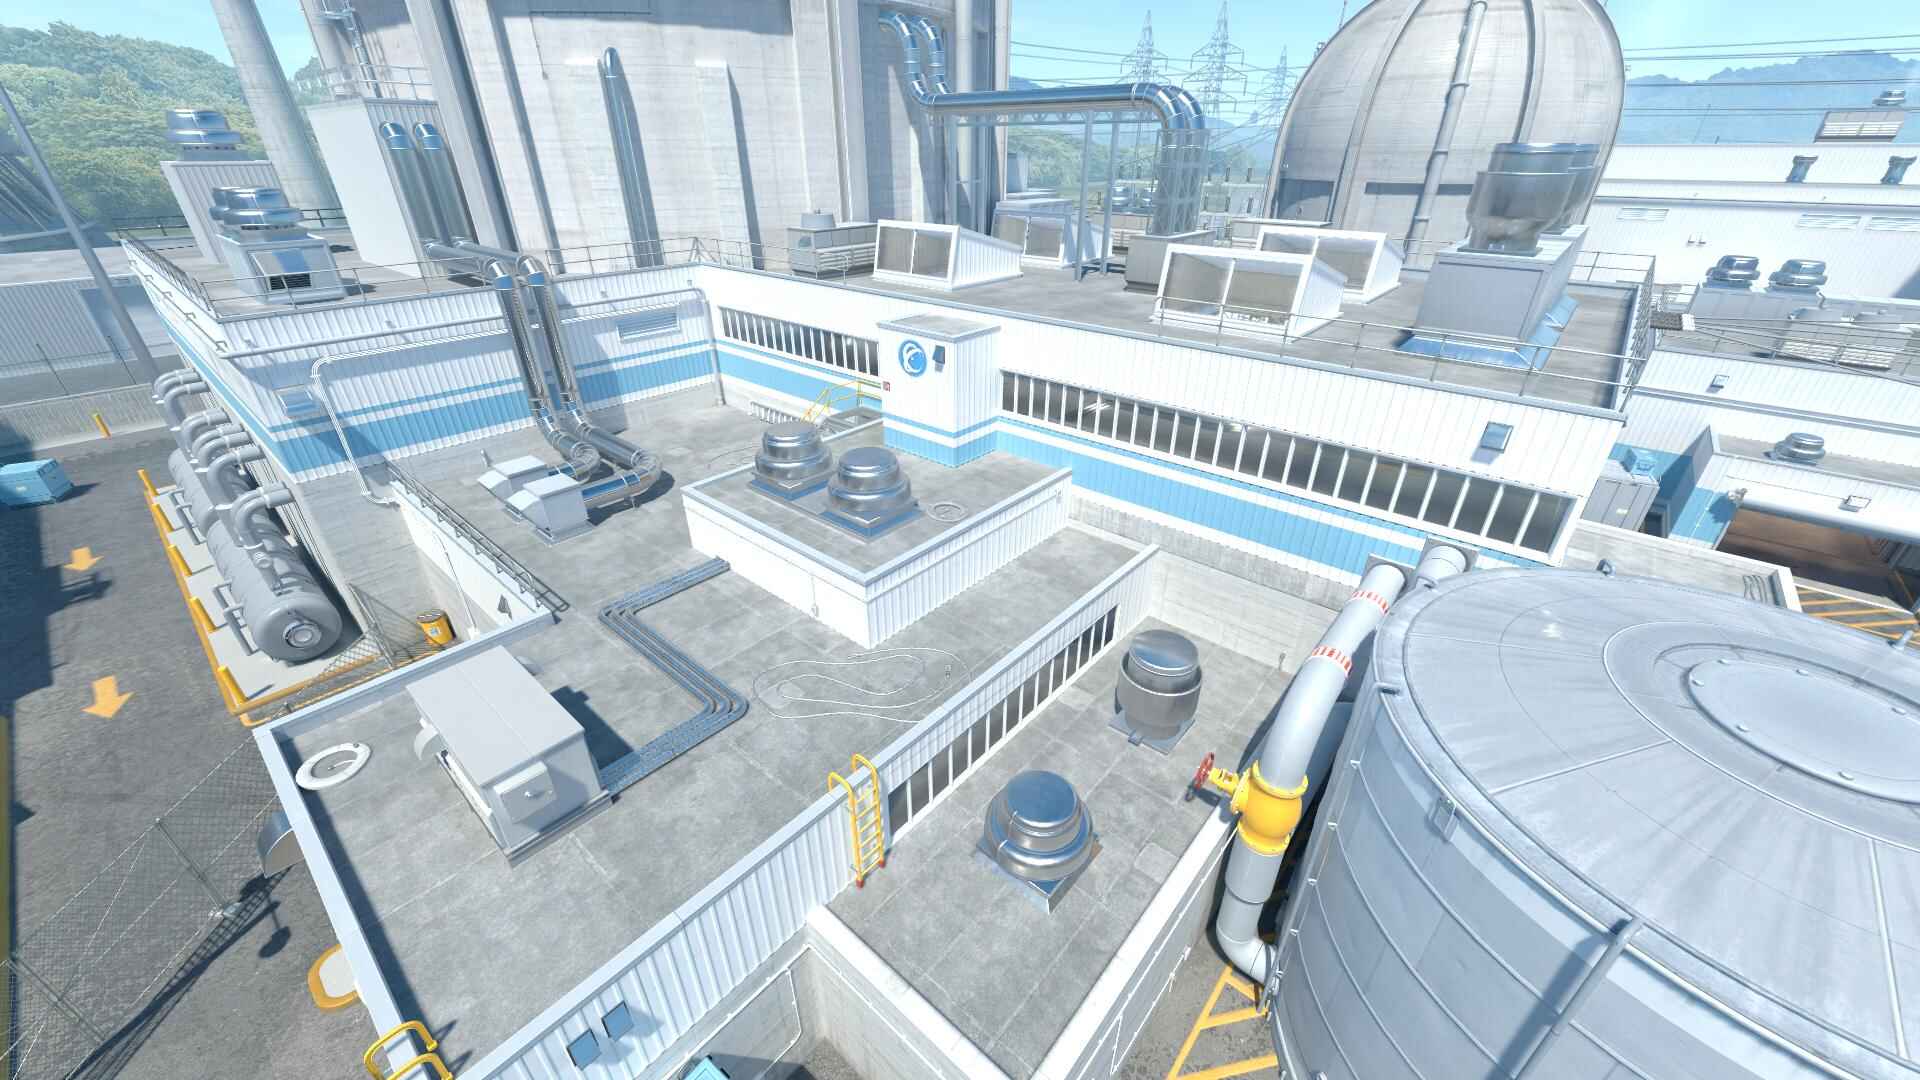
Hut Roof – The top area above Hut.
Squeaky – A small door that leads into A site.
Rafters – Walkways above A site.
Crane – A large structure inside A site that offers some cover.
Heaven – A high spot that looks down onto A site.
Hell – The area below Heaven that connects to B and CT Start.
Locker Room – A room near CT Start that connects to Heaven.
Observation – A viewing room near A site.
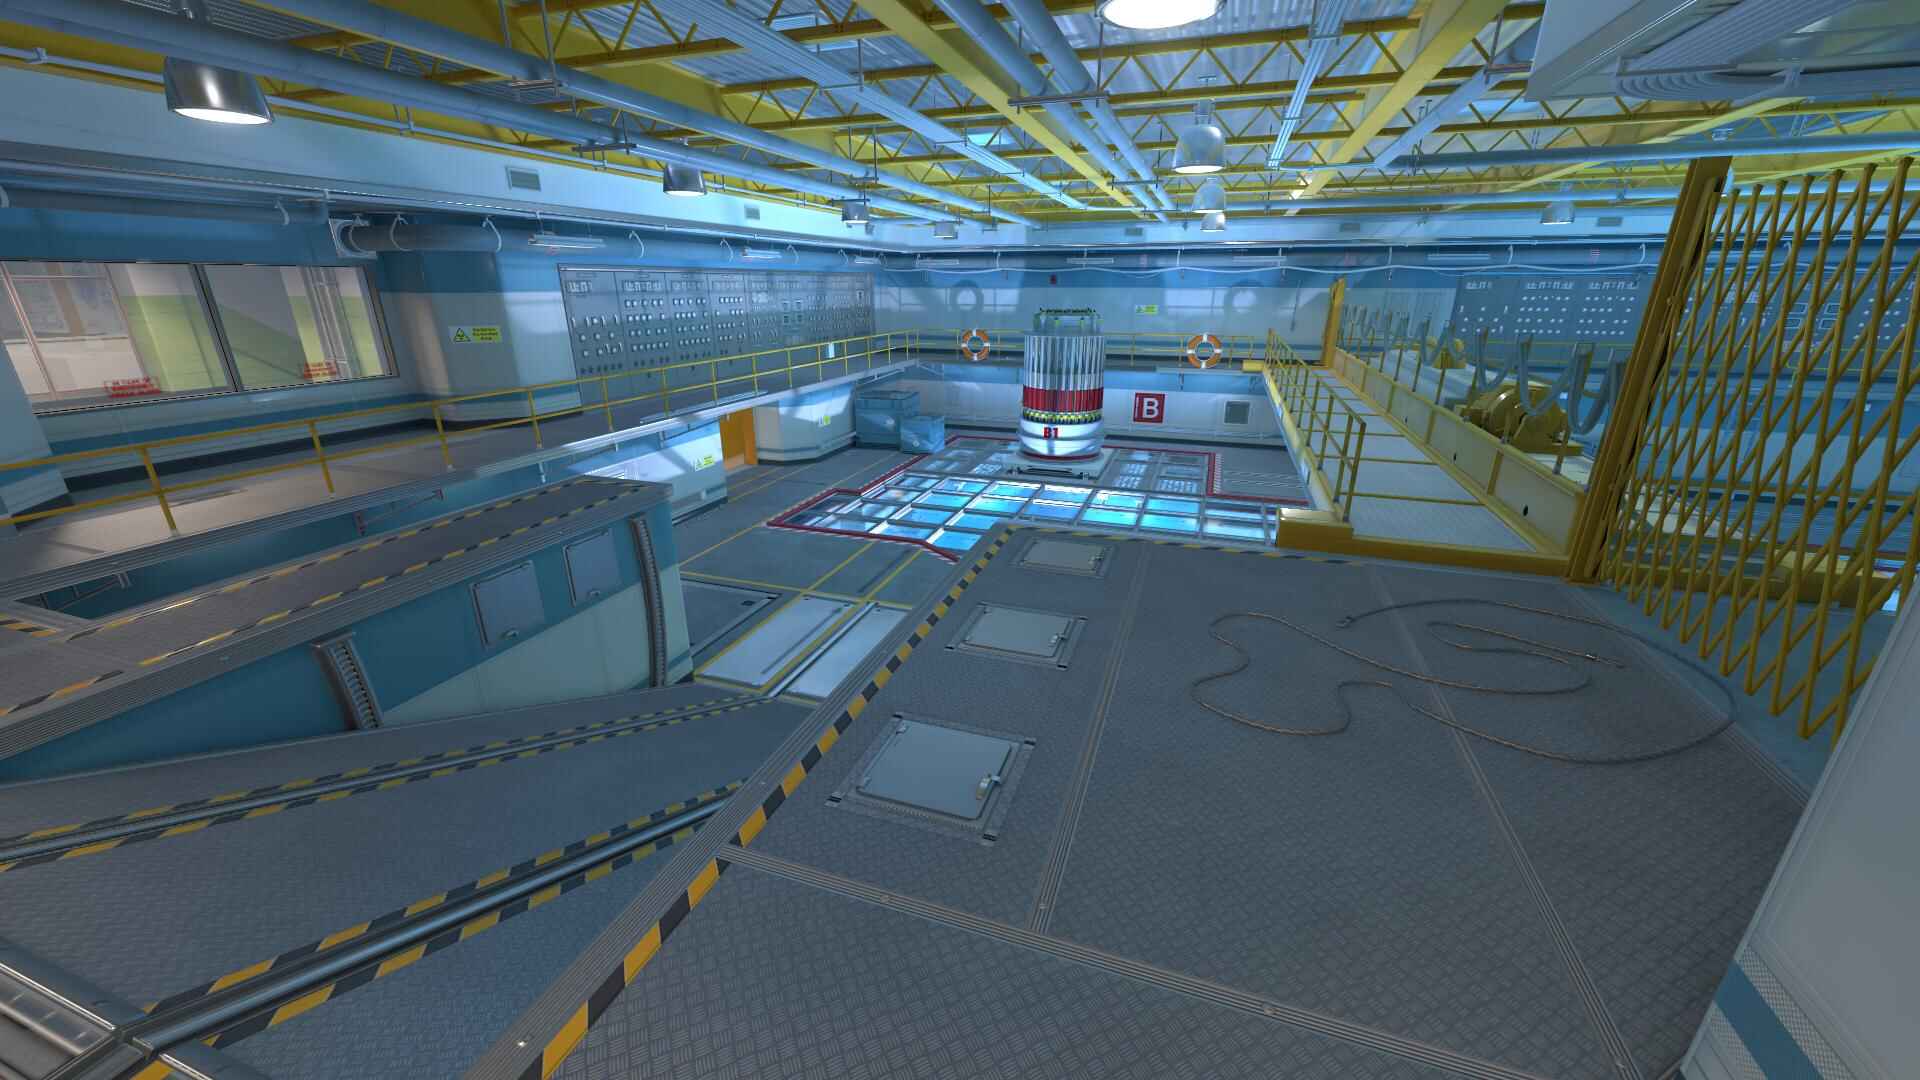
B Site – The lower bombsite underground.
Decon – A door to B site from Secret.
Control Room – A room overlooking B, often used for defense.
Tunnels – Underground paths leading to B.
Ramp – A sloped path from Lobby to B site.
Trophy – A room near Ramp where Ts can gather before a push.
Vending – A spot near Trophy that provides extra cover.
Admin – A hallway from CT Start leading to Ramp.
Landing – A small area that connects Ramp and Trophy.
Tactical Strategies
Terrorist Side
If you want to take control of Outside, use smoke grenades to block off Garage and Mini. That way, you can move safely and maybe get someone into Secret for a quiet B attack. At the same time, have teammates pressure from Ramp or Lobby to keep the defenders guessing.
When going for A site, use smokes and flashes to blind defenders in Heaven and Mini. Throw Molotovs into Hut and Vent to force enemies out of hiding. A strong push from both Hut and Squeaky at the same time gives you more ways to break through.
To hit B through Ramp, throw flashes to blind the defending player, then take control fast. From there, you can move into Decon and Control Room, which are great spots to hold after planting the bomb.
Counter-Terrorist Side
To hold Outside, place an AWP player in Garage or Secret for long-range shots. Use smokes and fire grenades to slow down T pushes. Setting up crossfires with teammates helps catch enemies off guard.
When defending A, throw early Molotovs into Squeaky to stop quick rushes. Having someone in Heaven helps watch over the whole site and rotate quickly. Players in Mini and Hut should set up crossfires to deal with incoming pushes.
For B defense, keep someone near Ramp to spot and slow down any T side moves. Smokes and incendiaries can delay a push long enough for your team to rotate. If you lose B, holding Control Room gives you a strong angle for retakes.
Tips
Nuke isn’t an easy map, but with some practice, it becomes really rewarding. Whether you’re attacking or defending, your success depends on how well your team works together and how well you understand the layout. Keep learning, communicate clearly, and you’ll keep getting better.
Conclusion
Nuke in Counter-Strike 2 is all about smart play and good coordination. It’s not just about who shoots better – it’s about who plays smarter. Stick with it, keep practicing, and soon you’ll feel right at home on one of the most exciting maps in the game.
Want to sharpen your skills even further? Don’t stop here – check out other classic and competitive maps like Ancient, Anubis, Dust 2, Inferno, Italy, Mirage, Office, Overpass, Train, and Vertigo. Each has its own twists, tactics, and secrets waiting to be mastered.
