Home » Counter-Strike 2 » INFERNO
04/11
INFERNO
Introduction
Inferno is one of the most well-known and played maps in Counter-Strike 2. It’s got a great mix of tight corners, choke points, and interesting angles that really test your teamwork and aim. This guide breaks down the map in a way that’s easy to understand. It covers the key areas, some strategies you can try, and tips that will help you out whether you’re playing as a Terrorist or a Counter-Terrorist.
Overview
The Inferno map has two bombsites, A and B, and they’re connected by different paths like Middle, Banana, Apartments, and Second Mid. Knowing these routes and how to control them is a big part of doing well. A lot of early fights happen in places like Banana, where both teams want to take control. Controlling Mid is also a big deal because it gives you more options, like faking a push or splitting onto A site. Because the map is kind of small, you need to be really good at using your grenades, sticking with your teammates, and rotating quickly when needed. Each area has its own spots that are good for holding angles or defending, so you can mix up your playstyle and try new things. Learning the common callouts and how each area plays is super helpful for winning rounds.
About
- Map Type: Bomb-defusal
- Faction Terrorist: Phoenix Connexion, Eastern Europe
- Faction Counter-Terrorist: SAS (Special Air Service), UK
- Location: Italy
- Release Year: 2003
- Map code: de_inferno
Logo
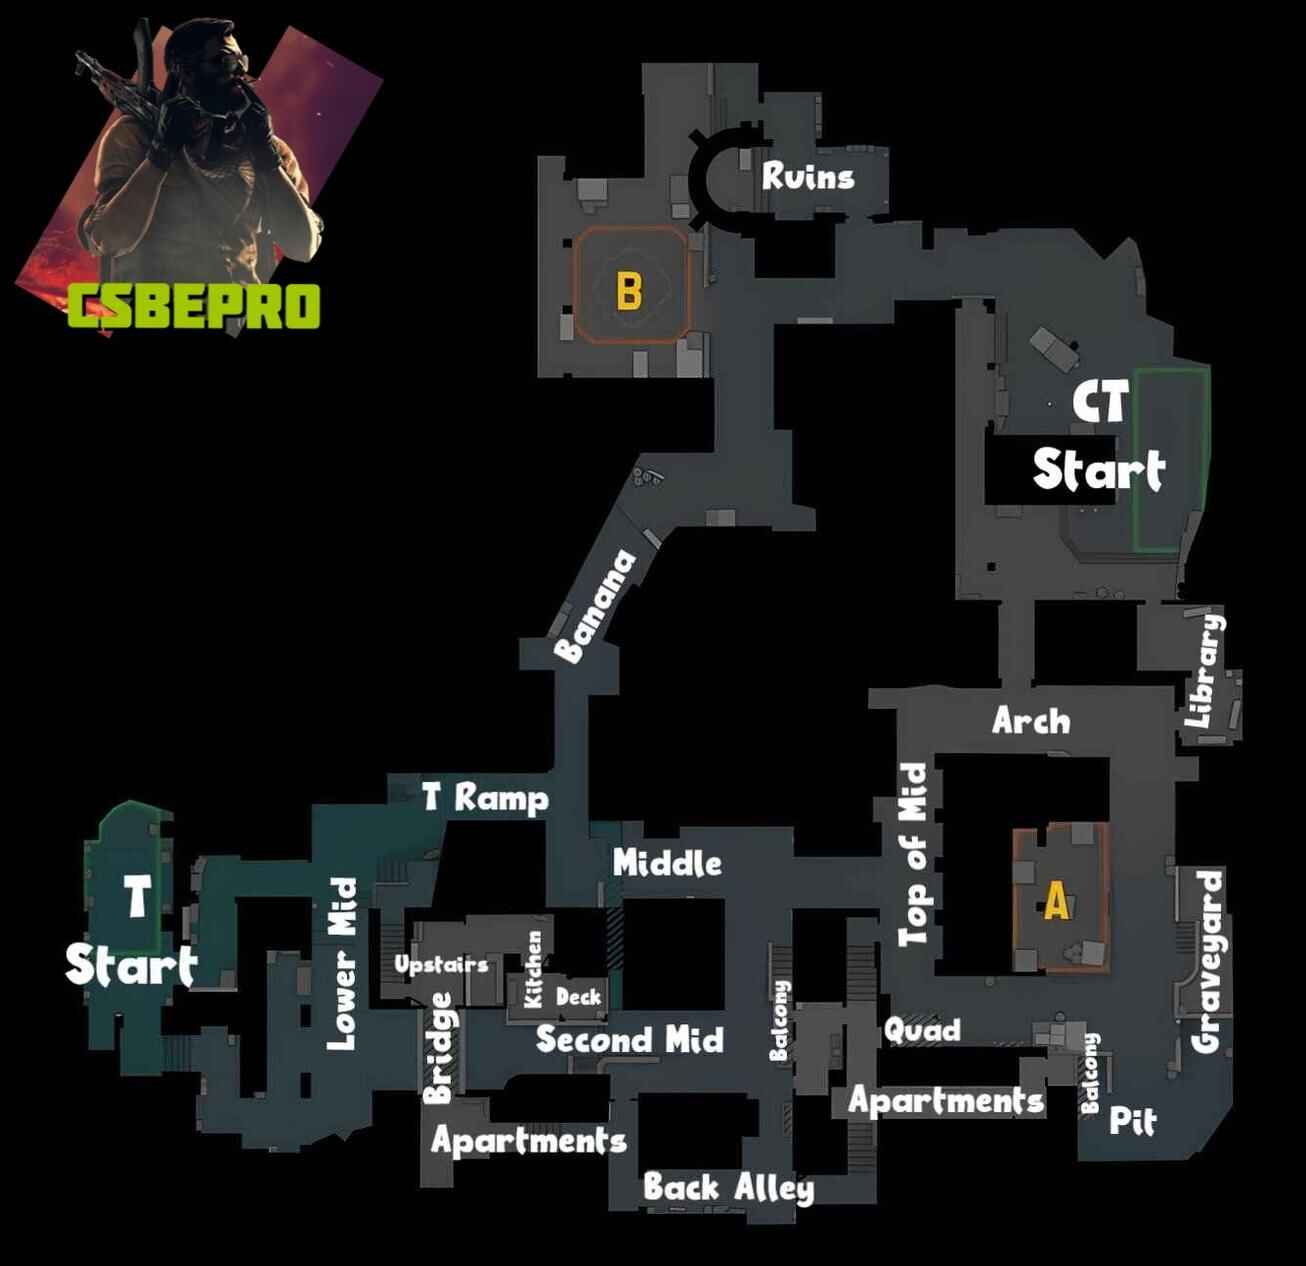
Inferno Map Callouts
T Start – This is where the Terrorists begin each round
T Ramp – A ramp that leads out from T Spawn toward Mid and Banana
Lower Mid – Part of the Middle area, giving access to Second Mid or Mid
Second Mid – Another way to reach Mid and Apartments
Bridge – A small connector from Second Mid into Apartments
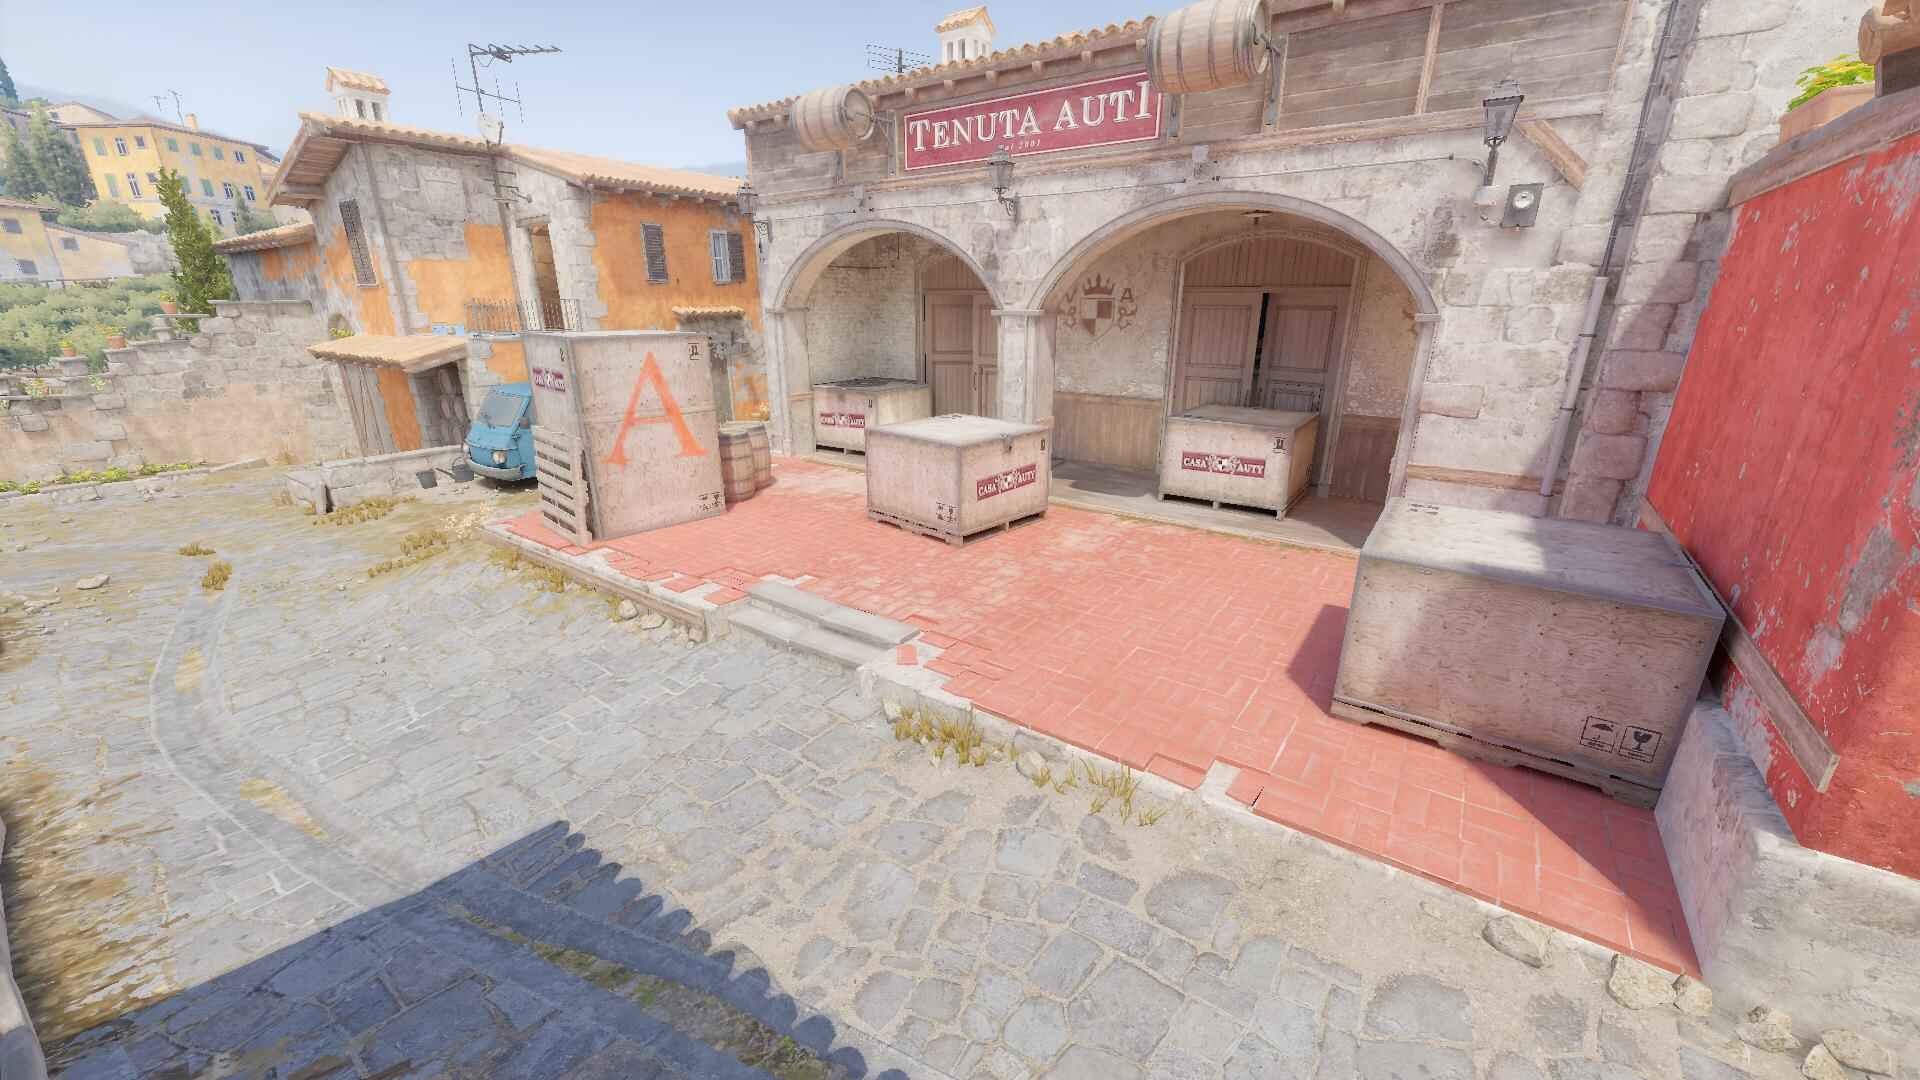
Apartments – The buildings near A site, with different exits to attack from
Back Alley – Behind Apartments, leads to the Balcony area
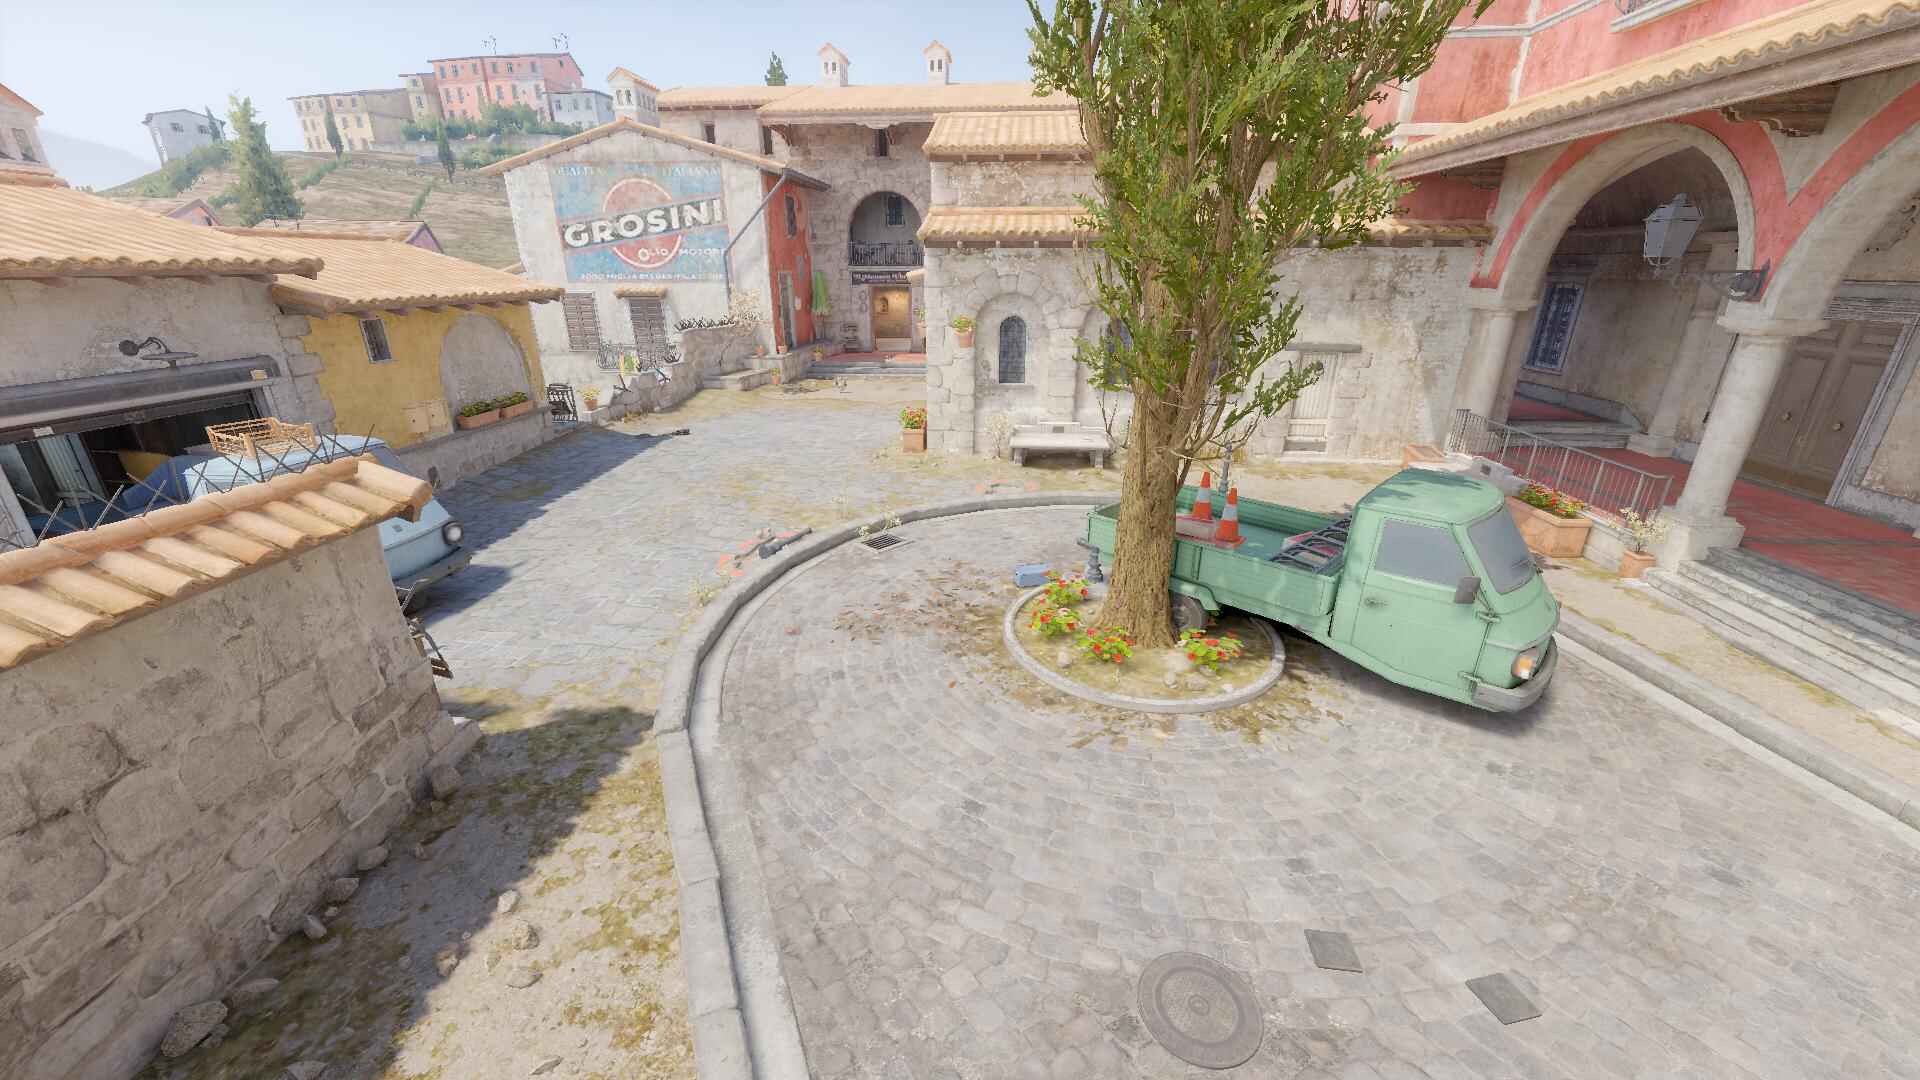
Middle – The central path through the map that connects to both sites
Top of Mid – The higher part of Mid, where you decide between Arch or Quad
Kitchen – A small room near Second Mid that leads into Apartments
Deck – A tiny spot near Second Mid
Quad – A key area when setting up for an A site push
Balcony – Overlooks A site, often used to drop into Pit
Pit – A strong defensive position near A site
Graveyard – A sneaky hiding spot near Pit
Arch – Leads from Mid to Library and A site
Library – A CT rotation spot to help defend A site
Banana – A long, narrow path that leads to B site and sees a lot of early action
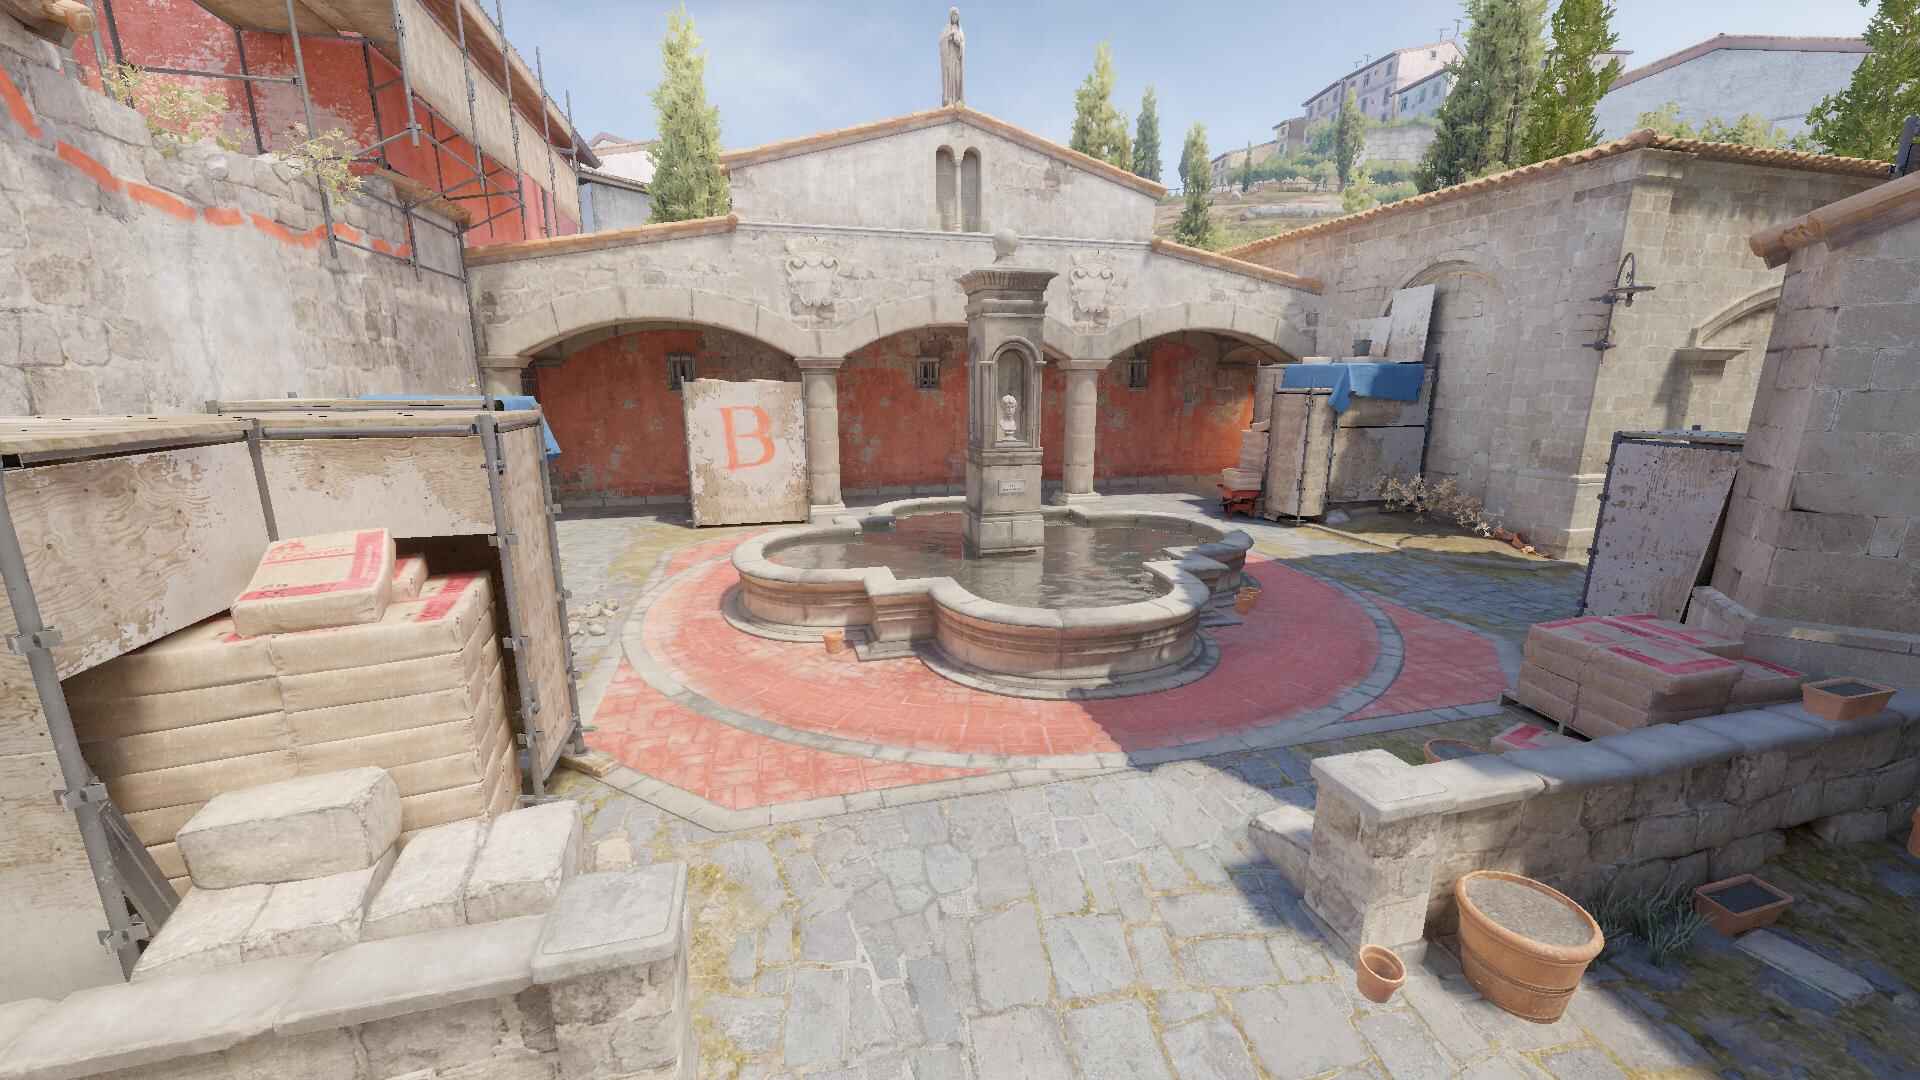
B Site – The bombsite on the right side of the map
Ruins – Behind B site, often used by CTs for retaking
CT Start – Where Counter-Terrorists start the round
Arch – A second route from Mid to A
Library – Another CT spot to rotate to A
Tactical Strategies
Terrorist Side
When starting out, it’s smart to spread out across the map to get control before you push a site. For A site, you’ll want to take control of Mid by throwing a smoke at CT Mid and flashing your way up. At the same time, fighting for Banana is important too, use molotovs and flashes to clear out defenders early. If you’re going A, the best way is usually a split push from Mid and Apartments, with smokes to block Arch and Library so the CTs can’t rotate easily. When you’re heading B, make sure to smoke the entrance and throw some flashes before you rush in. A clean entry can give you the bomb plant and a good post-plant setup.
Counter-Terrorist Side
For CTs, holding Banana early is a must. Use molotovs and grenades to slow the Ts down and stop a fast rush. For Mid, have one player watching Top of Mid and another Quad.
On Court B, one player should be in the Ruins area and control the exit from Banana, while the other player should take a position on the corner and look out towards Banana with a strafe to the right.
For A site, you’ll want a solid crossfire; have someone in Pit, someone in Graveyard, and another player near the bombsite to stop pushes from different directions. Communication and good utility use are key here.
Tips
Pay attention to sound; it’s a huge part of the game. Listening for footsteps, reloads, or utility can help you guess where the enemy is going. Boosting into unusual spots can catch opponents off guard and get you a free kill. Throwing fake grenades is also a great trick, make the other team think you’re pushing one site, then hit the other one while they’re rotating. And if you’re on defense, set up crossfires with your teammates. That way, if one of you goes down, the other has a good angle to get the trade.
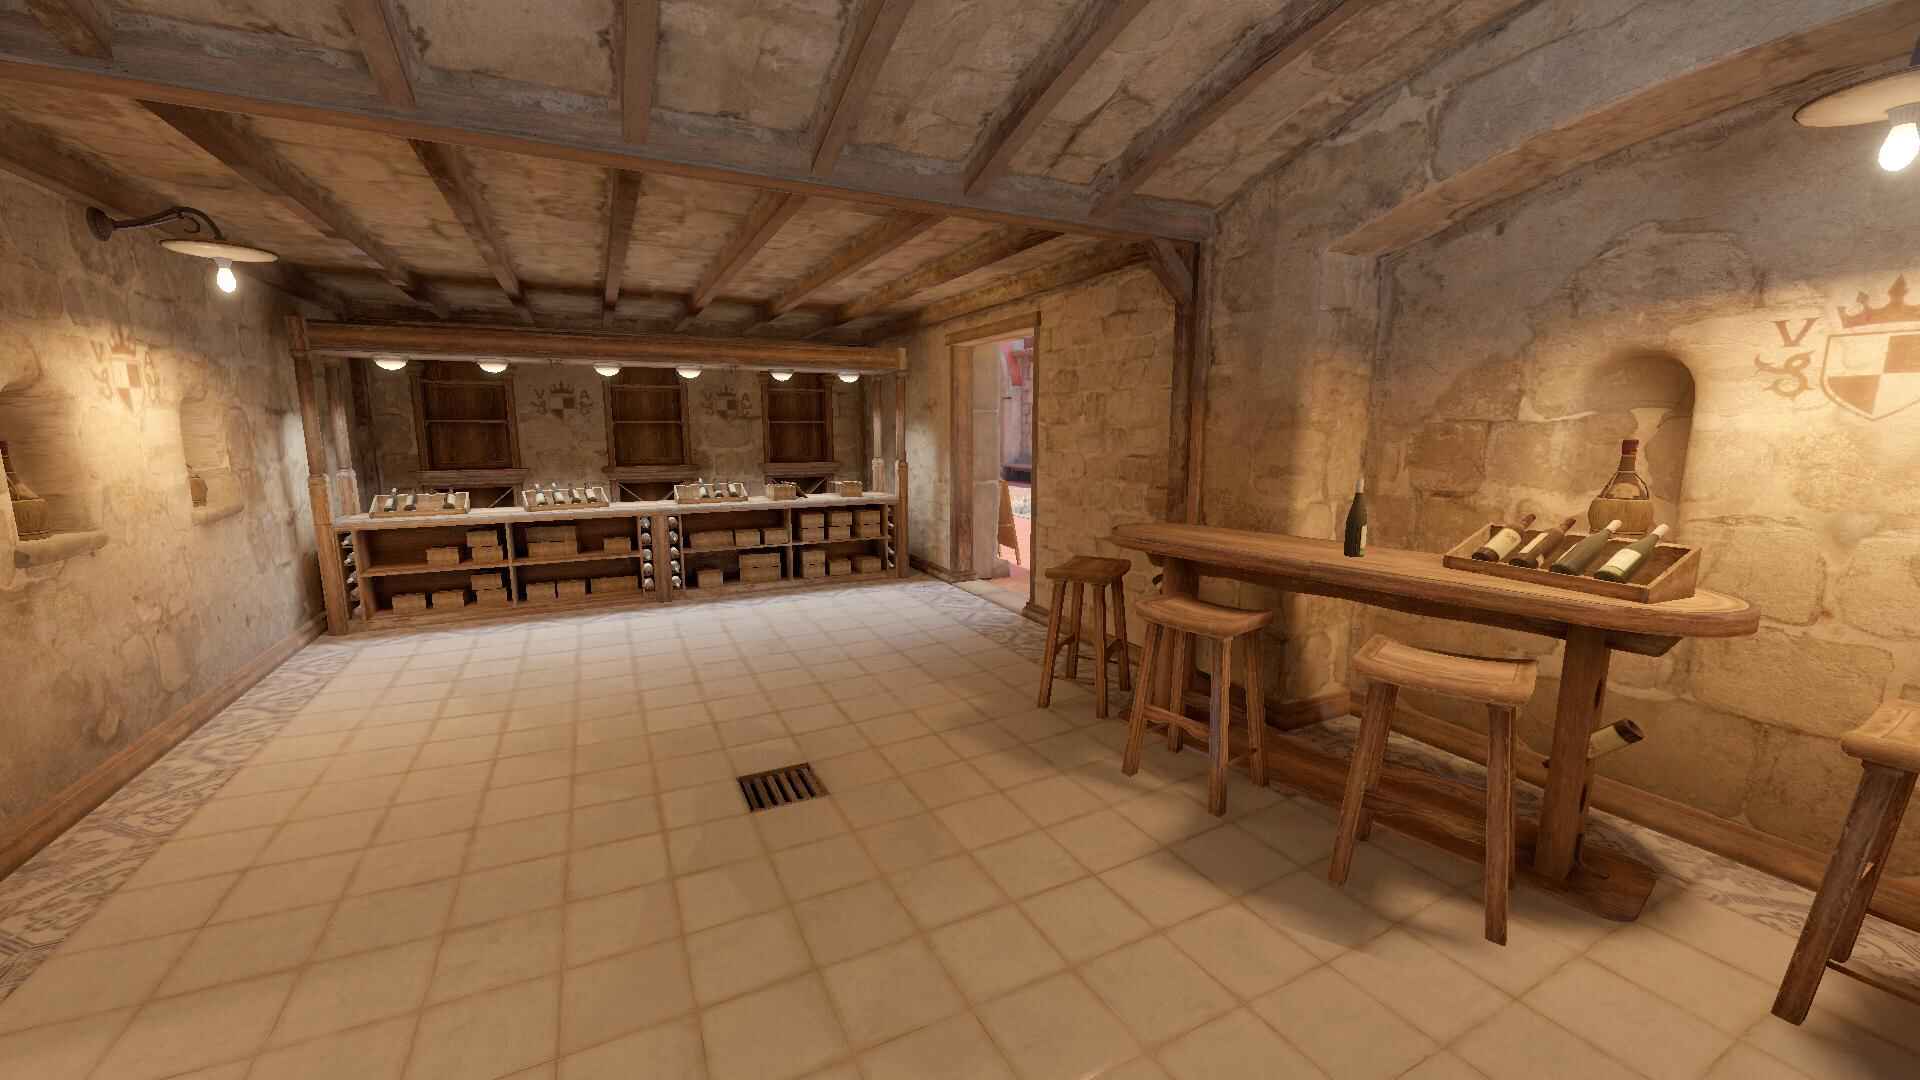
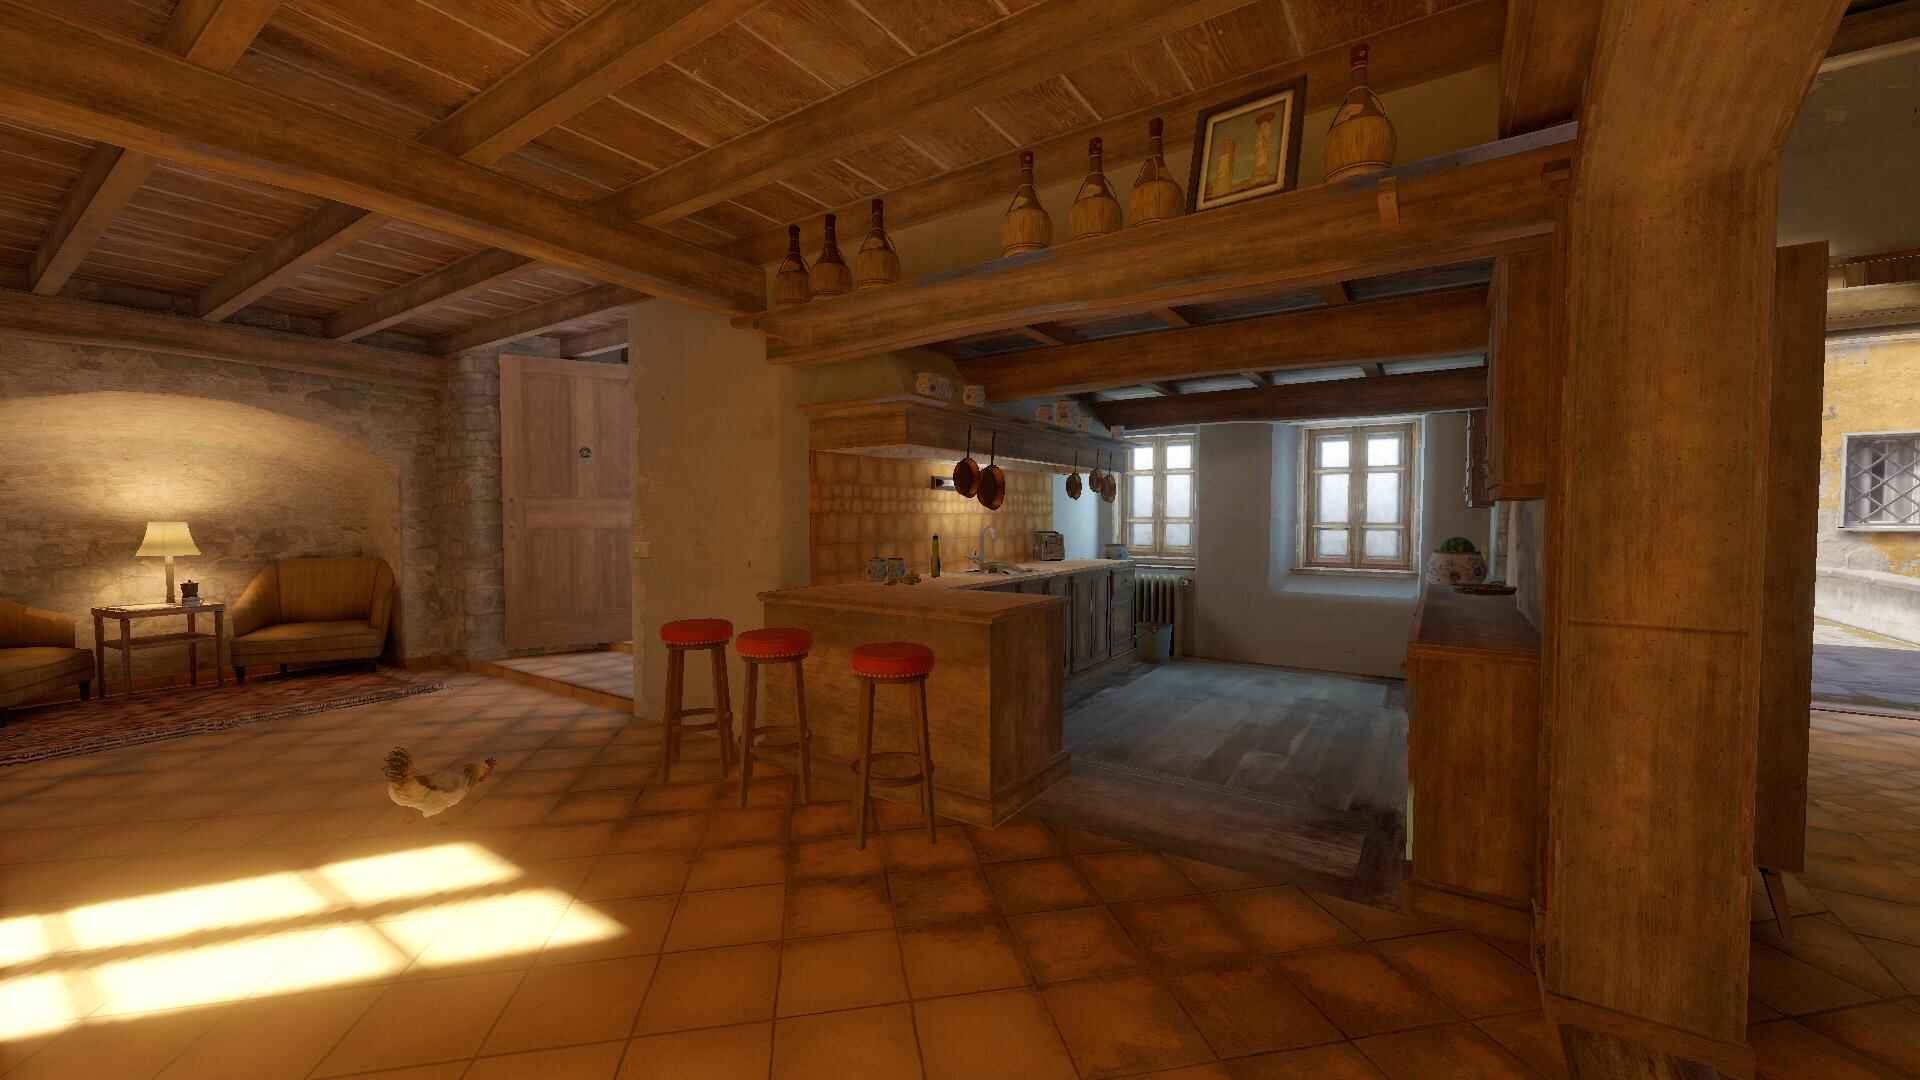
Gallery


Conclusion
If you want to get a better play at Inferno in Counter-Strike 2, you’ll need to know the map well, use your utility smartly, and work closely with your team. It’s a map that rewards practice and coordination. The more time you spend learning it, the more confident you’ll feel. So keep grinding, try out different strategies, and you’ll see your performance improve over time.
Want to sharpen your skills even further? Don’t stop here – check out other classic and competitive maps like Ancient, Anubis, Dust 2, Italy, Mirage, Nuke, Office, Overpass, Vertigo, and Train. Each has its own twists, tactics, and secrets waiting to be mastered.