CS2 Bind Jump to Mouse Wheel
Binding a key in Counter-Strike 2 means assigning a specific action to a button on your keyboard or mouse. This guide will explain clearly what key bindings are, how they work, and specifically how to bind jumping to the mouse wheel.
What is a Bind?
A “bind” is a console command that assigns a specific in-game action (like jumping, shooting, or crouching) to a keyboard or mouse button. This feature lets players optimize controls for convenience, efficiency, and personal preference. With key binds, you can execute actions instantly, bypassing the need to type commands or navigate menus during critical moments.
Syntax for Binds command
bind "[key/button]" "[action]"
Where:
[key/button] is the key you want to bind.
[action] is the command (or sequence of commands) you wish to execute, separated by semicolons for multiple commands.
For example:
bind space +jump – will bind the jump action to the spacebar.
bind mouse1 +attack – binds the shoot action to the left mouse button.
Understanding Keyboard and Mouse Buttons
Before binding, you should know the exact names of keys and mouse buttons:
- mouse1 – Left mouse button
- mouse2 – Right mouse button
- mouse3 – Middle mouse button (usually the mouse wheel button)
- mwheelup – Scroll mouse wheel upwards
- mwheeldown – Scroll mouse wheel downwards
- space – Spacebar
- Keyboard keys are usually named directly (‘a‘, ‘b‘, ‘c‘, ‘ctrl‘, ‘shift‘, etc).
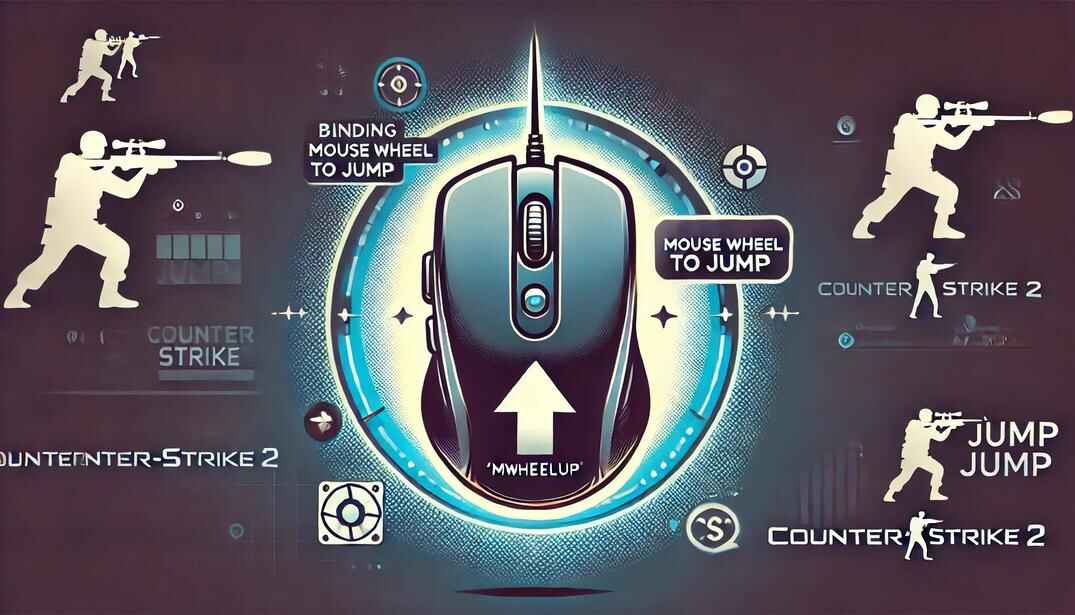
How to Bind Mouse Wheel to Jump in CS2
					bind "mwheelup" "+jump"
bind "mwheeldown" "+jump"
- Press Enter after typing each command.
- Close the console by pressing ~ again and test your binding in-game.
Method #2: Configuration File (manual)
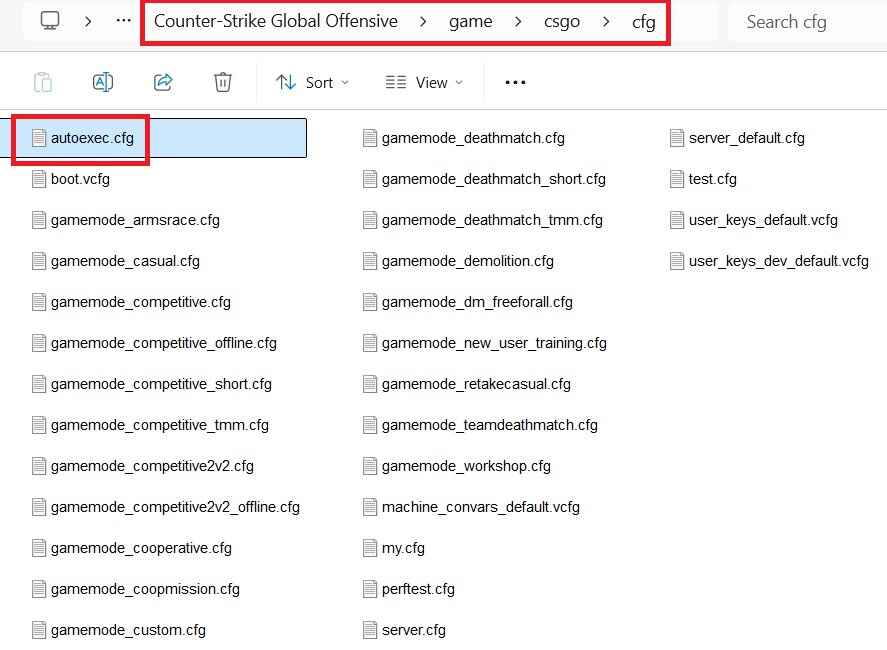
- Locate your CS2 configuration folder:
..\steamapps\common\Counter-Strike Global Offensive\game\csgo\cfg\
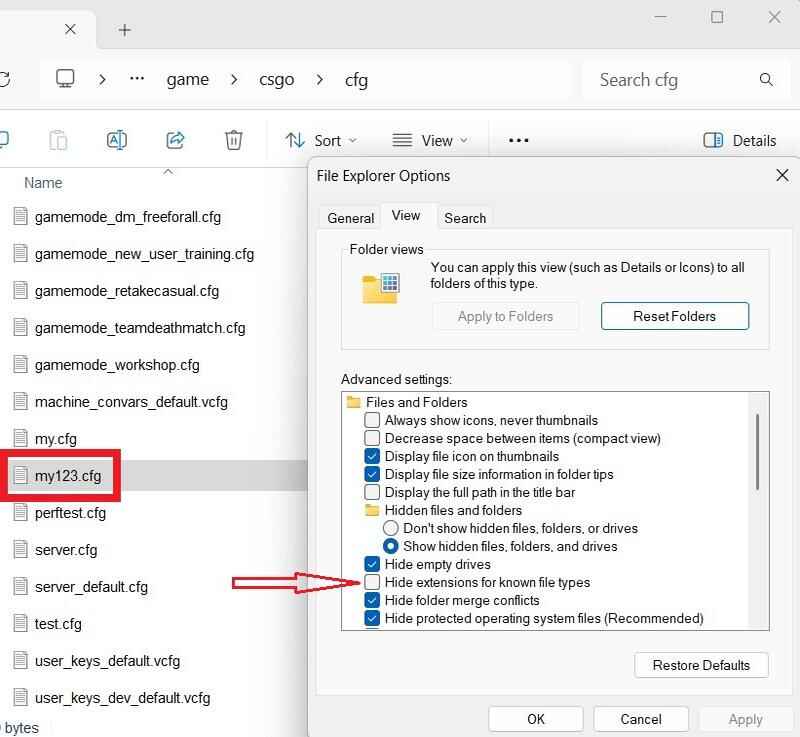
- Create a new text file (.txt) in this folder. You can name this file using letters, numbers, dashes, underscores, or ampersands (e.g., my123.txt).
- Add your desired binding(s) into this file, for example:
					bind "mwheelup" "+jump"
bind "mwheeldown" "+jump"
- Change the file extension from .txt to .cfg. To see file extensions in Windows: Open Control Panel > File Explorer Options > View tab, and uncheck “Hide extensions for known file types” box.
Example final filename: my123.cfg. - Launch Counter-Strike 2, open the console (~ key), and execute your config file by typing:
exec my123.cfg
- Close the console and test your bindings in-game.
Method #4: Autoexec Configuration File (auto)
Follow the same steps as Method #2 but name the configuration file autoexec.cfg. This file automatically executes each time Counter-Strike 2 starts, ensuring your bindings are always active. No additional action is required here.
Unbinding Keys
To remove a key binding, use the “unbind” command or delete the bind in cs2_user_keys_0_slot0.vcfg file.
					unbind mwheelup
unbind mwheeldown
Practical Tips
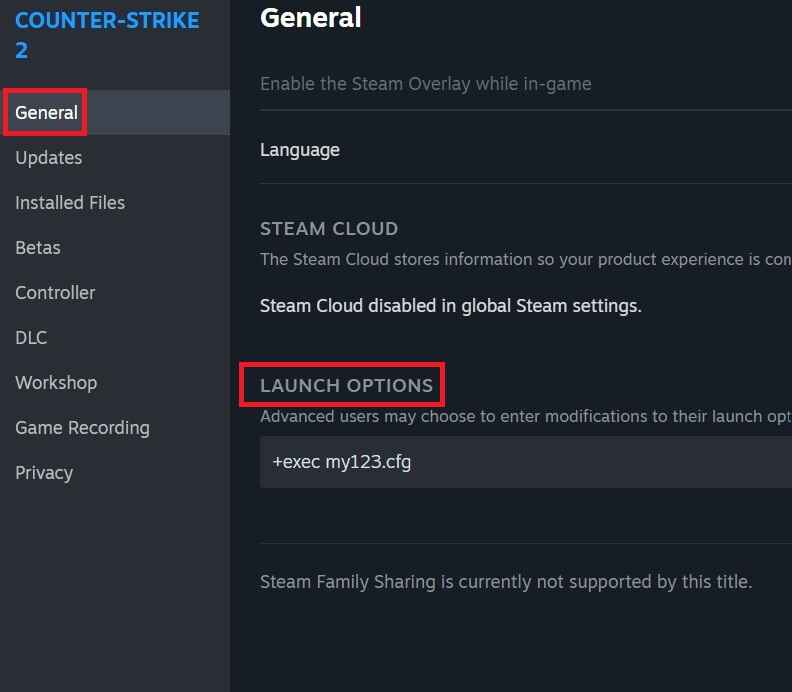
- You don’t need to add the autoexec.cfg file to your Launch Options.
- All your bindings are automatically saved to your configuration file located in the Steam folder: ..\userdata\Your_Steam_ID\730\local\cfg\cs2_user_keys_0_slot0.vcfg.
- You can use the console command key_listboundkeys to display all current binds.
Now you’re ready to customize your jump bind and improve your gameplay in Counter-Strike 2!
Good luck and happy fragging!
