Bind Console Commands in Counter-Strike 2: A Complete Tutorial
The Power of Binding Commands in Counter-Strike 2
Counter-Strike 2 introduces a range of new features, yet the classic ability to bind commands to keys using the console remains a cornerstone of customization. This feature lets players optimize controls for convenience, efficiency, and personal preference. With key binds, you can execute actions instantly, bypassing the need to type commands or navigate menus during critical moments.
Key bindings allow you to tailor the game to your playstyle, enabling precise or rapid actions. For instance, you can assign a key to switch weapons, buy items, or even perform complex tasks like throwing grenades with a single press. In fast-paced matches, these shortcuts can make a substantial difference.
Enabling the Console
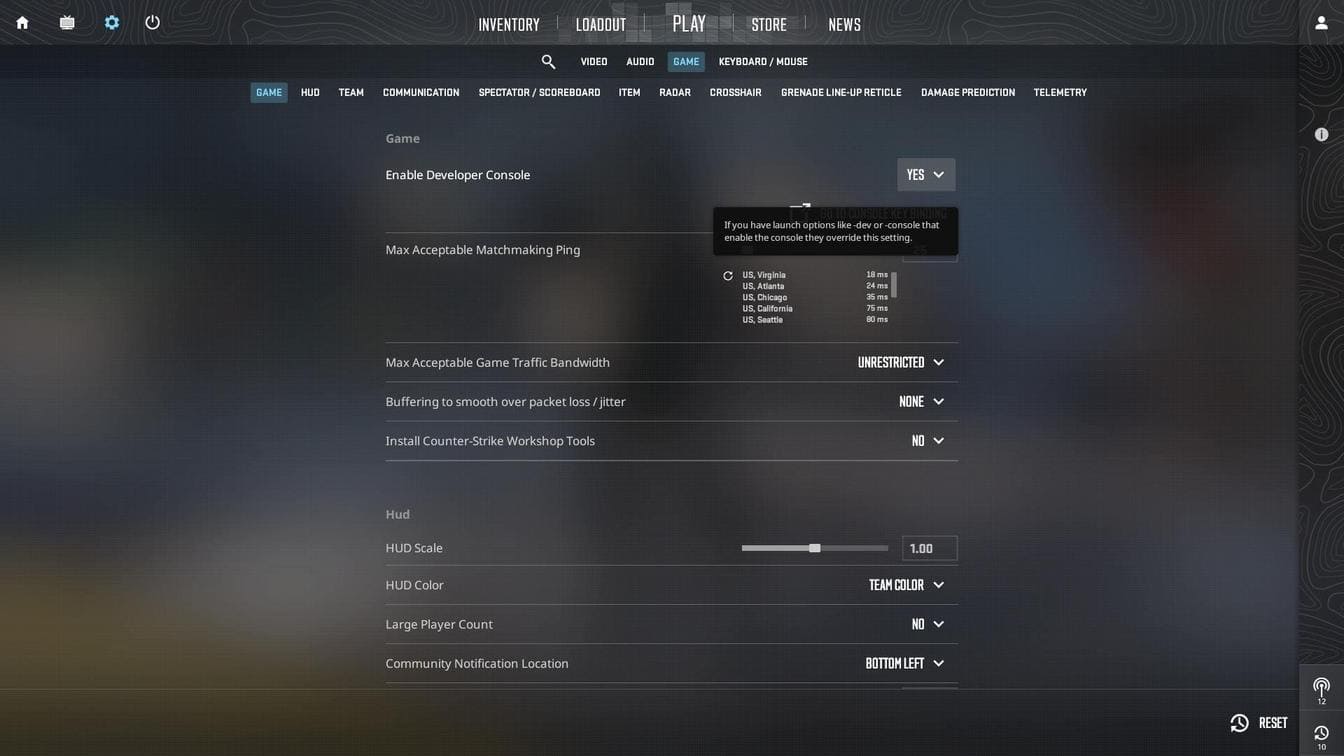
To start using key bindings, you must enable the developer console. This feature allows you to customize various settings and bind keys to in-game actions. Once enabled, you’ll be able to access a range of commands that enhance gameplay control.
- Launch the game and open the settings menu.
- Navigate to the “Game” tab and toggle the “Enable Developer Console” option.
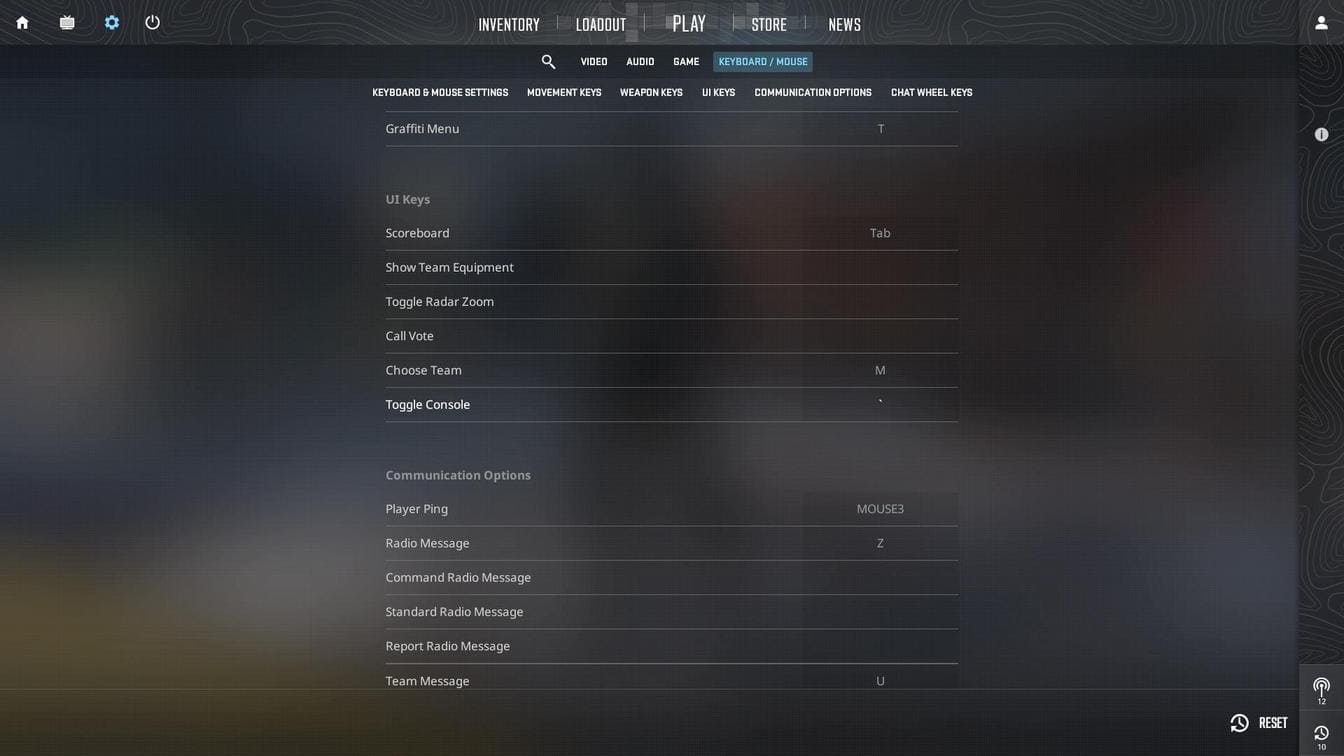
- Switch to the “Keyboard/Mouse” tab to assign a key for toggling the console (default: ~).
Syntax for Binds
To bind commands, open the console and use the syntax:
bind "[key]" "[command]"
For multiple commands:
bind "[key]" "[command1]; [command2]; [command3]"
Where:
[key] is the key you want to bind.
[command] is the command (or sequence of commands) you wish to execute, separated by semicolons for multiple commands.
Example 1: Binding a Single Command
To bind the F1 key to purchase an AK-47 rifle:
bind "F1" "buy ak47"
Example 2: Binding Multiple Commands
To bind the F1 key to purchase both an AK-47 and a Desert Eagle:
bind "F1" "buy ak47; buy deagle"
Saving Binds
Your key bindings are saved automatically in the cs2_user_keys_0_slot0.vcfg file located in:
..\Steam\userdata\Your_Steam_ID\730\local\cfg\
To prevent accidental resets, save bindings in a configuration file that automatically loads at startup:
- Navigate to the configuration directory:
..\steamapps\common\Counter-Strike Global Offensive\game\csgo\cfg\ - Create a file named autoexec.cfg.
- Add your bindings, for example:
					bind "F1" "buy ak47"
bind "F2" "buy awp"
The autoexec.cfg file ensures bindings are always applied on game startup.
Manual Loading of Binds
To load bindings manually:
- Create a custom file, e.g., myconfig.cfg, in the same folder.
- Add your binds to the file.
- Load it using the console command:
exec myconfig.cfg
This method applies binds only when explicitly executed.
Popular Binds
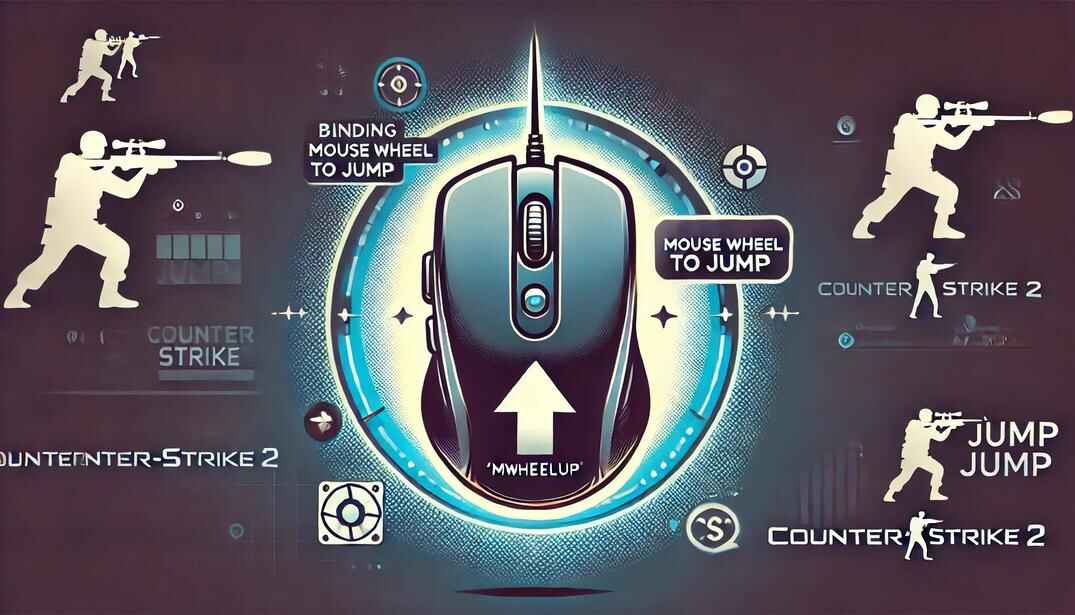
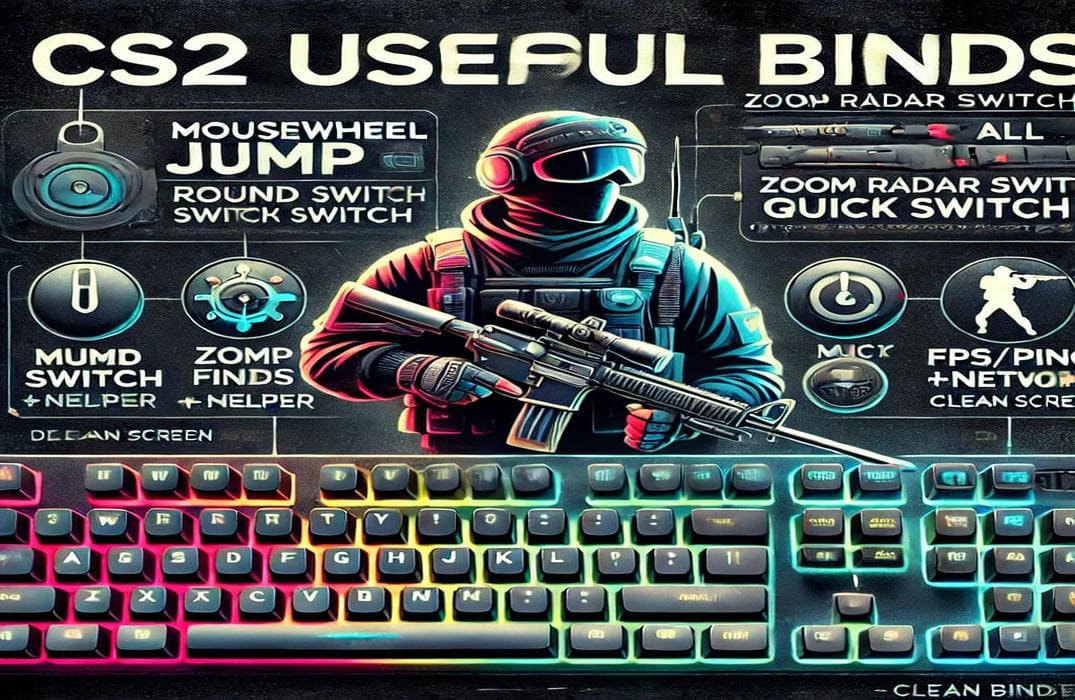
Explore common binds like Mousewheel Jump, Refund All, Zoom Radar Switch, and more in this guide.
Tips
- Use key_listboundkeys to display all active binds in the console.
- The autoexec.cfg file runs automatically; there’s no need to launch it manually.
- Binding a command overwrites any previous binding for that key.
- Unbind a key using: unbind [key]
Conclusion
Mastering binds in Counter-Strike 2 enhances your gameplay by boosting efficiency and responsiveness. Experiment with different configurations to find what works best for you. With the right setup, you’ll be primed to dominate the battlefield.
Good luck and happy fragging!


